Halloween - A beginners guide to pumpkin carving (2023 Update)
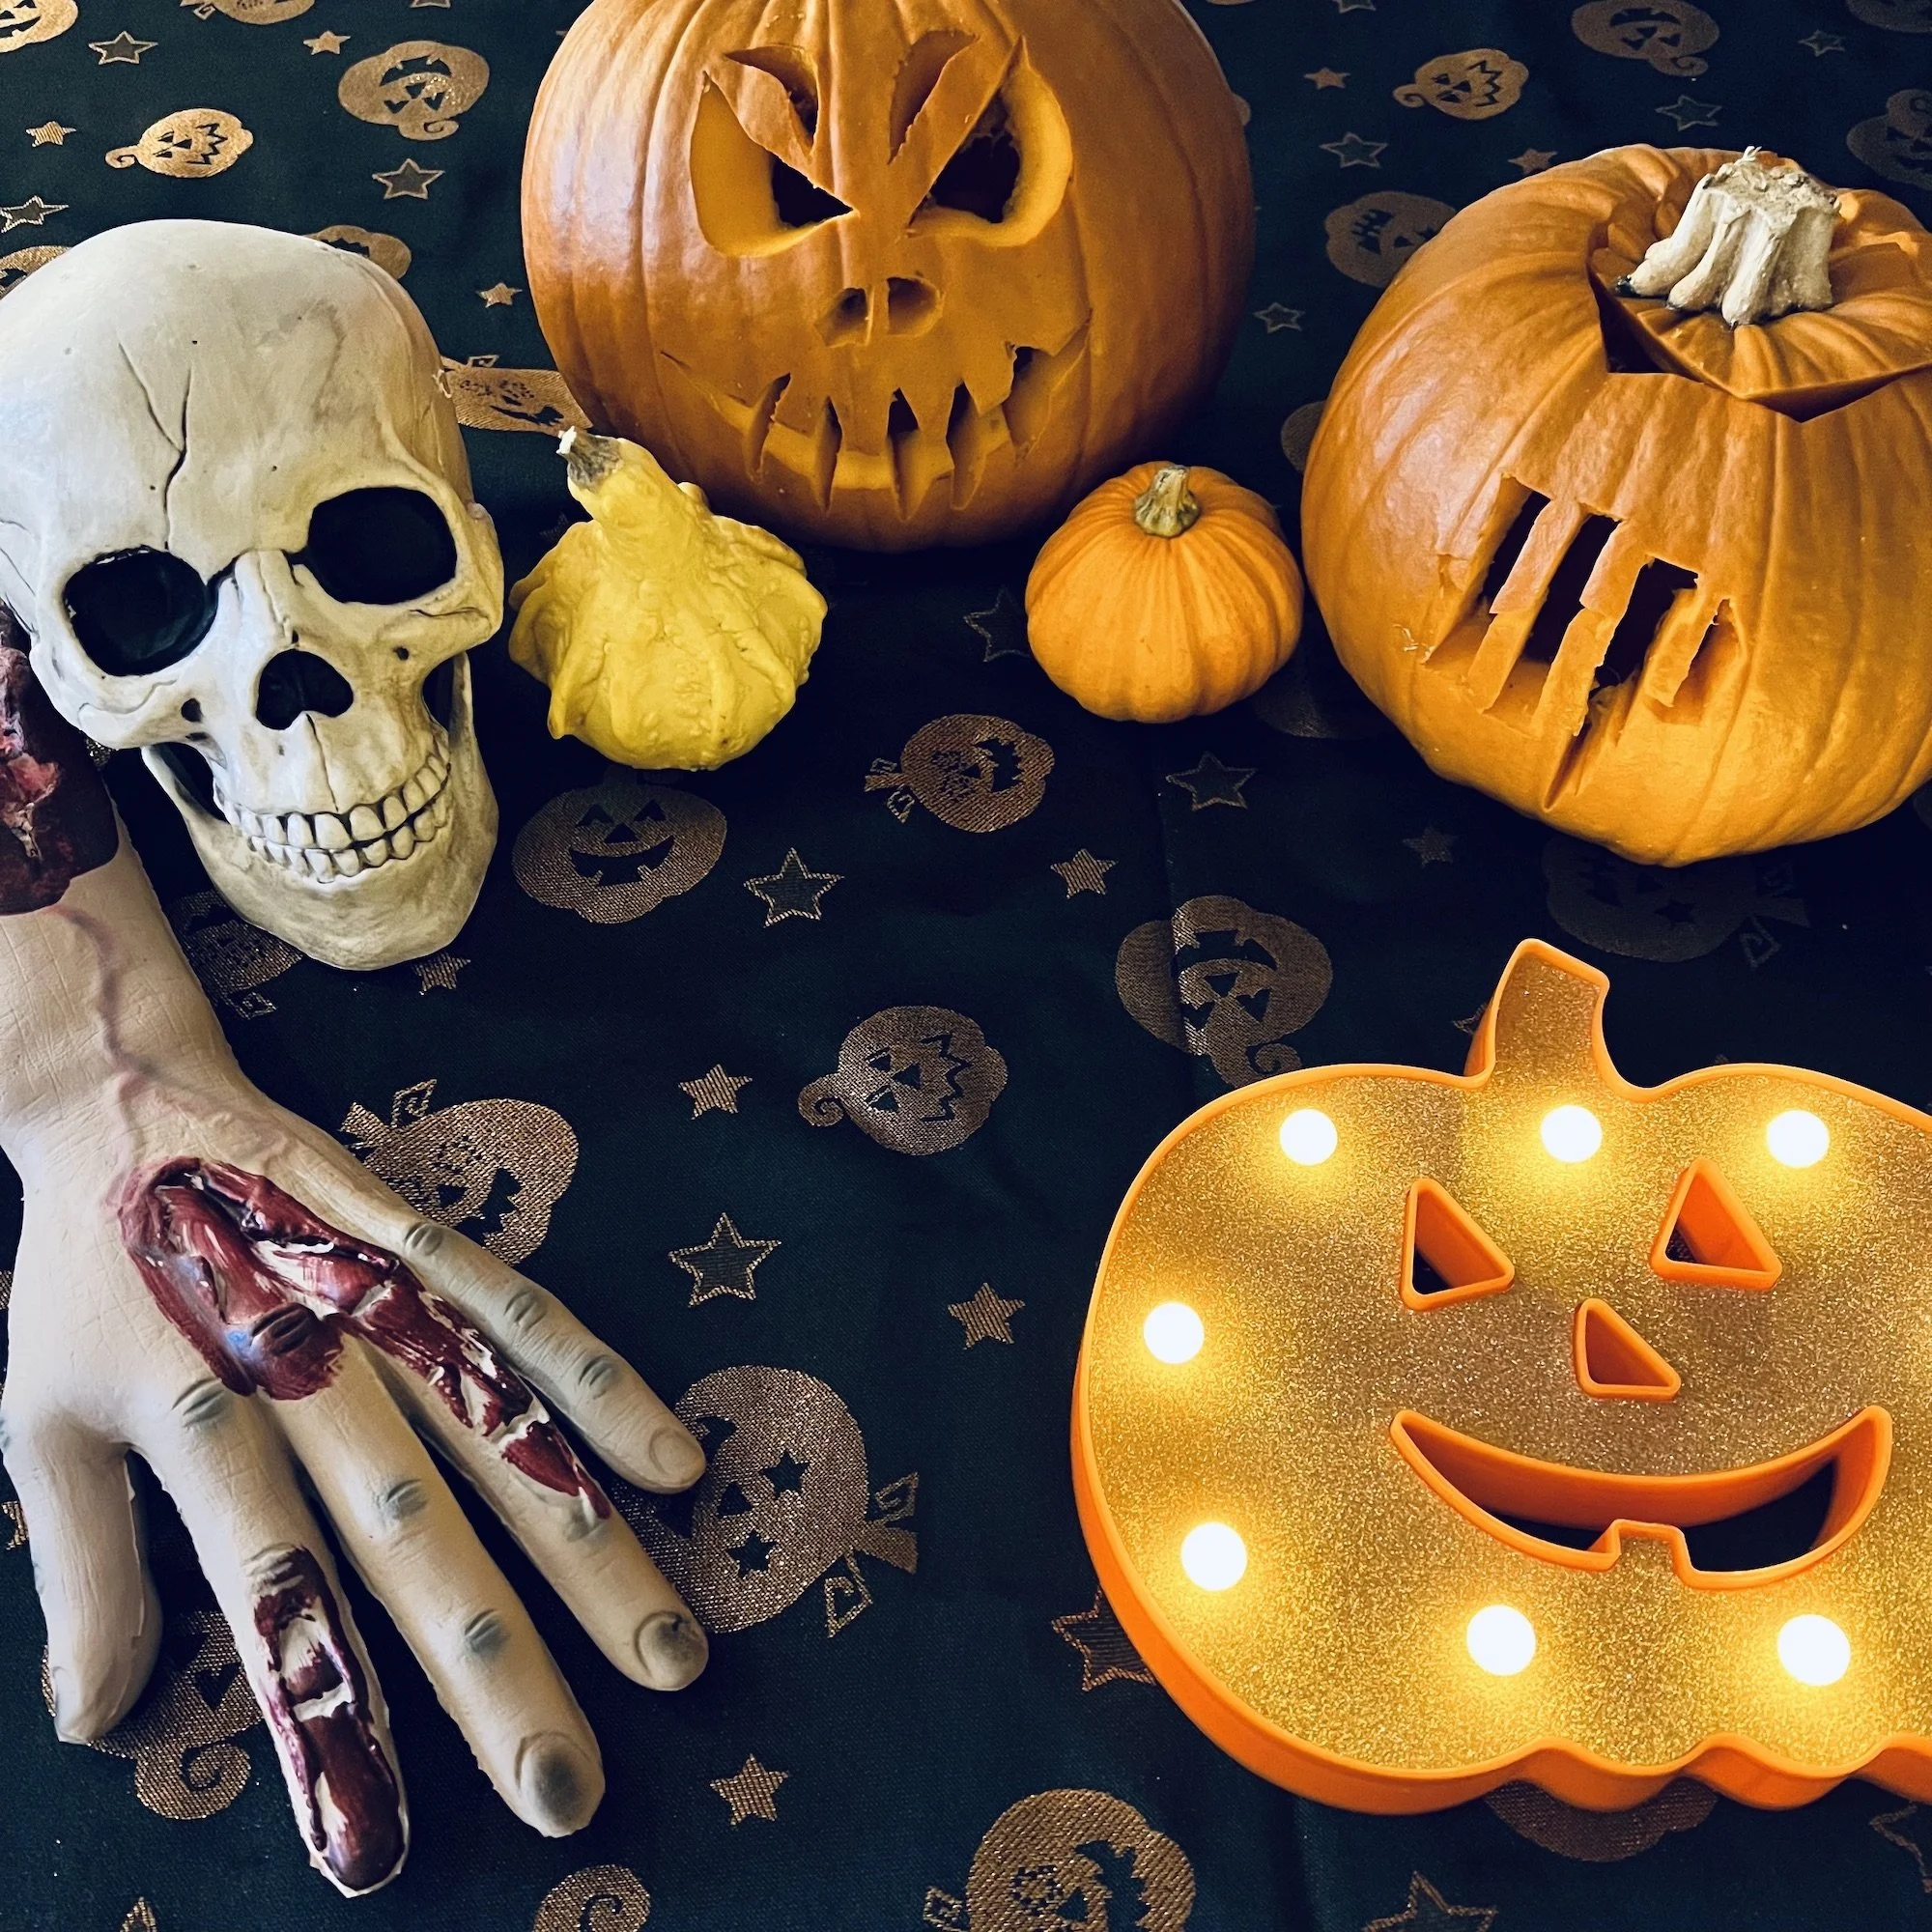
In our family, Autumn is by far the busiest season for birthdays and anniversaries, therefore my to-do list seems to be particularly long at this time of year. Halloween is very close to my eldest daughter’s birthday and we often host family and friends, and everyone gets into the spirit of Halloween. I like to carve my own pumpkins, but I never seem to have as much time as I’d like to achieve an intricate design. For this reason, I have come up with some pumpkin templates that don’t take too long to carve, but are really effective!
I would recommend investing in a pumpkin carving kit. They are relatively cheap at most supermarkets, you can use them year after year and it gives you peace of mind that the tools are safe to use for this task.
Below I have provided instructions for the simplest way to achieve a crowd-pleasing carved pumpkin. Four of the designs are available as a PDF to print out and use as a template or use your own design if you prefer.
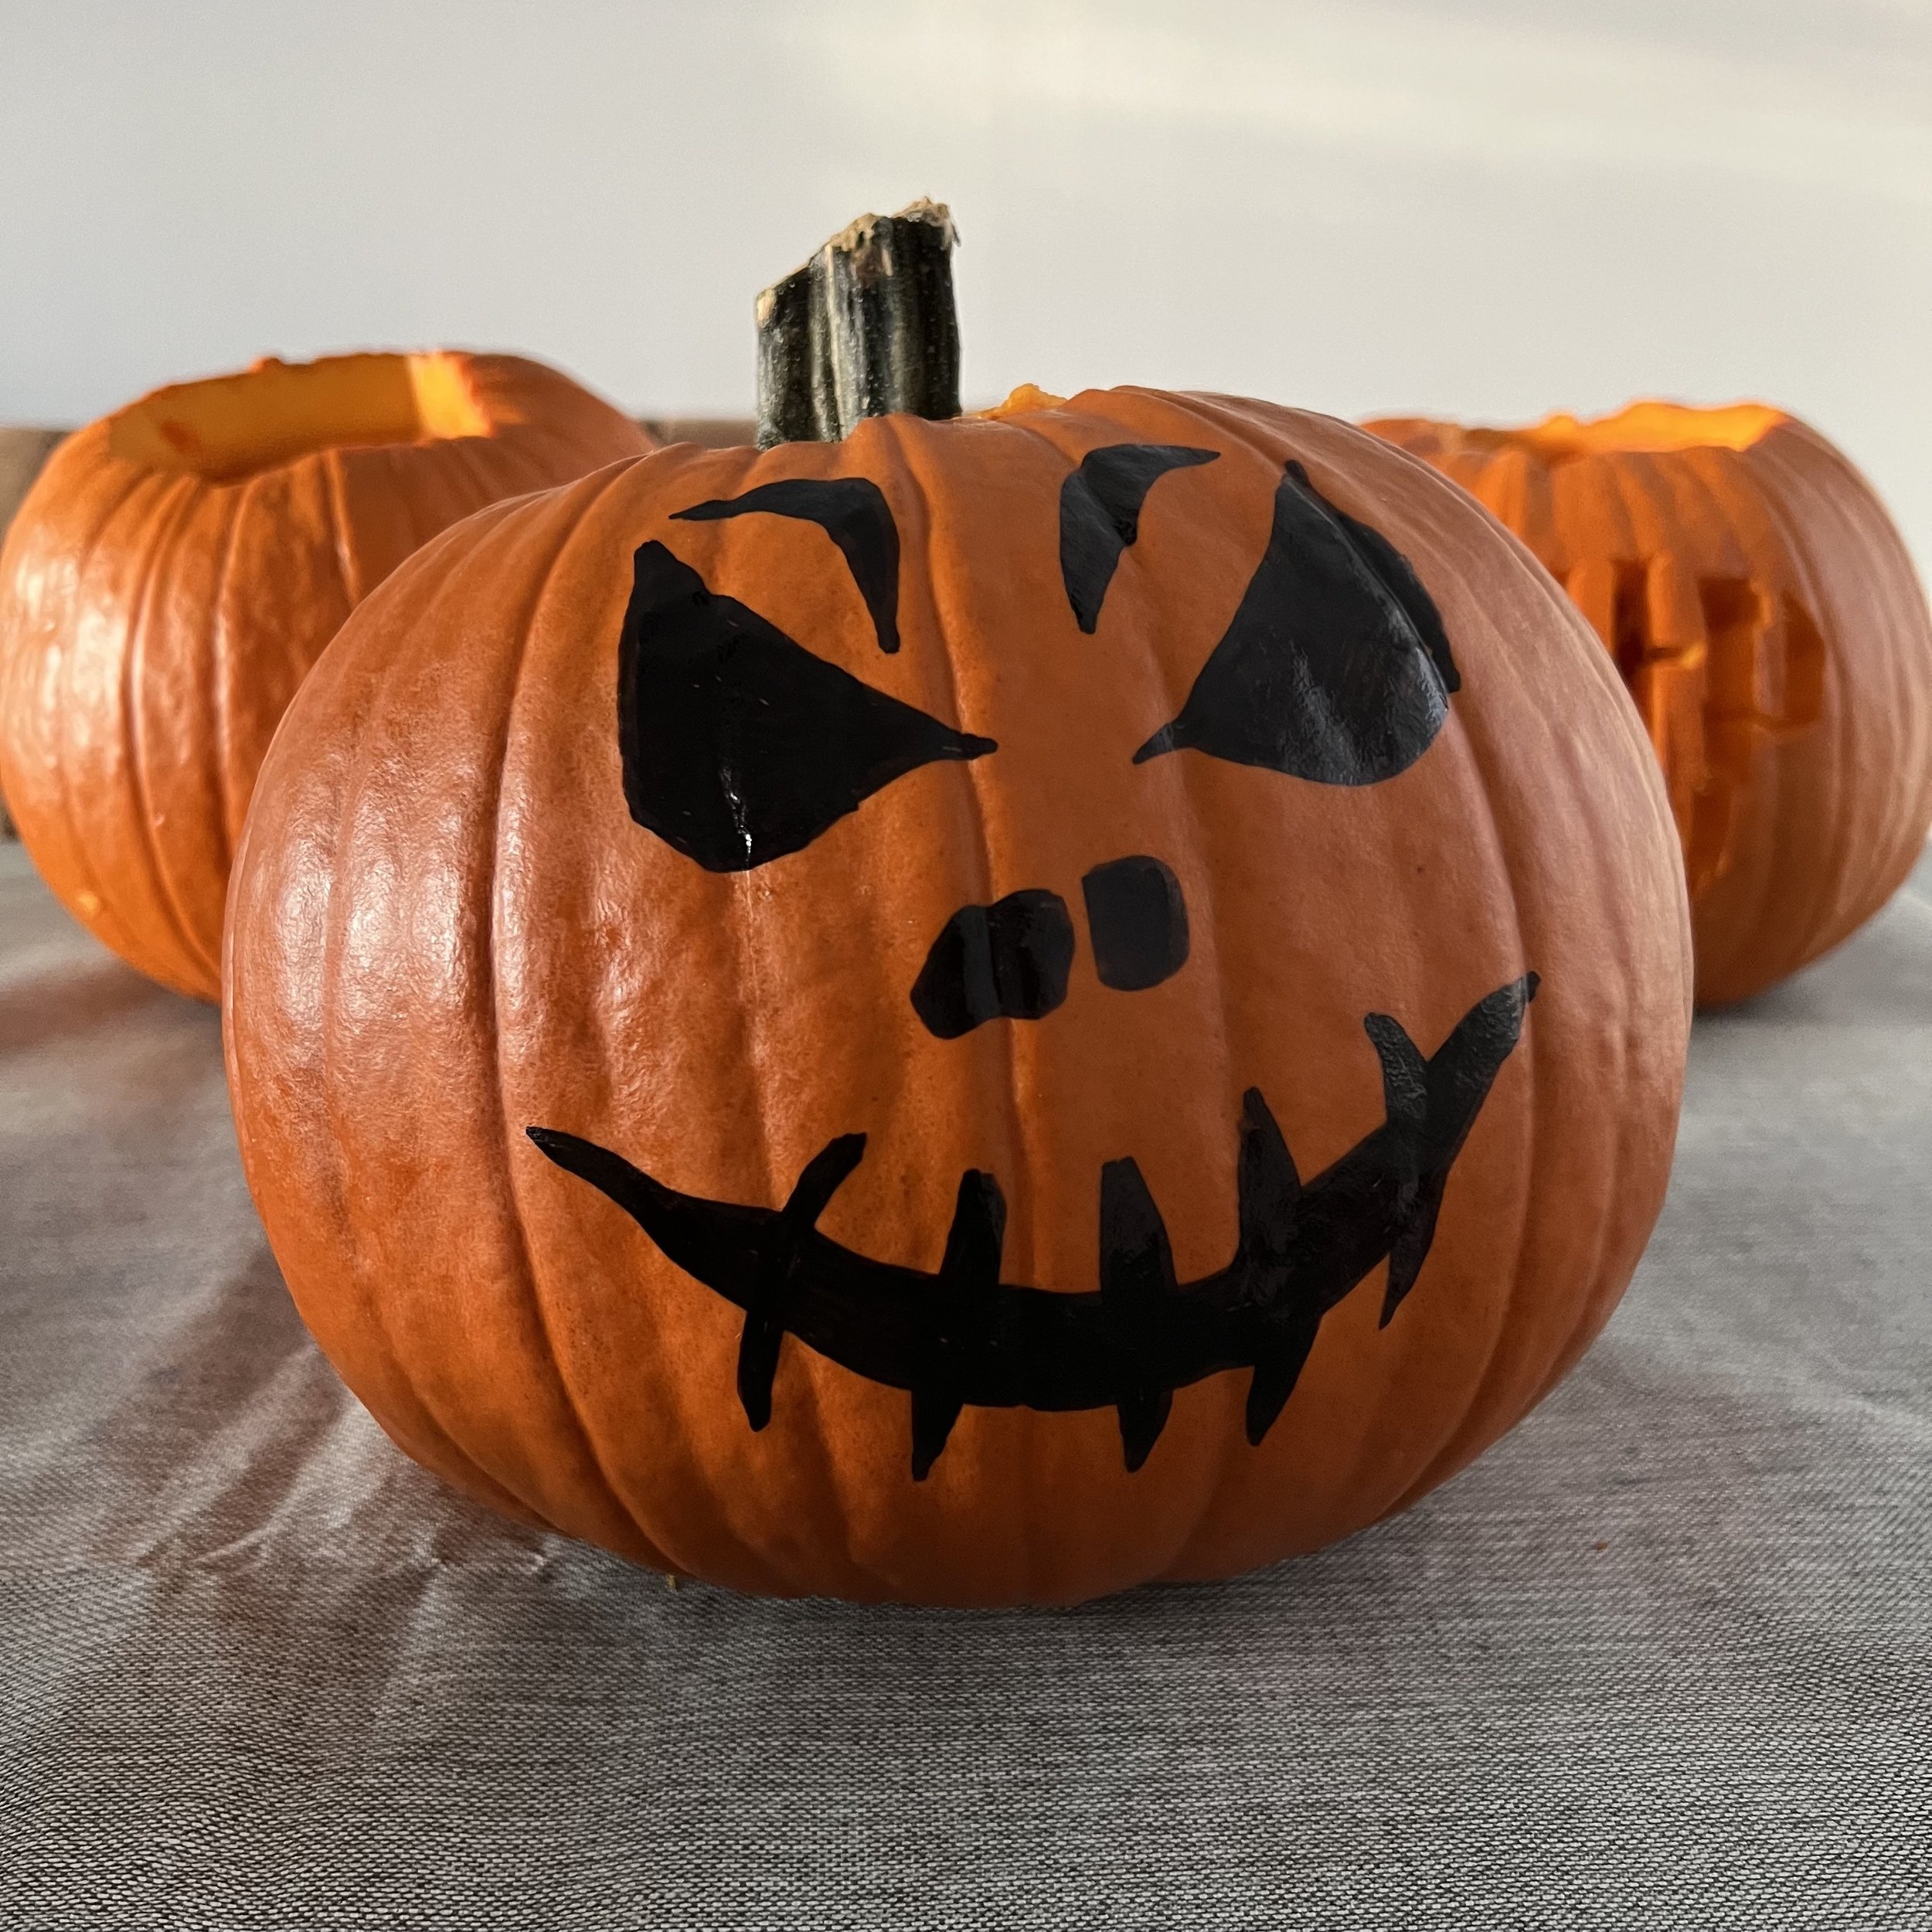
These designs are aimed at adults. If you are thinking about carving with children, but you’re worried about the sharp tools involved, one option is to simply draw a design onto the pumpkin with a black Posca Pen or Sharpie. Alternatively, get your child to create the design that you carve on their behalf.
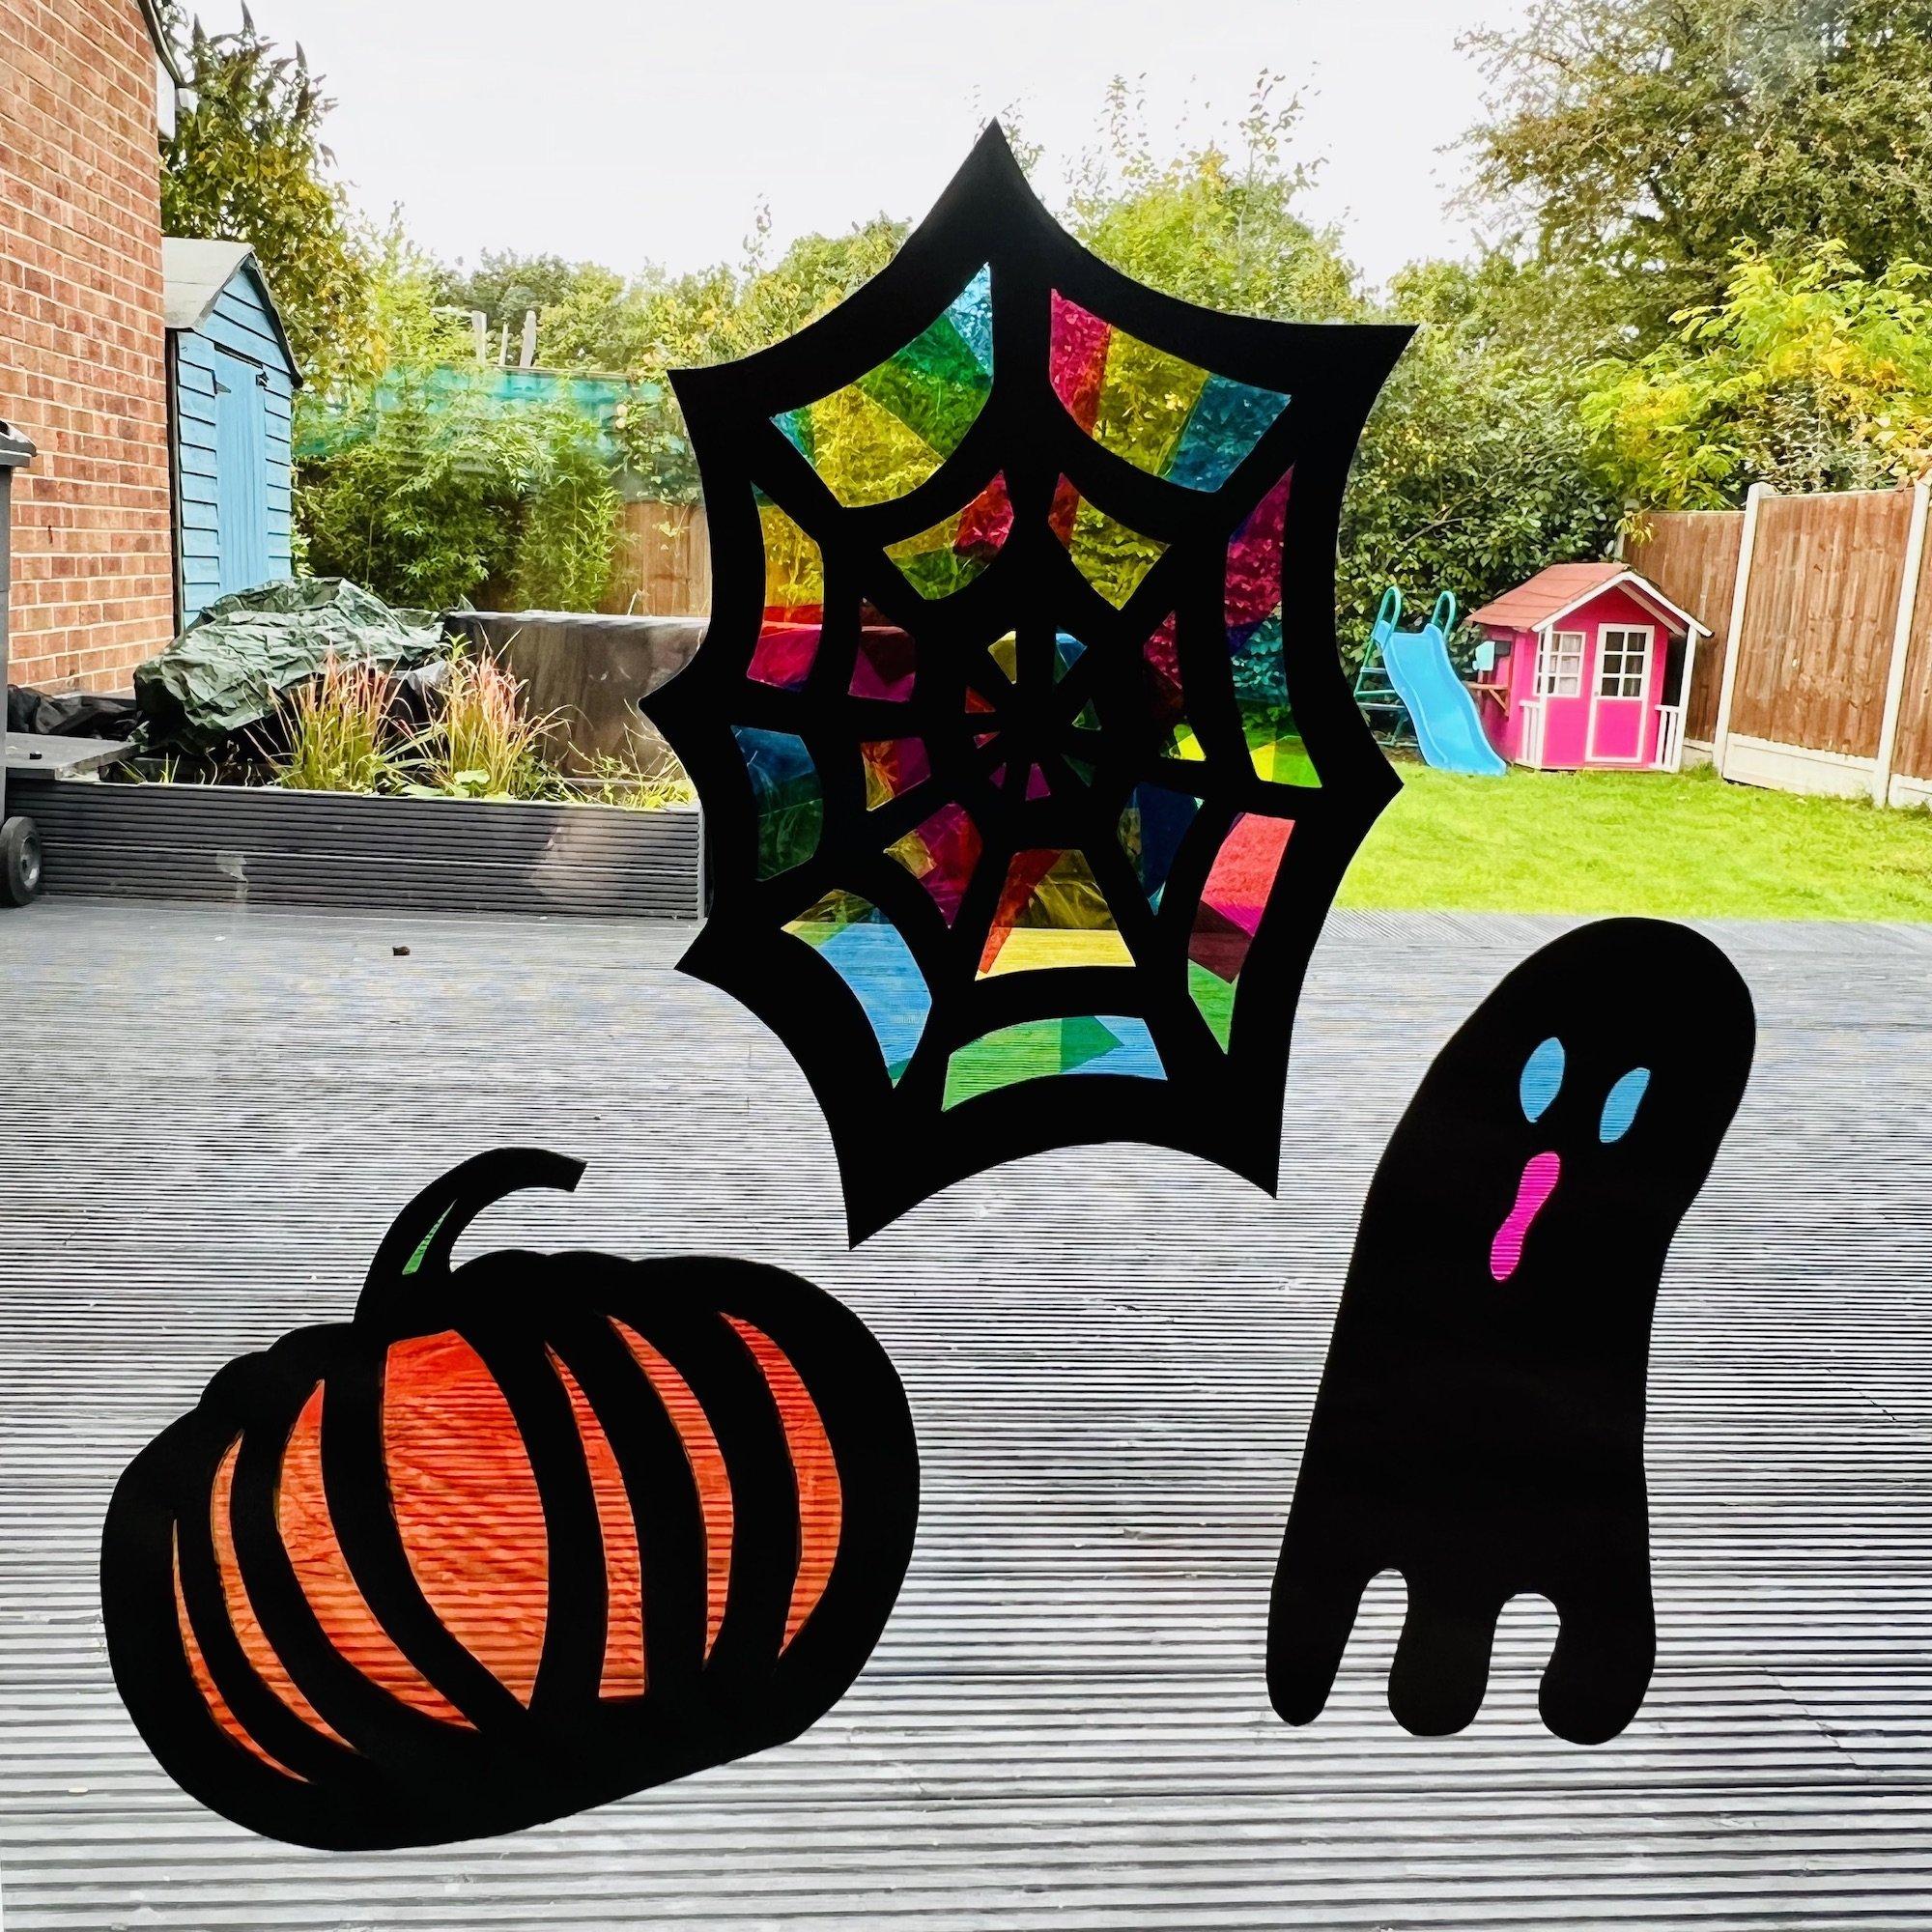
For other Halloween decoration ideas, I have also written blog posts for ‘Halloween Suncatchers’ and ‘Salt Dough Ghost Figures’ - two child-friendly Halloween craft ideas.
Table of Contents
The equipment needed for carving a pumpkin
Choosing a pumpkin to carve
Choosing a pumpkin is one of the most important first steps in pumpkin carving. With hundreds of pumpkins to pick from, it can be tricky to select the best one for your vision. Consider these key factors when picking your pumpkin:
Pumpkin Varieties
There are many varieties of carving pumpkins, each with slightly different characteristics:
Classic Jack-O-Lanterns: Medium round size, orange colour, sturdy walls
Mini Pumpkins: Smaller versions perfect for tabletops
White Pumpkins: Offer a unique white canvas to carve on
Medley Mix: Assortment of shapes, sizes, colors
Think about size, shape, and colour preferences when deciding on a variety.
Optimal Pumpkin Features
Look for a pumpkin free of blemishes, bruises, and rot. Check that the pumpkin has:
A sturdy, flat base so it sits upright
Thick flesh around the walls, at least 1-2 inches
A stem that’s still attached and green
A shape that fits the carving design you have in mind
Choose your pumpkin wisely - its condition greatly impacts the carving process.
Height and Width Considerations
Keep your carving design and display location in mind when estimating height and width needs.
Carve larger pumpkins for more elaborate designs with finer details.
Ensure the base is wide enough to keep your carved jack-o’-lantern stable.
Measure dimensions to find a pumpkin appropriately sized for your space.
With some planning and inspection, you can pick the perfect pumpkin canvas ready for carving unique Halloween creations.
Pumpkin Carving Templates
You can print out the following designs to use for your pumpkins or create your own designs if you prefer.


The equipment needed for carving a pumpkin


A pumpkin
An apron
A carving kit
A kitchen knife
A large spoon
A large bowl
A Template - printed out
Packaging tape such as , Scotch Tape or Sellotape; or masking tape
Instructions - How to carve a pumpkin
Step 1 - Put on an apron and prepare your work area by putting down an old tablecloth and/or newspaper.
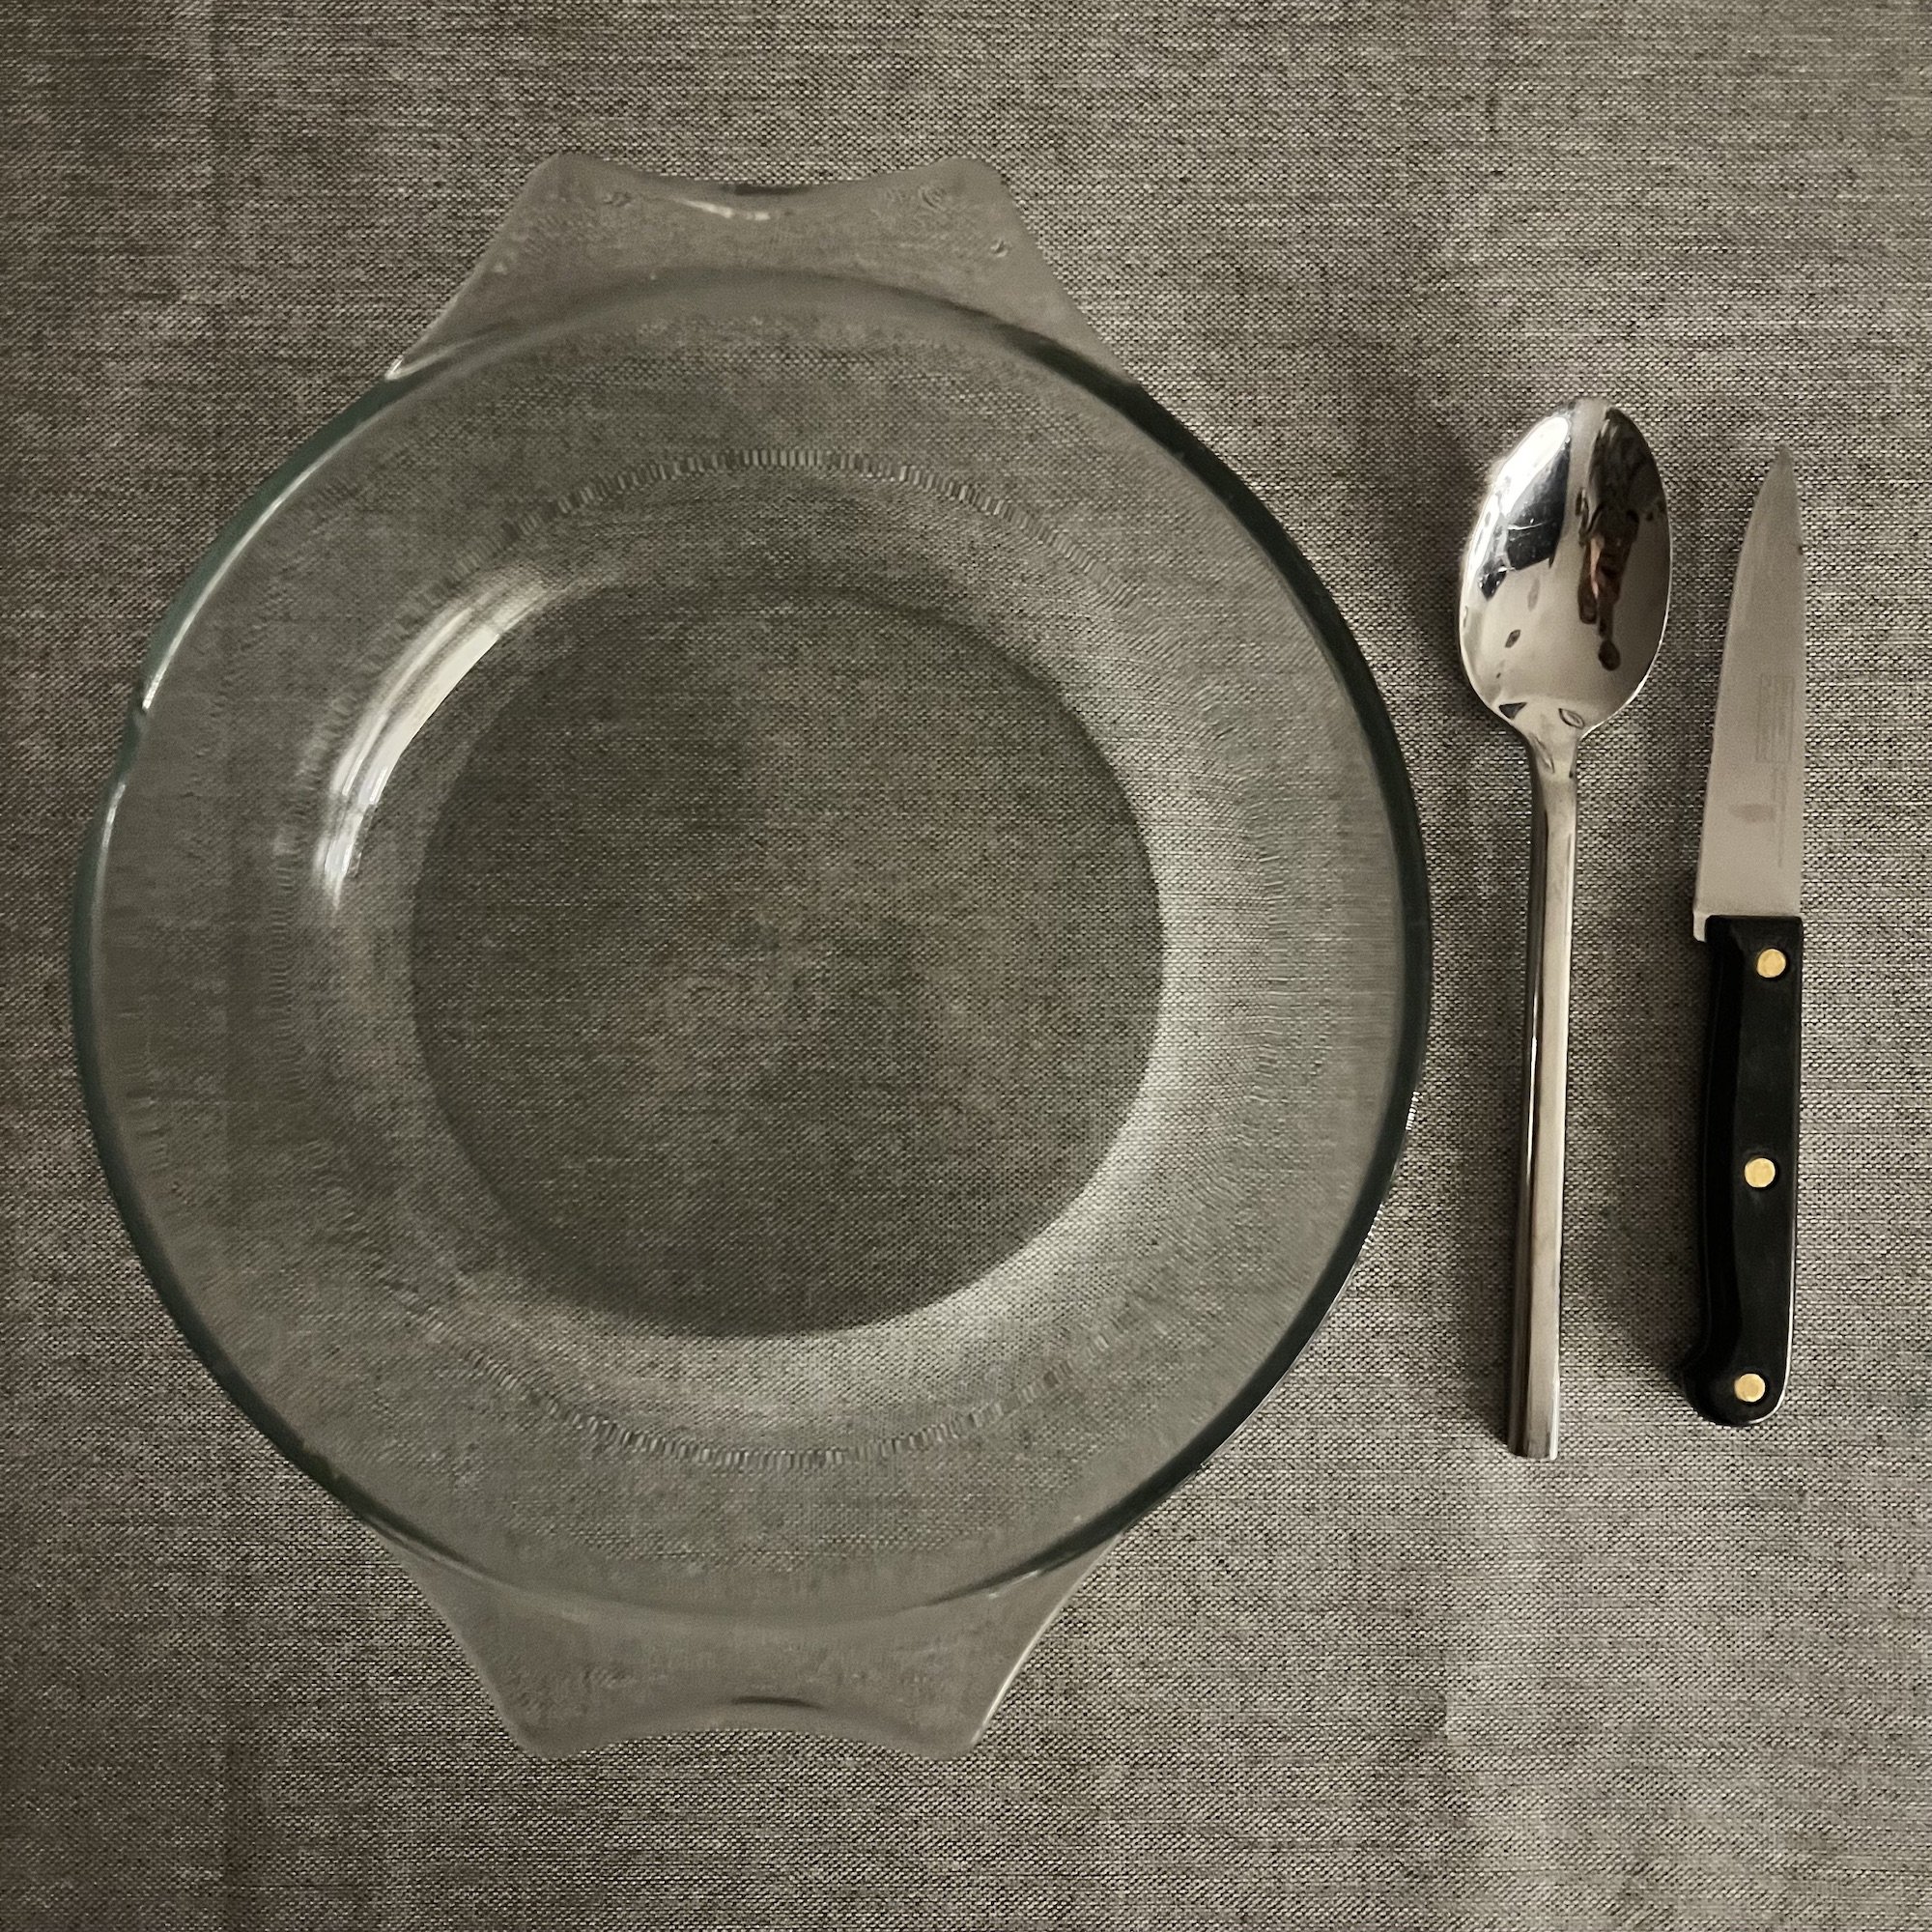
Step 2 - Set yourself up with your carving kit, a knife, a large spoon and a large bowl.
Step 3 - The first job is to cut out a ‘lid’ for your pumpkin. I like to cut out a hexagon shape for my lid. Draw the desired shape onto the top of the pumpkin. It needs to be just large enough to fit your hand and spoon to scoop out the insides. Cut at an angle, so that the lid can sit back into the hole afterwards.

Step 4 - Scoop out the insides using your hands or a spoon (or both).

Step 5 - Prepare the area to be carved; on the flattest side of the pumpkin, scrape away the inside to make the wall thinner where you are about to carve.
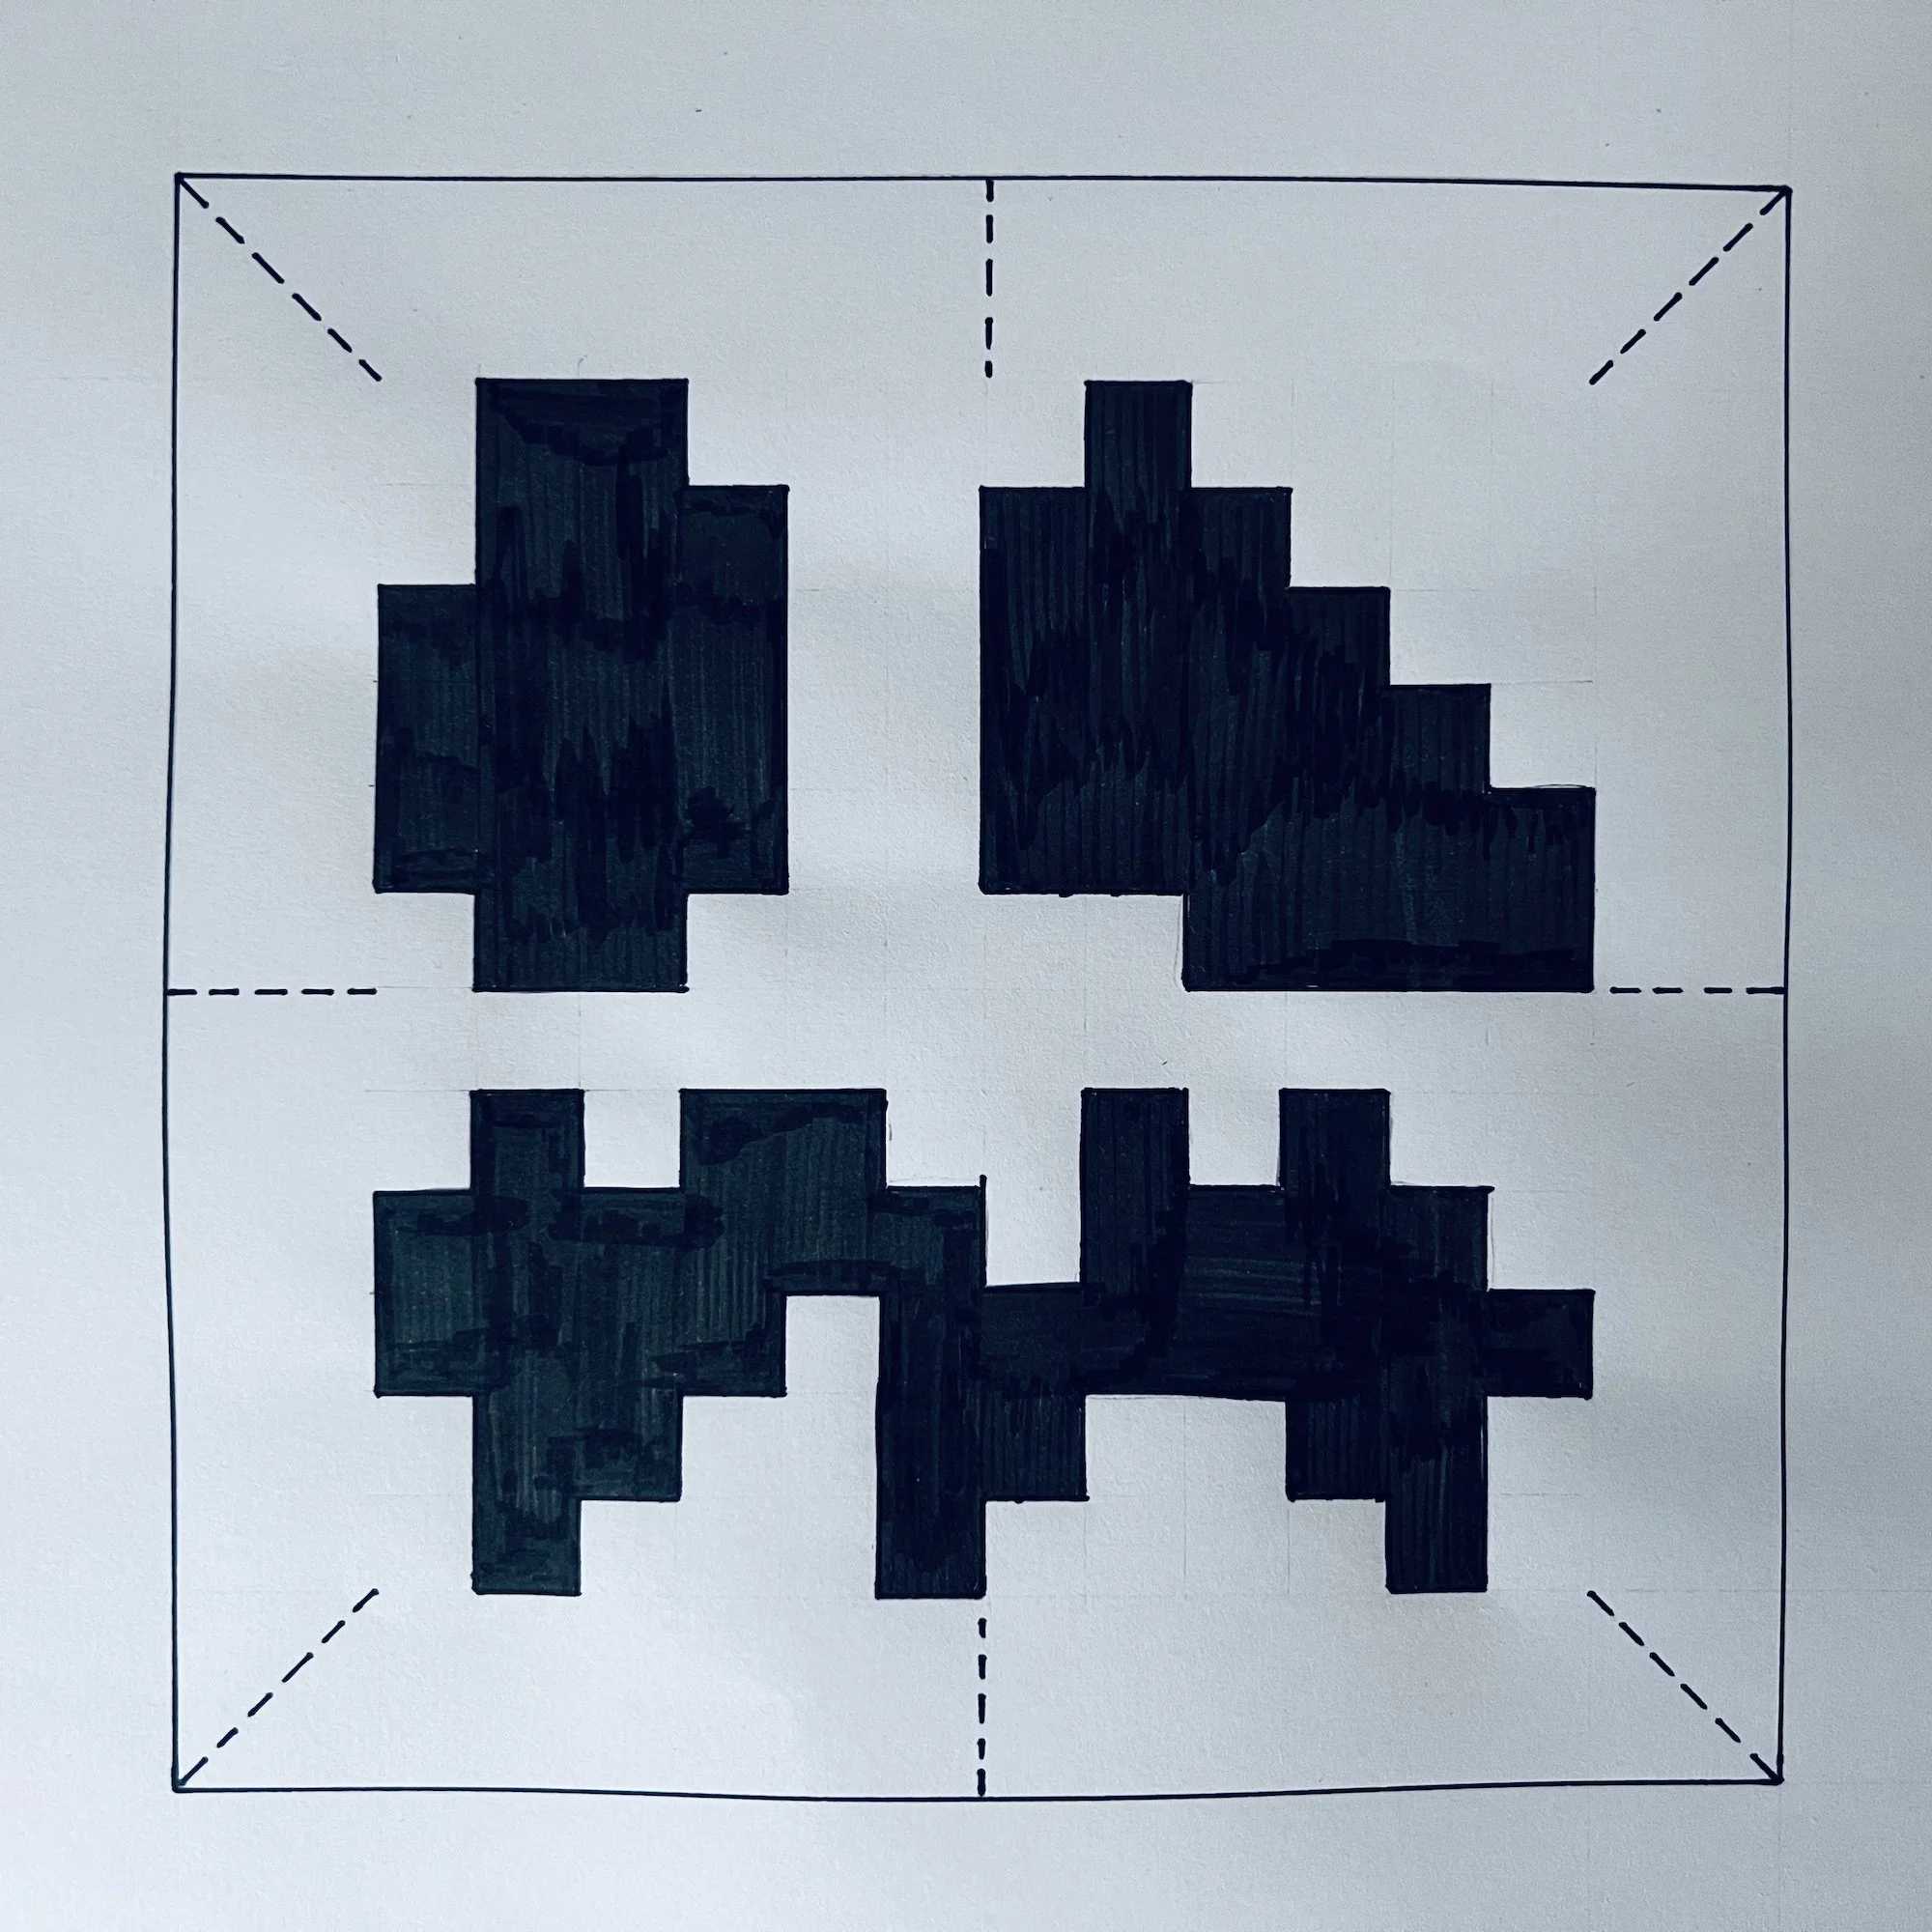
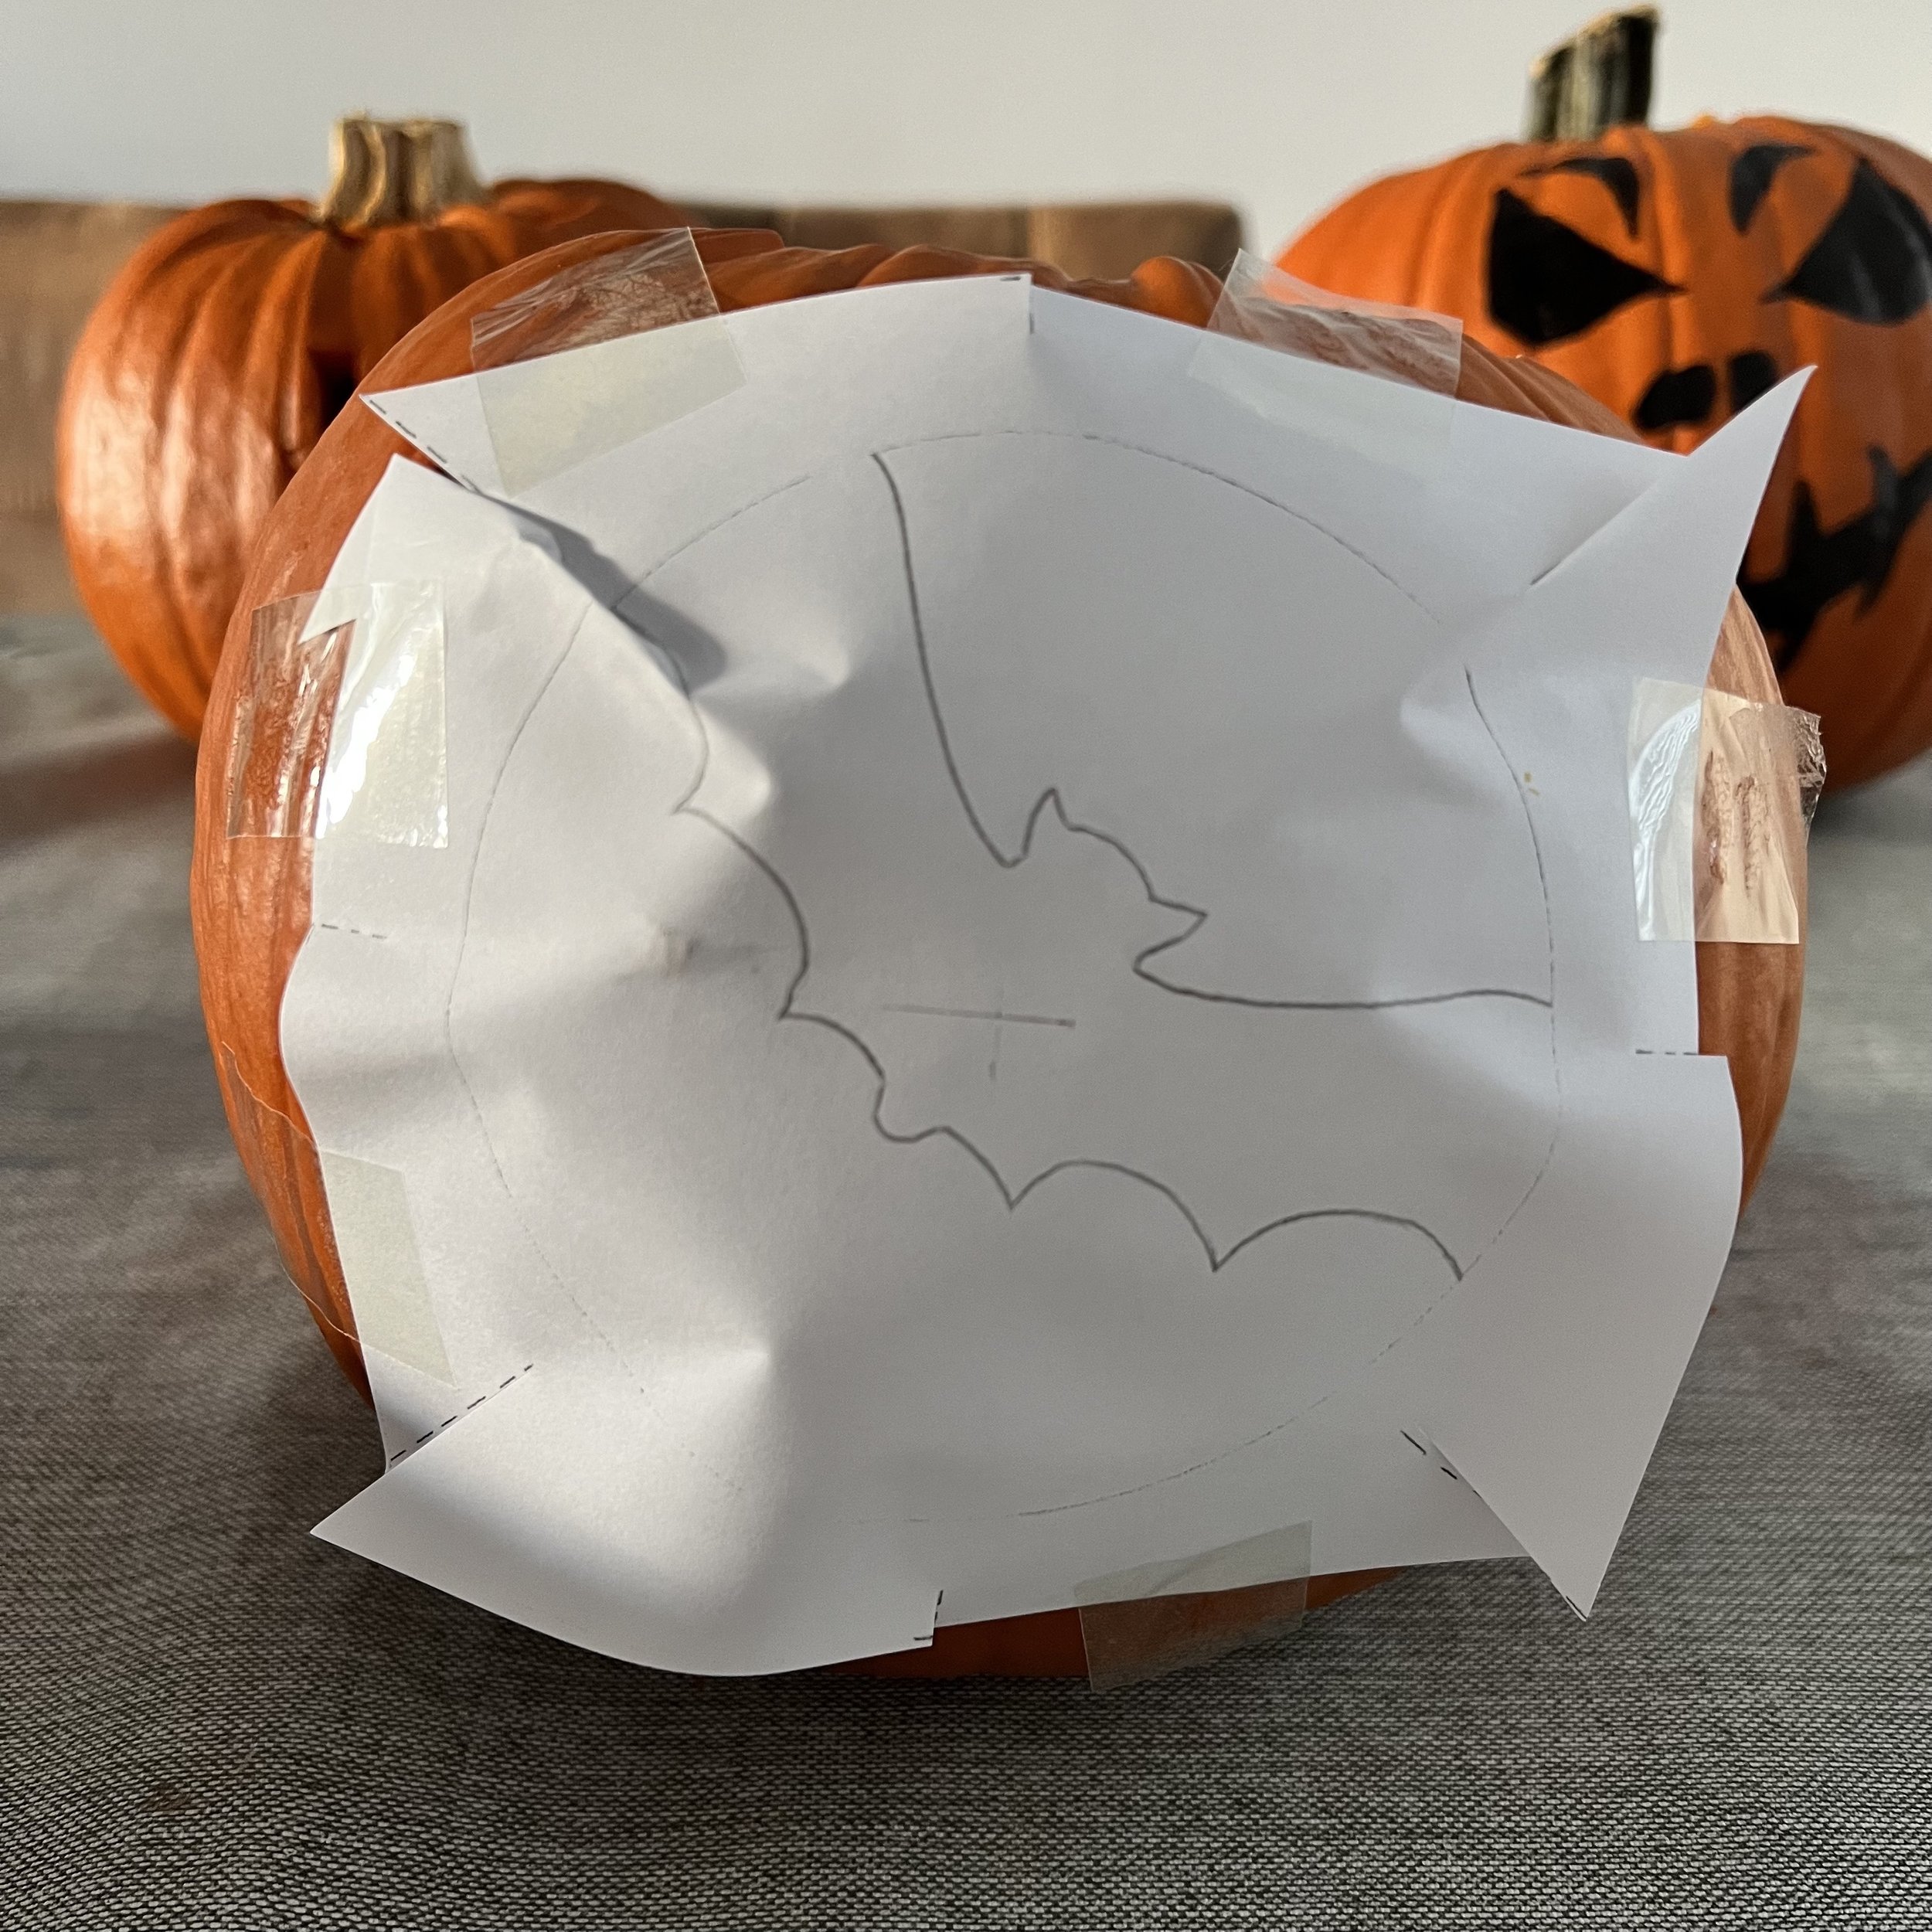
Step 6 - Print out your chosen design.
Step 7 - Cut the paper into a square around your design and cut into the corners of the square.
Step 8 - Use packaging tape (Scotch Tape or Sellotape) to stick your design to the side of the pumpkin.

NOTE: If you don’t have a printer or don’t want to use paper and sellotape, it’s possible to draw your design straight onto your pumpkin and also continue with the following steps.
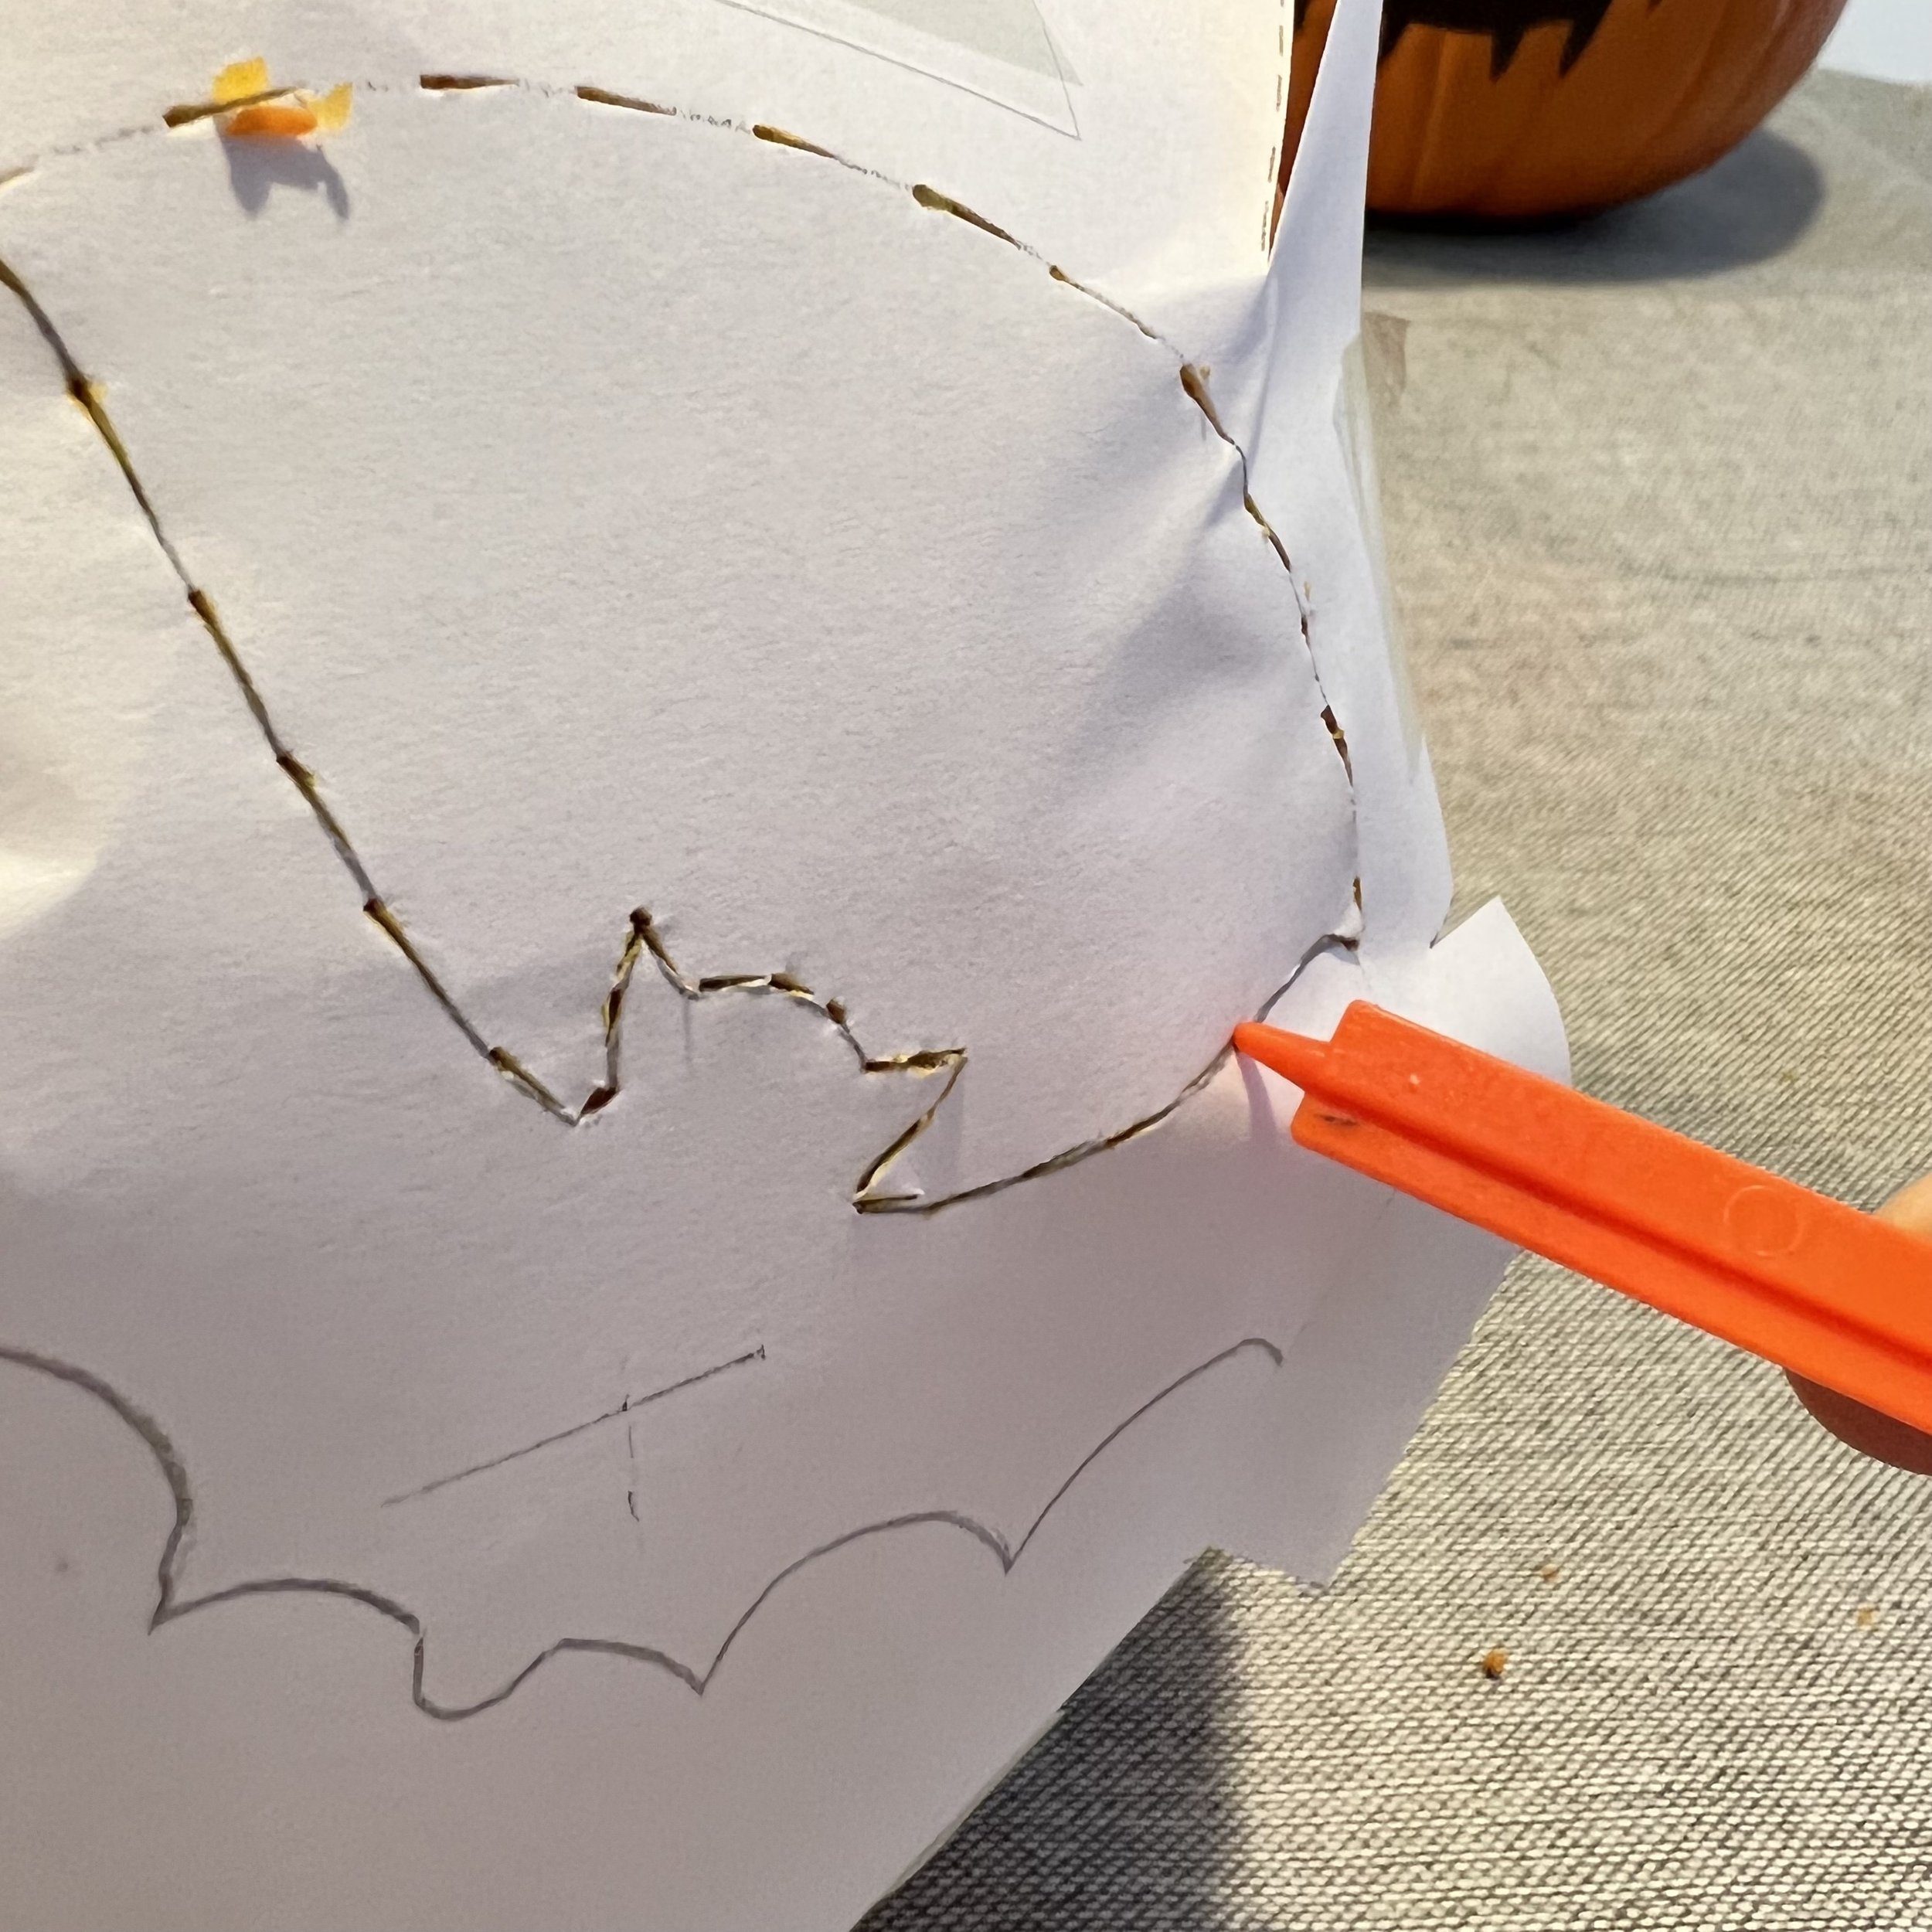
Step 9 - Most carving toolkits come with a tool that has a single point. Use this tool to punch holes all around the design, everywhere you will need to carve.
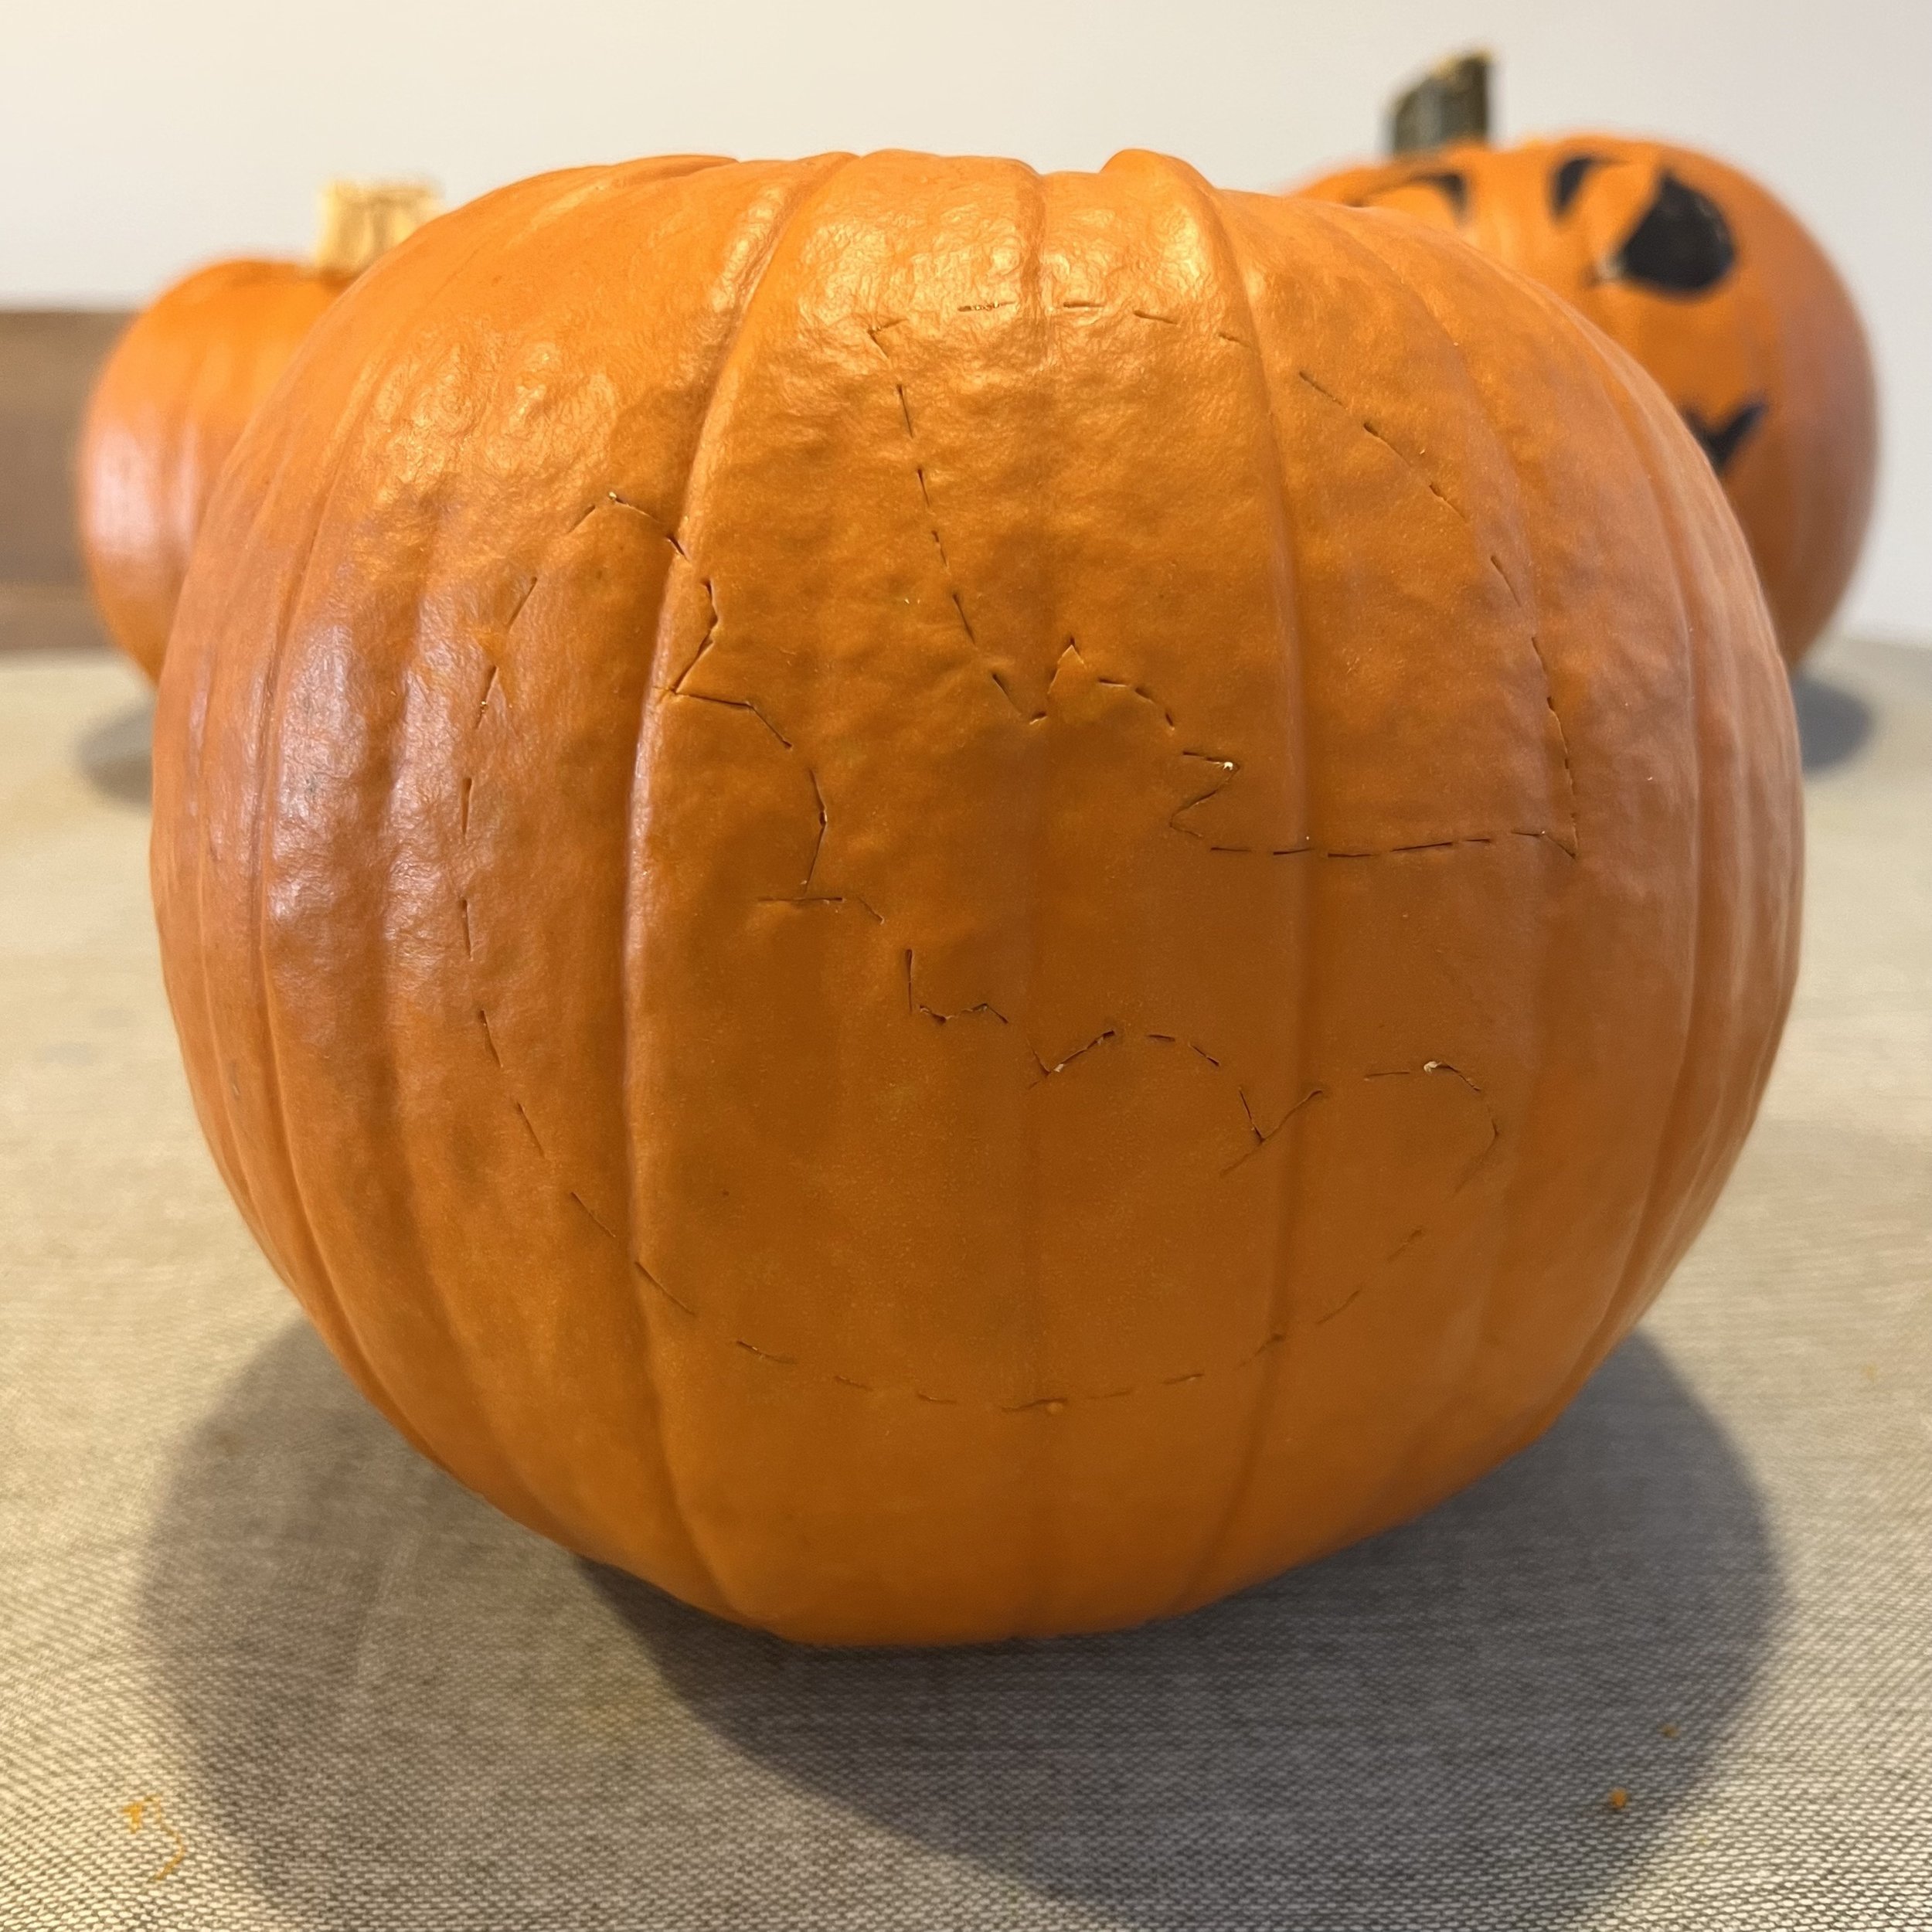
Step 10 - Once you have all your holes punched you should be able to remove the paper design.

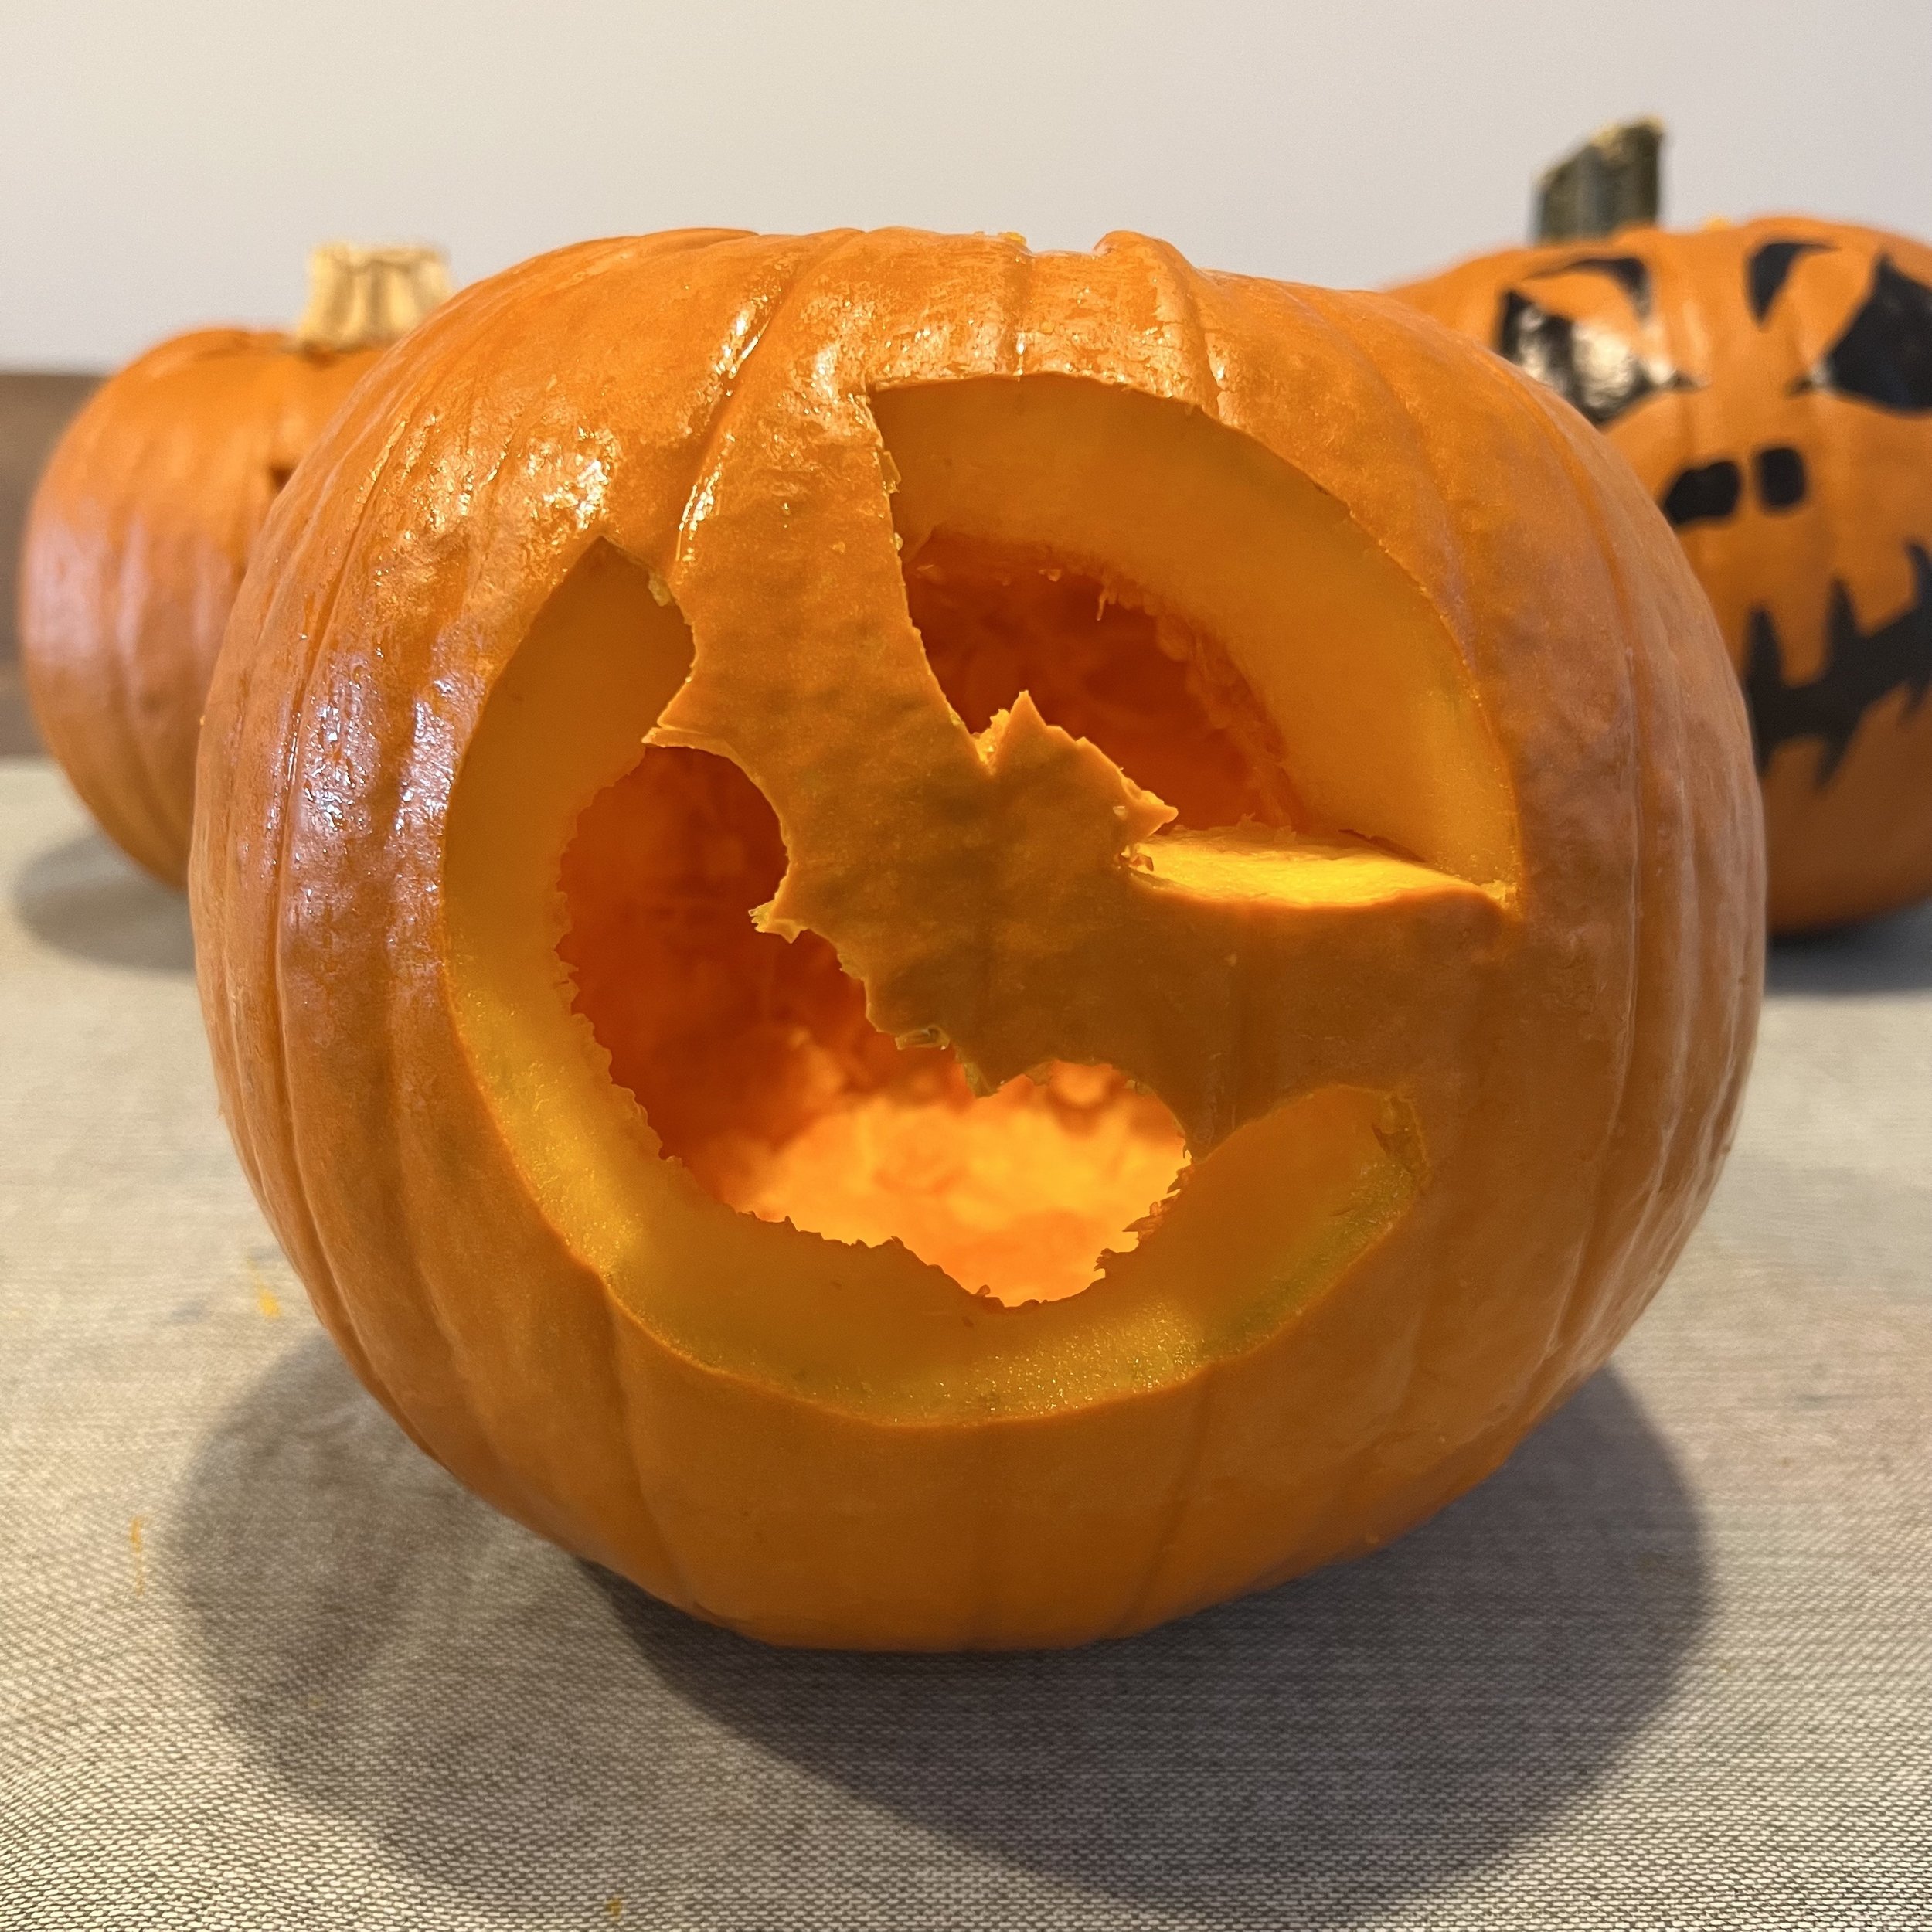
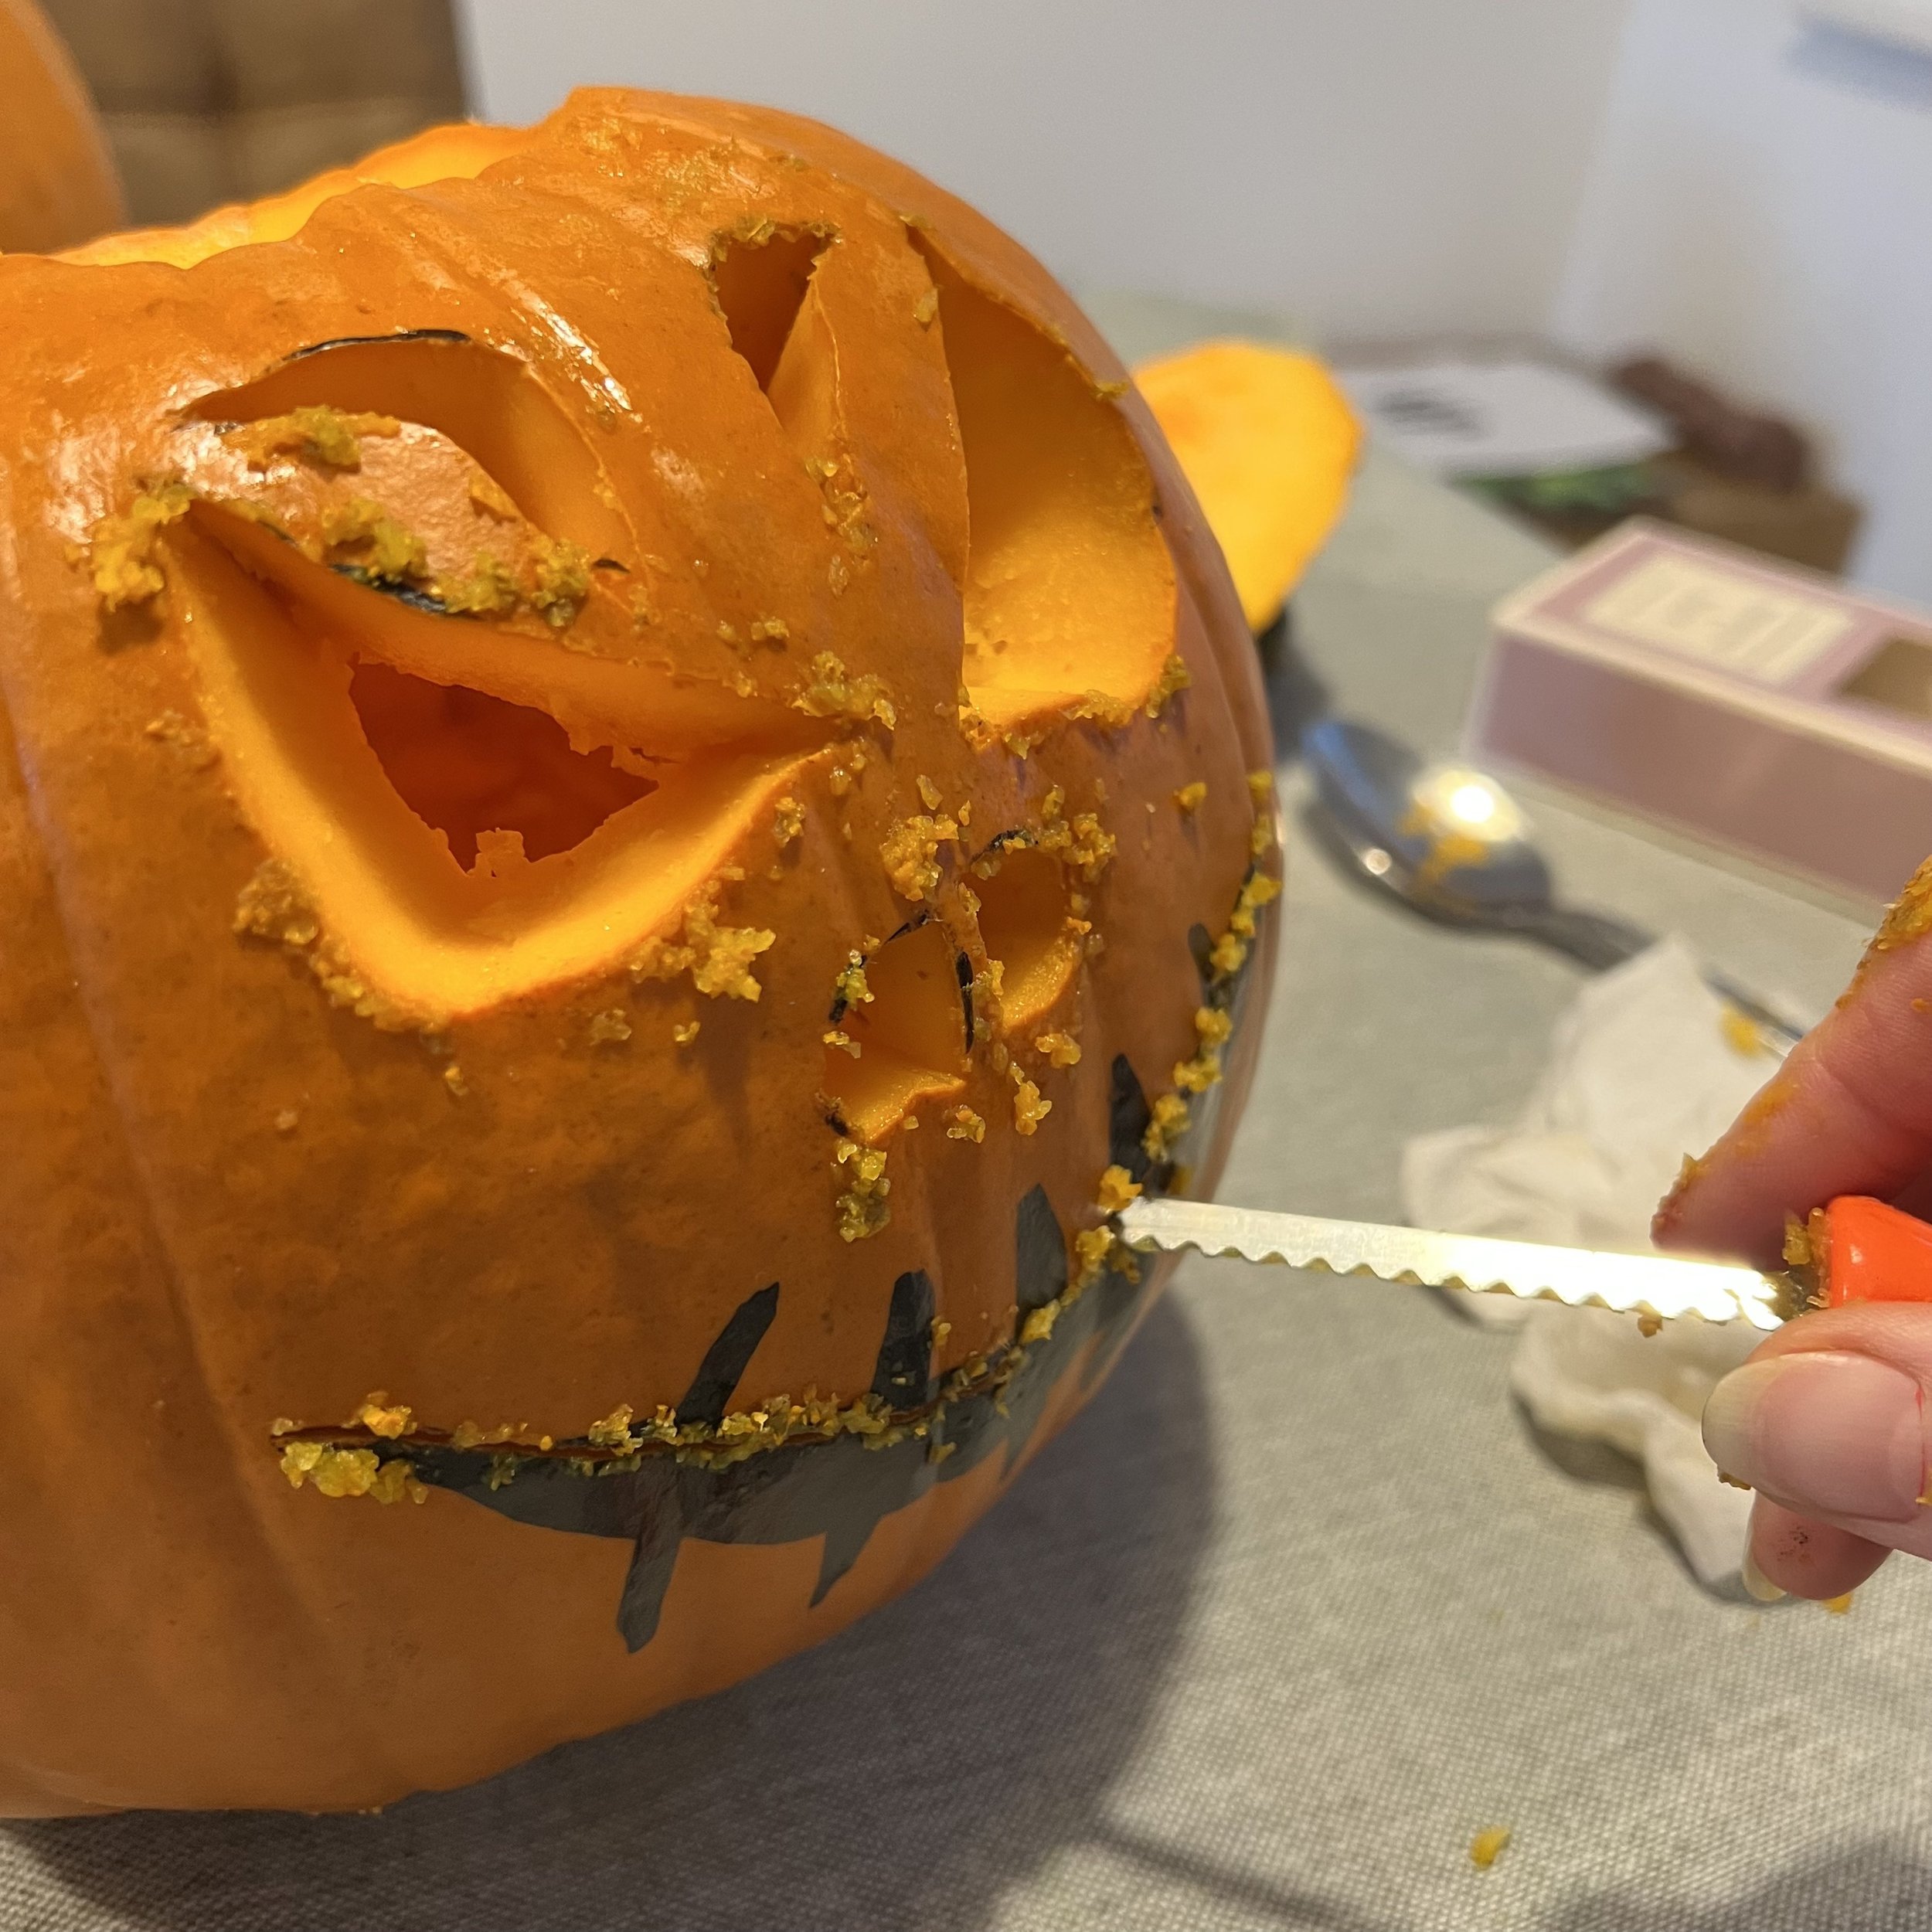
Step 11 - Now take the carving tool and carve your design using the holes as a guide.

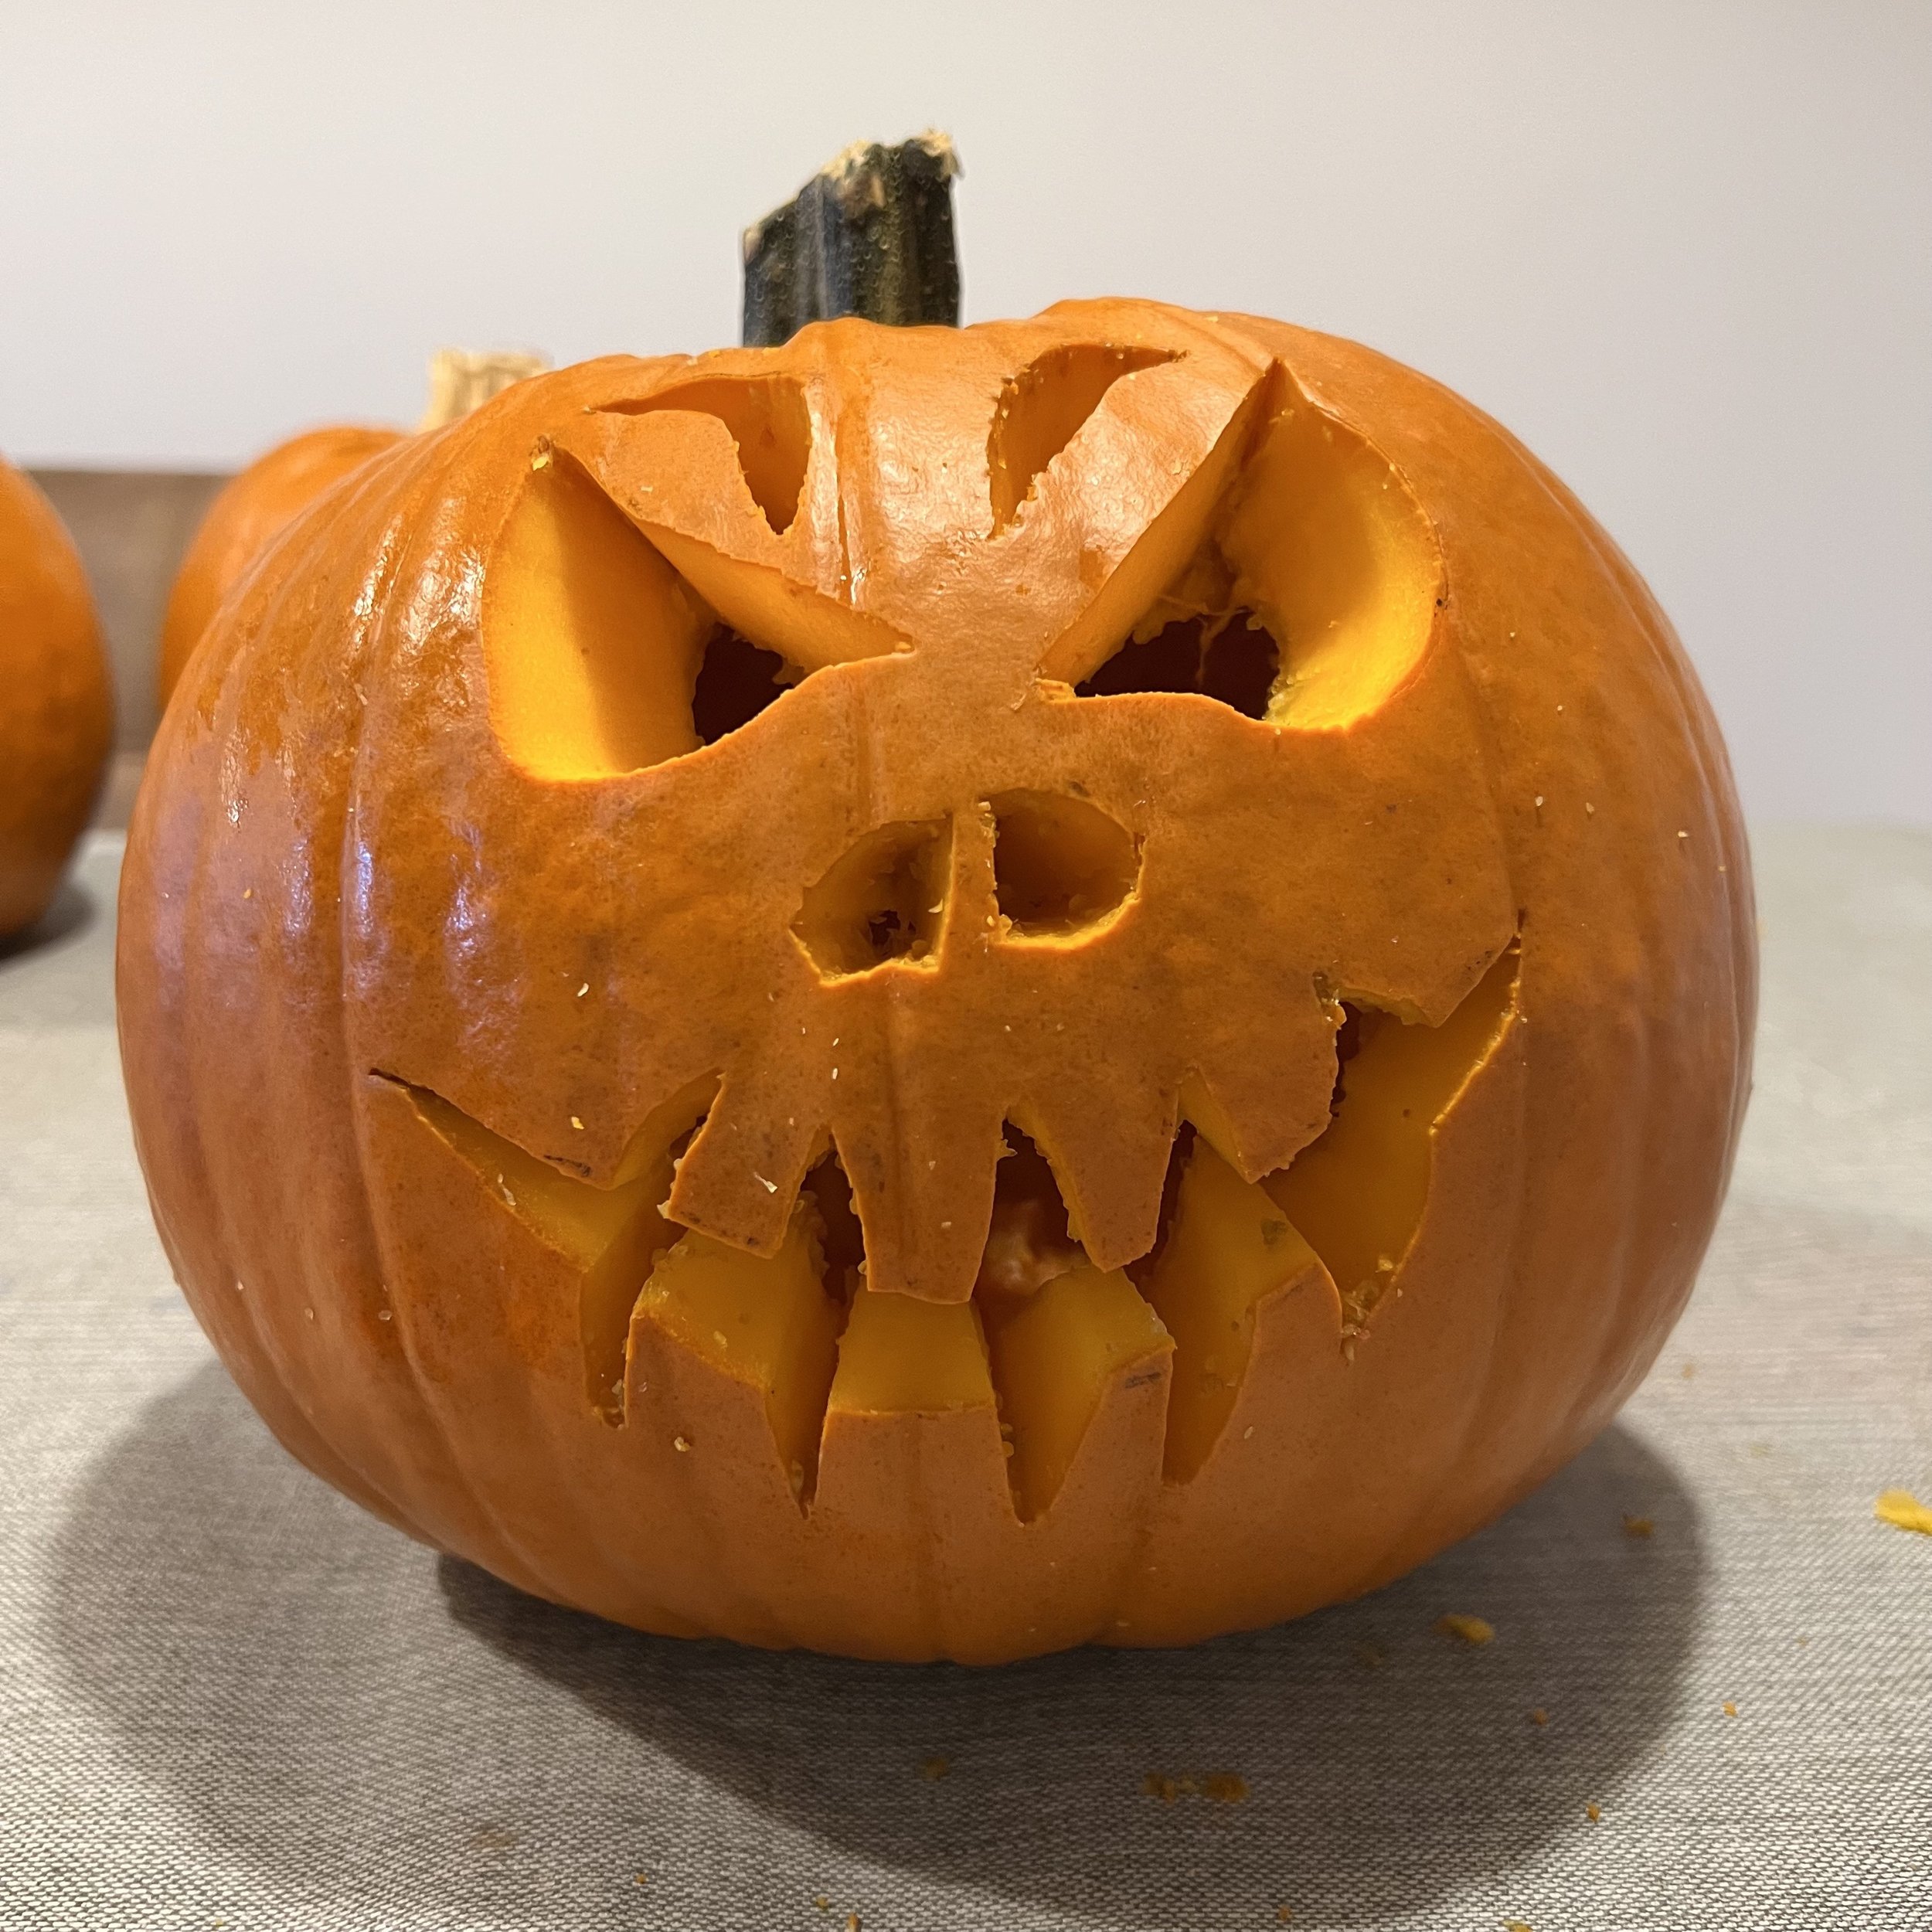
Step 12 - Add an LED tea light and you have your carved pumpkin!

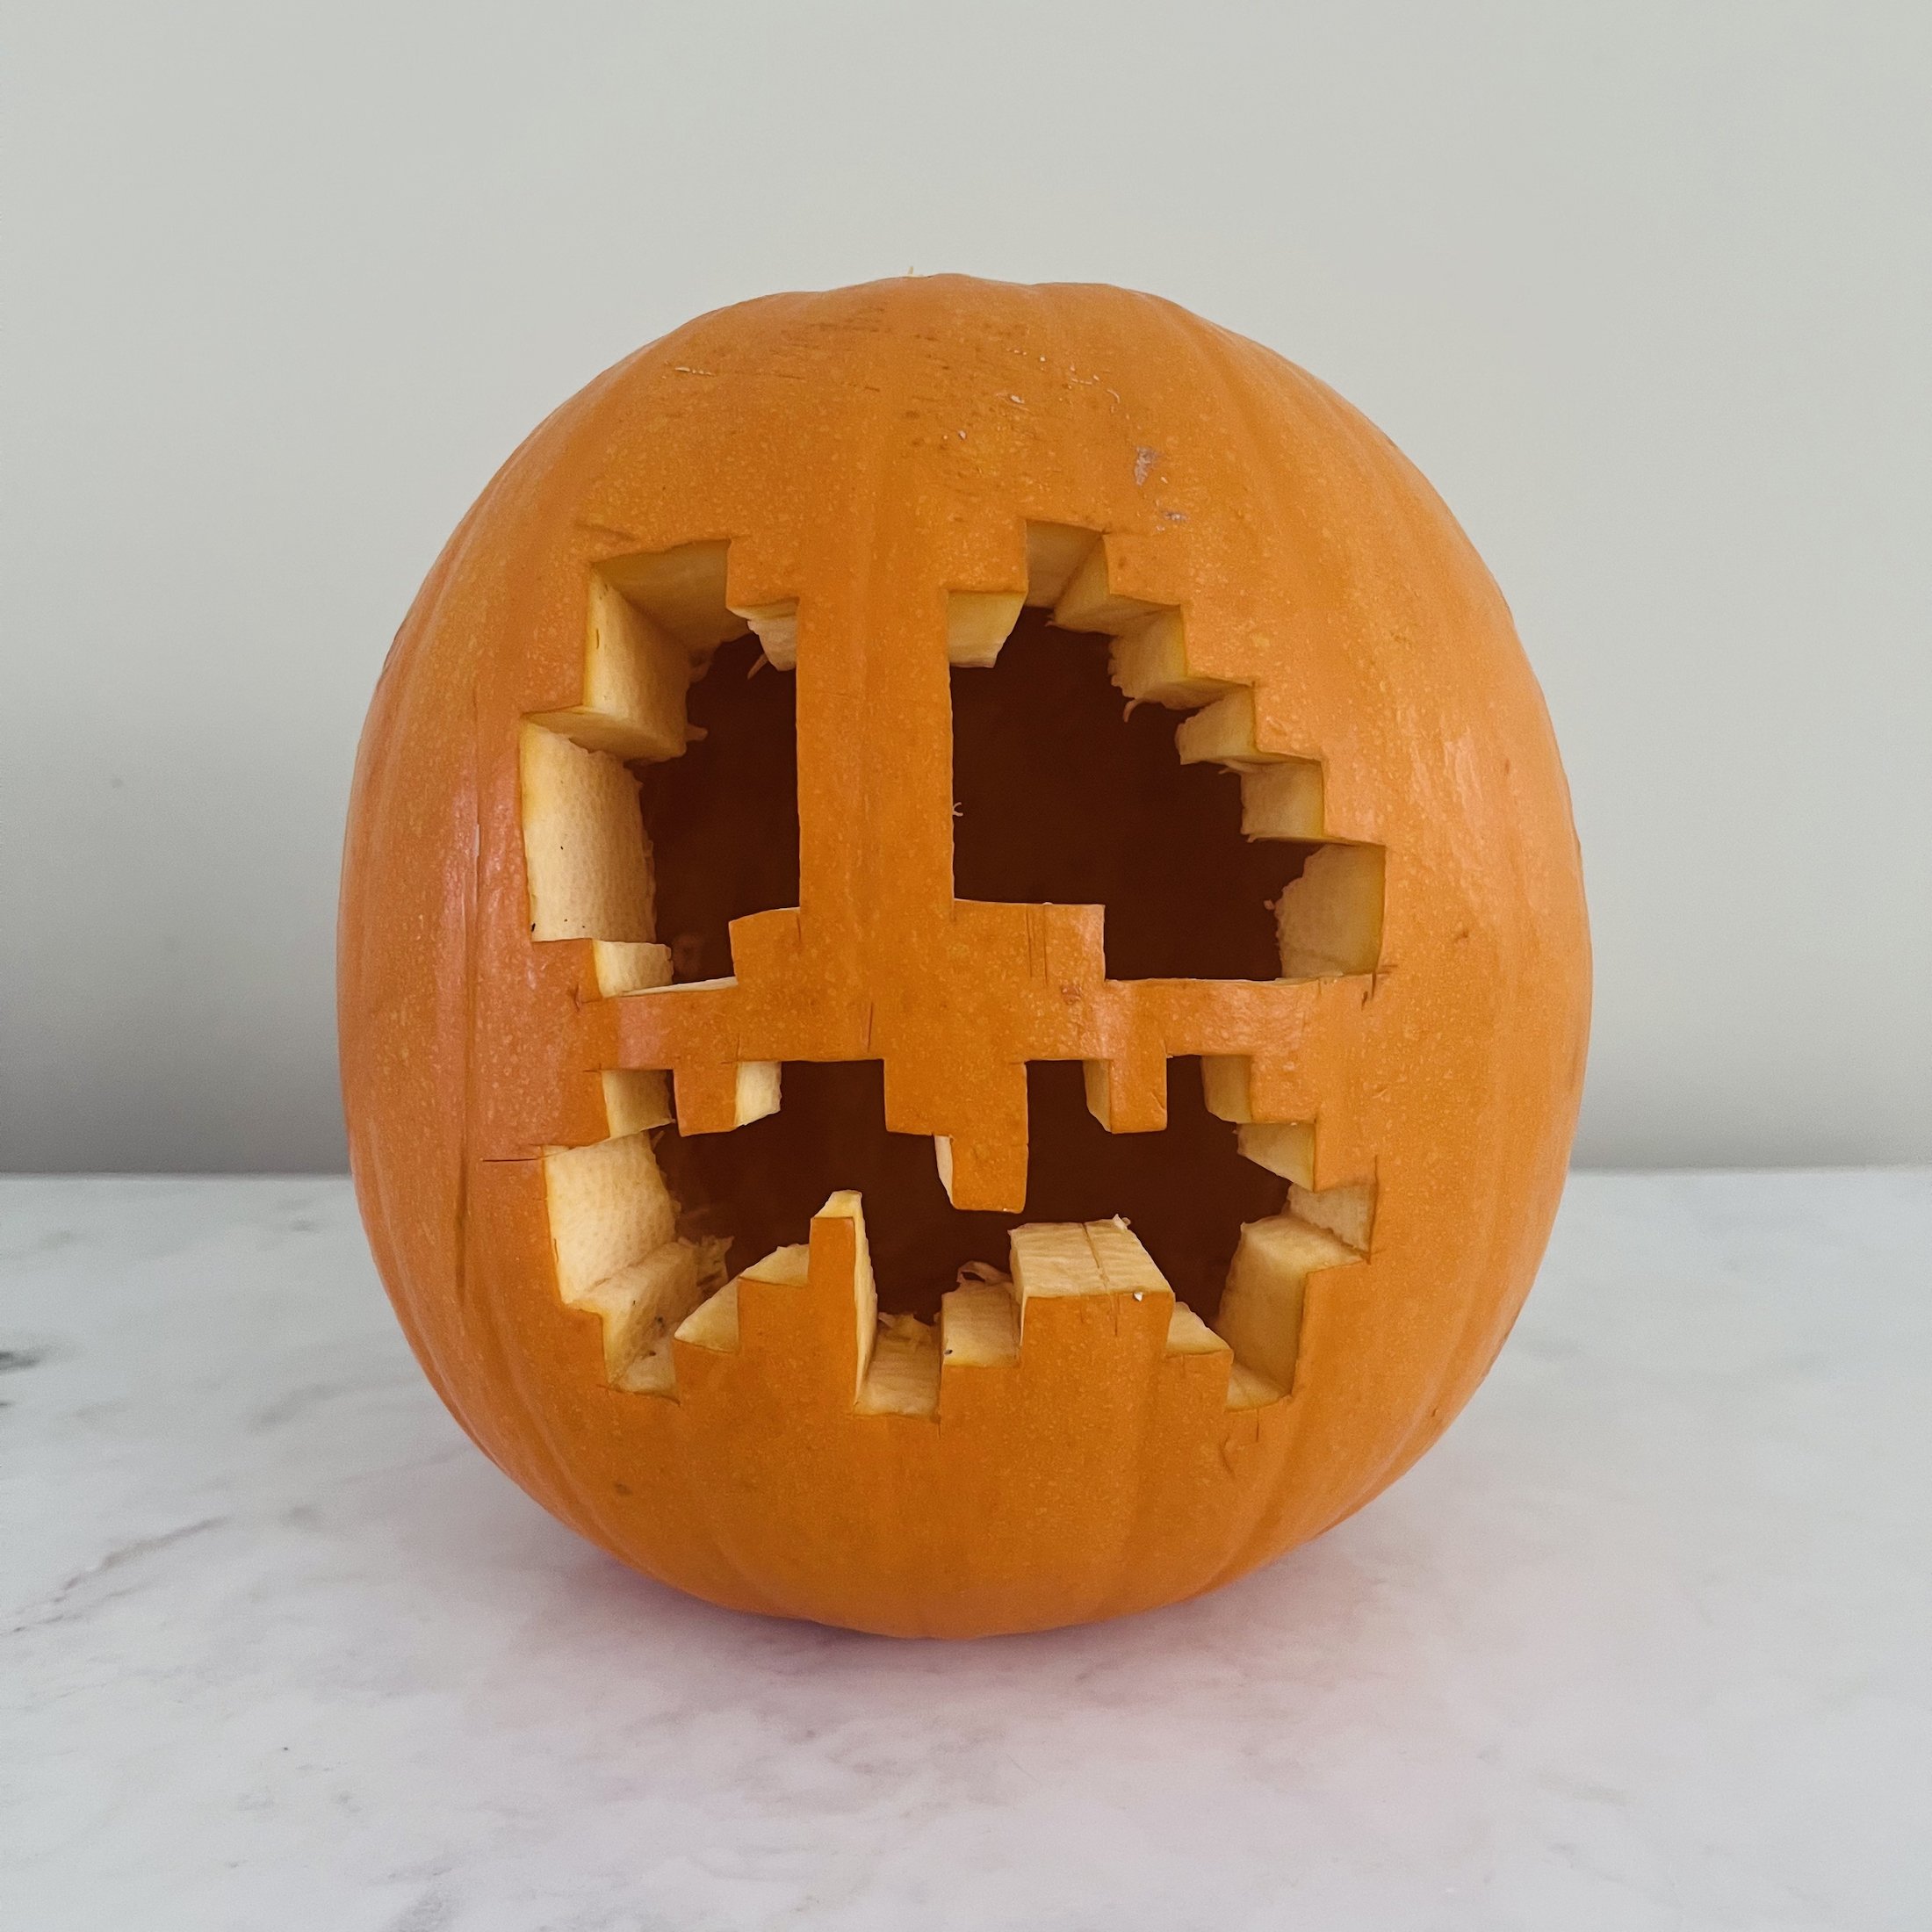
Here is the same process using some other pumpkin templates.
Displaying Your Carved Pumpkin
You've put in the work designing and carving your jack-o'-lantern masterpiece. Now it's time to show it off! Use these tips to make your pumpkin shine:
Lighting Options
Proper lighting creates a spooky or festive ambiance. Consider:
Classic candle - provides flickering effect but risks fire.
LED light - longer-lasting, cooler, and safer but static illumination.
Other light sources - flashlights, bike lights, glow sticks, spotlights.
Use caution with any open flames. LEDs are great for unattended or kid-friendly displays.
Indoor vs. Outdoor Display
For outdoor displays:
Seal carved openings with plastic for weather protection.
Consider wire mesh screens to prevent critter destruction.
Keep pumpkins under a roof edge or porch if possible.
For creative indoor displays:
Group pumpkins on the stairs, mantel, or tablescape.
Surround with fall décor accents and decorative lighting.
Showcase your carved creations proudly - you worked hard for the perfect jack-o'-lantern!

I hope you have found this guide helpful. If you have carved a pumpkin, I would love to see it! You can email me at sarahransomeart@gmail.com.
If you enjoyed this blog post, you might like…