Craft ideas for kids - Halloween Suncatchers! (2024)

Activity Duration: 1.5 - 3 hours
Halloween suncatchers are a fun and creative fall craft that kids of all ages enjoy making. These decorative pieces catch sunlight streaming through windows and cast rainbow prisms or silhouette shapes around a room.
Suncatchers have a long history as a folk art tradition. Colourful stained glass suncatchers became popular Victorian crafts during the late 1800s. Since then, simplified kid-friendly suncatchers made from tissue paper, plastic sheets, and other translucent materials have become a classic children's craft activity.
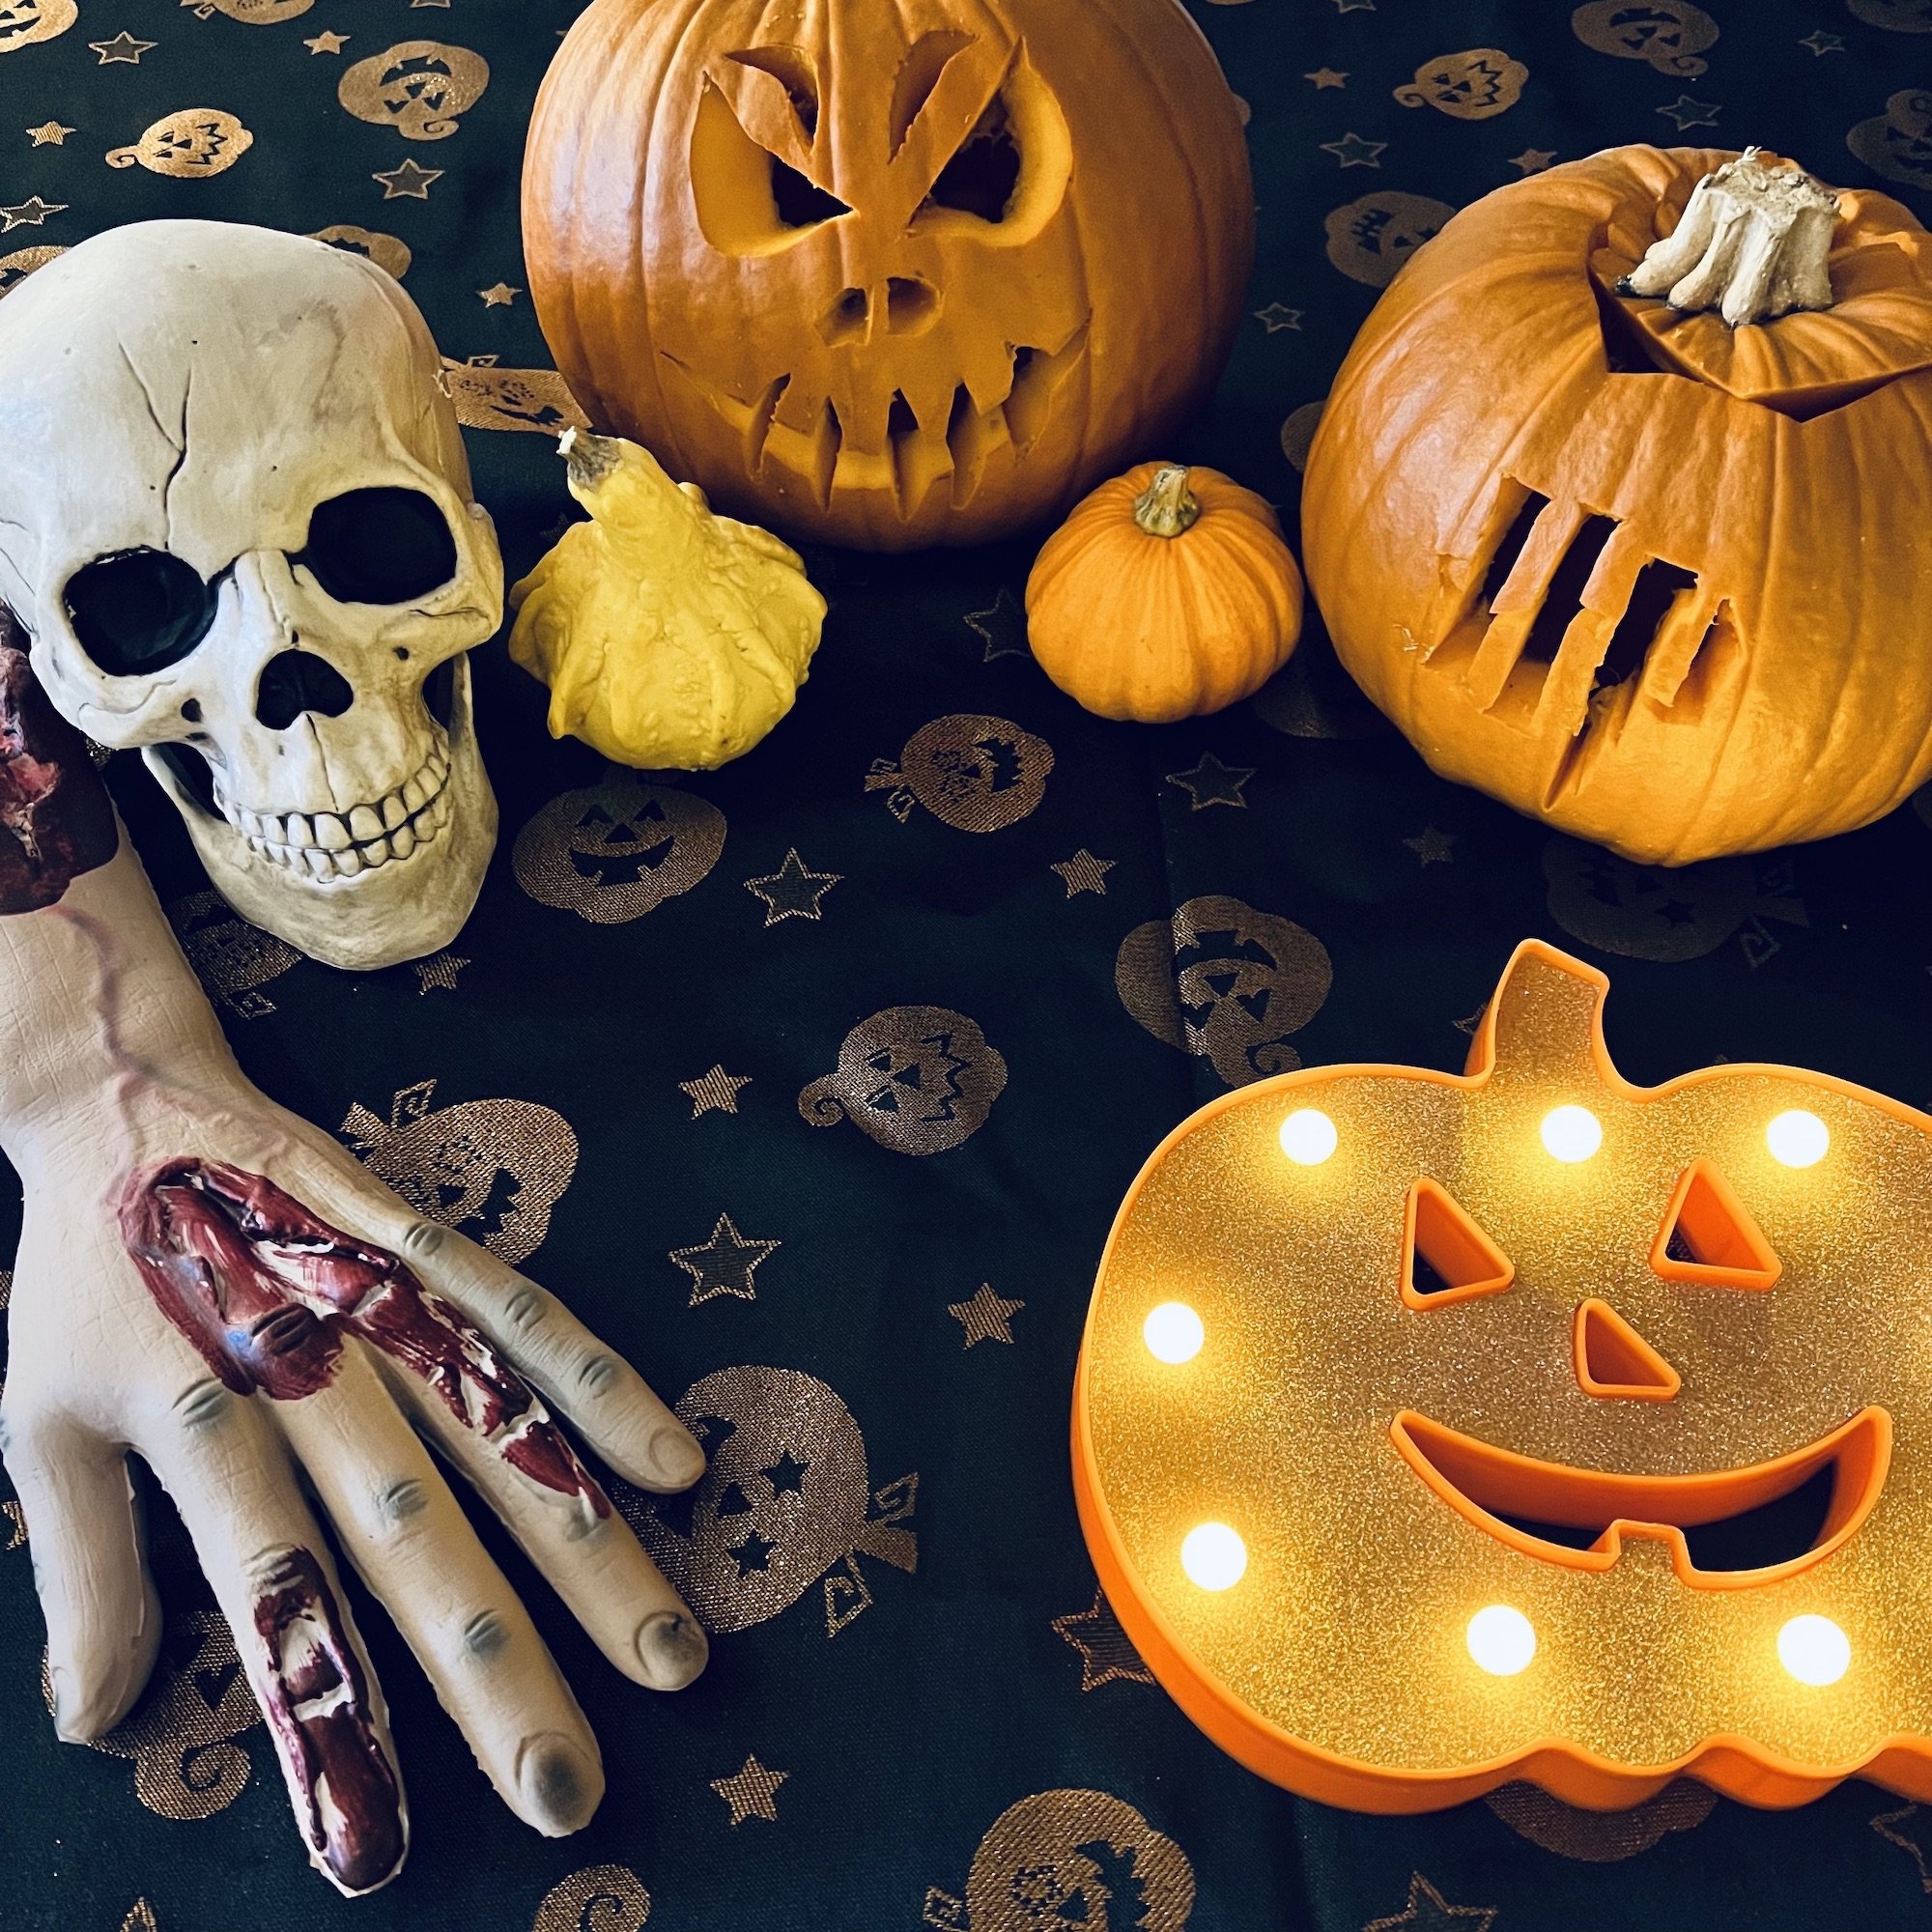
Around Halloween, suncatchers take on a spooky vibe with jack-o-lanterns, black cats, ghosts, and other symbols of the season. They make great decorative accents for windows, walls, and outdoor spaces.
Halloween suncatchers helps develop fine motor skills as children carefully cut, assemble, and shape their designs. The creative process stimulates imagination and problem-solving abilities.
With Halloween coming up, now is the perfect time for you to try making haunted suncatchers. In this article I have set out what equipment you need and a step-by-step guide to follow to make your own Halloween suncatchers.
Table of Contents
The equipment needed to make a Halloween suncatcher
Instructions - How to create a Halloween suncatcher
The equipment needed to make a Halloween suncatcher

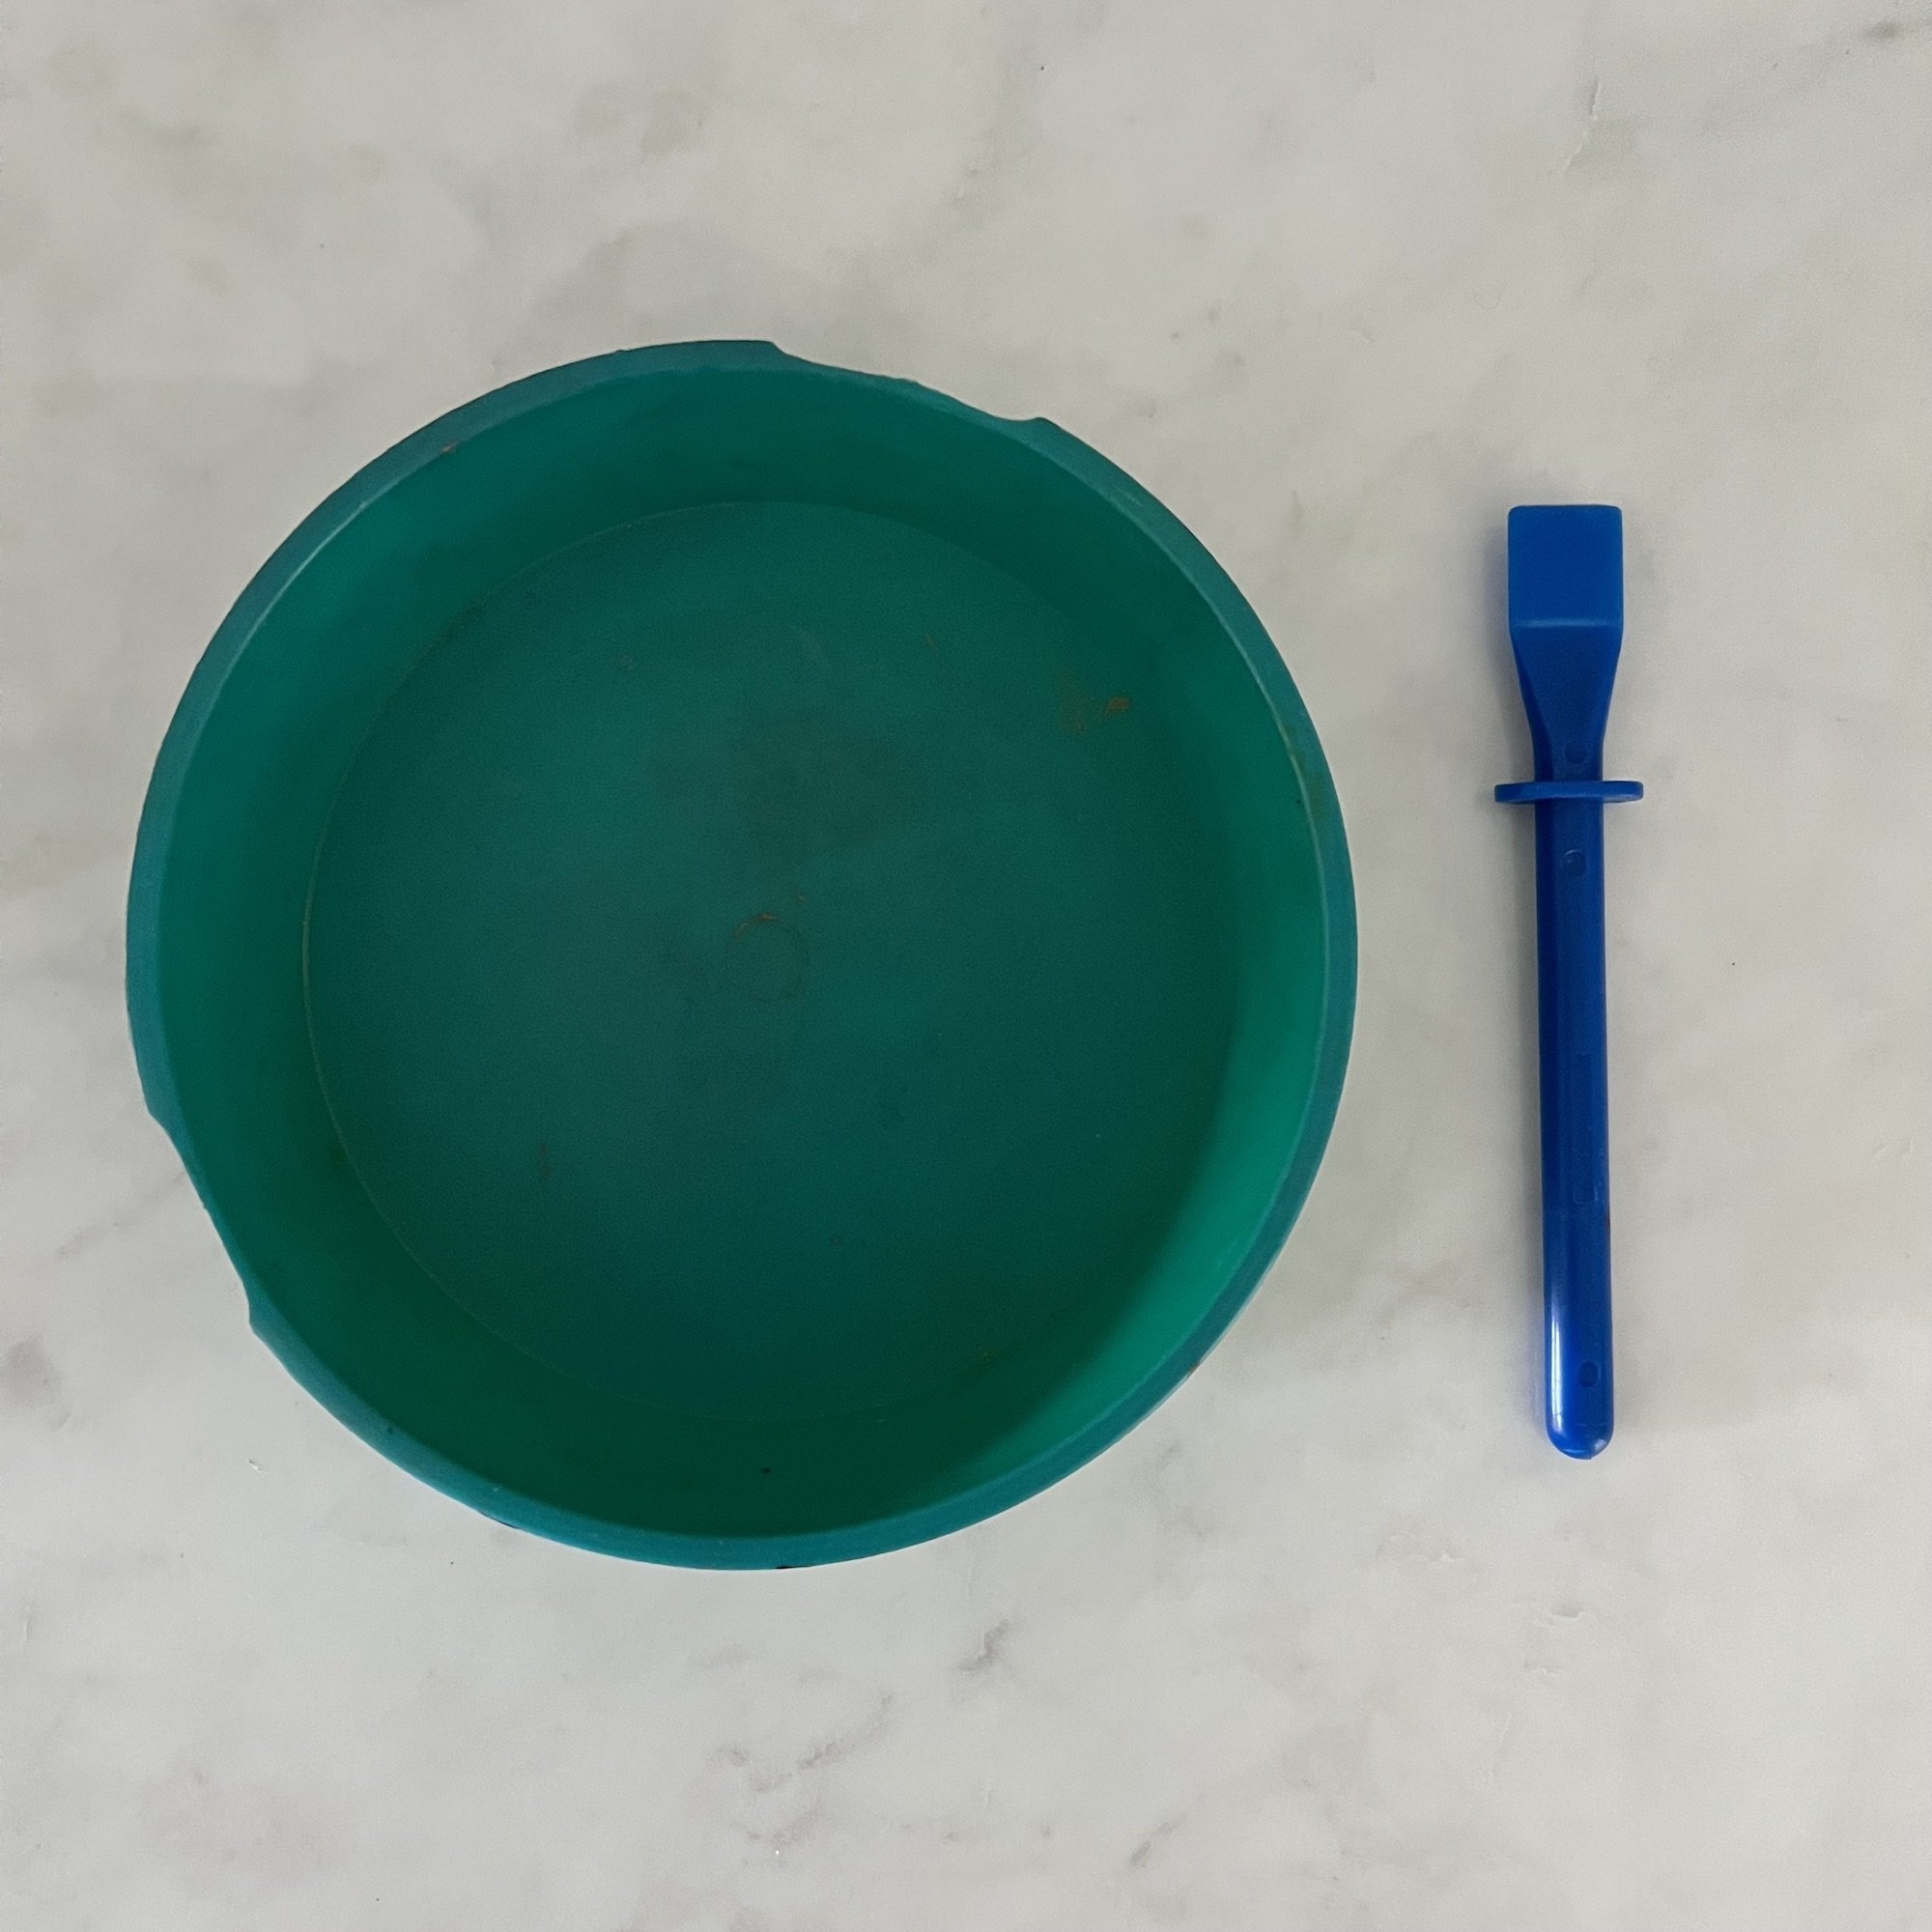
An apron
An old tablecloth/newspaper
A pencil
Scissors
Black card
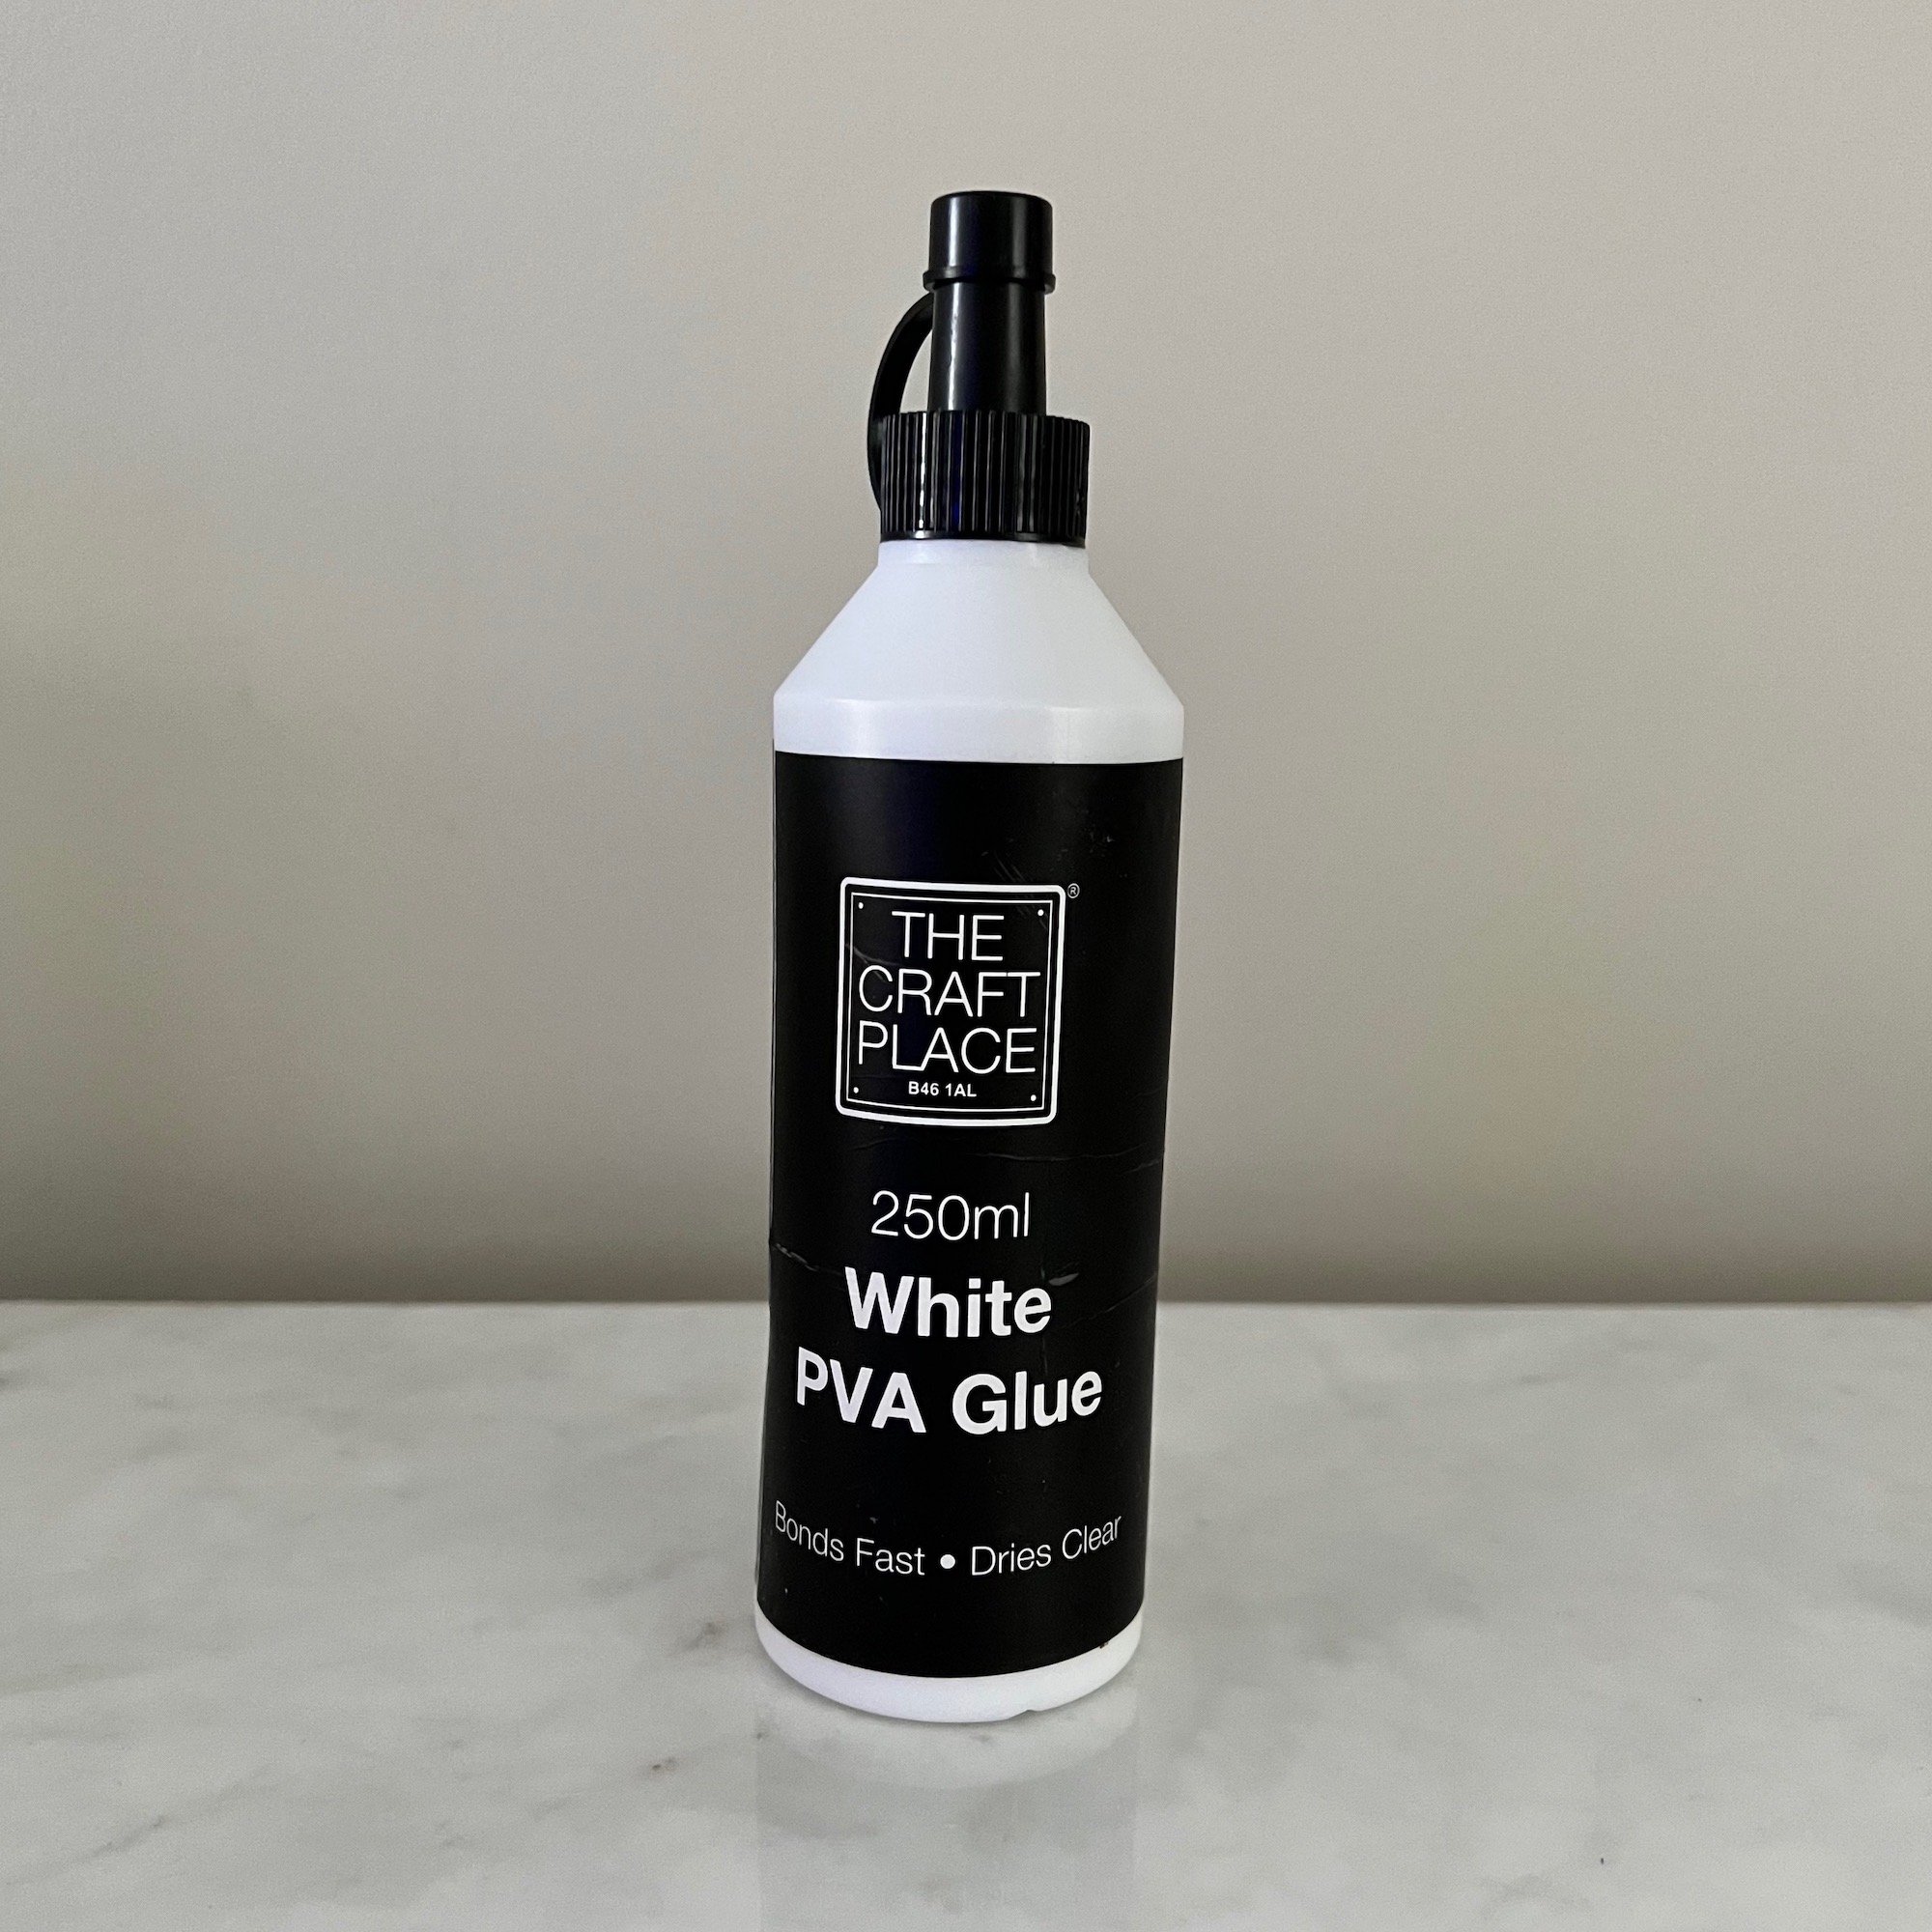
PVA glue
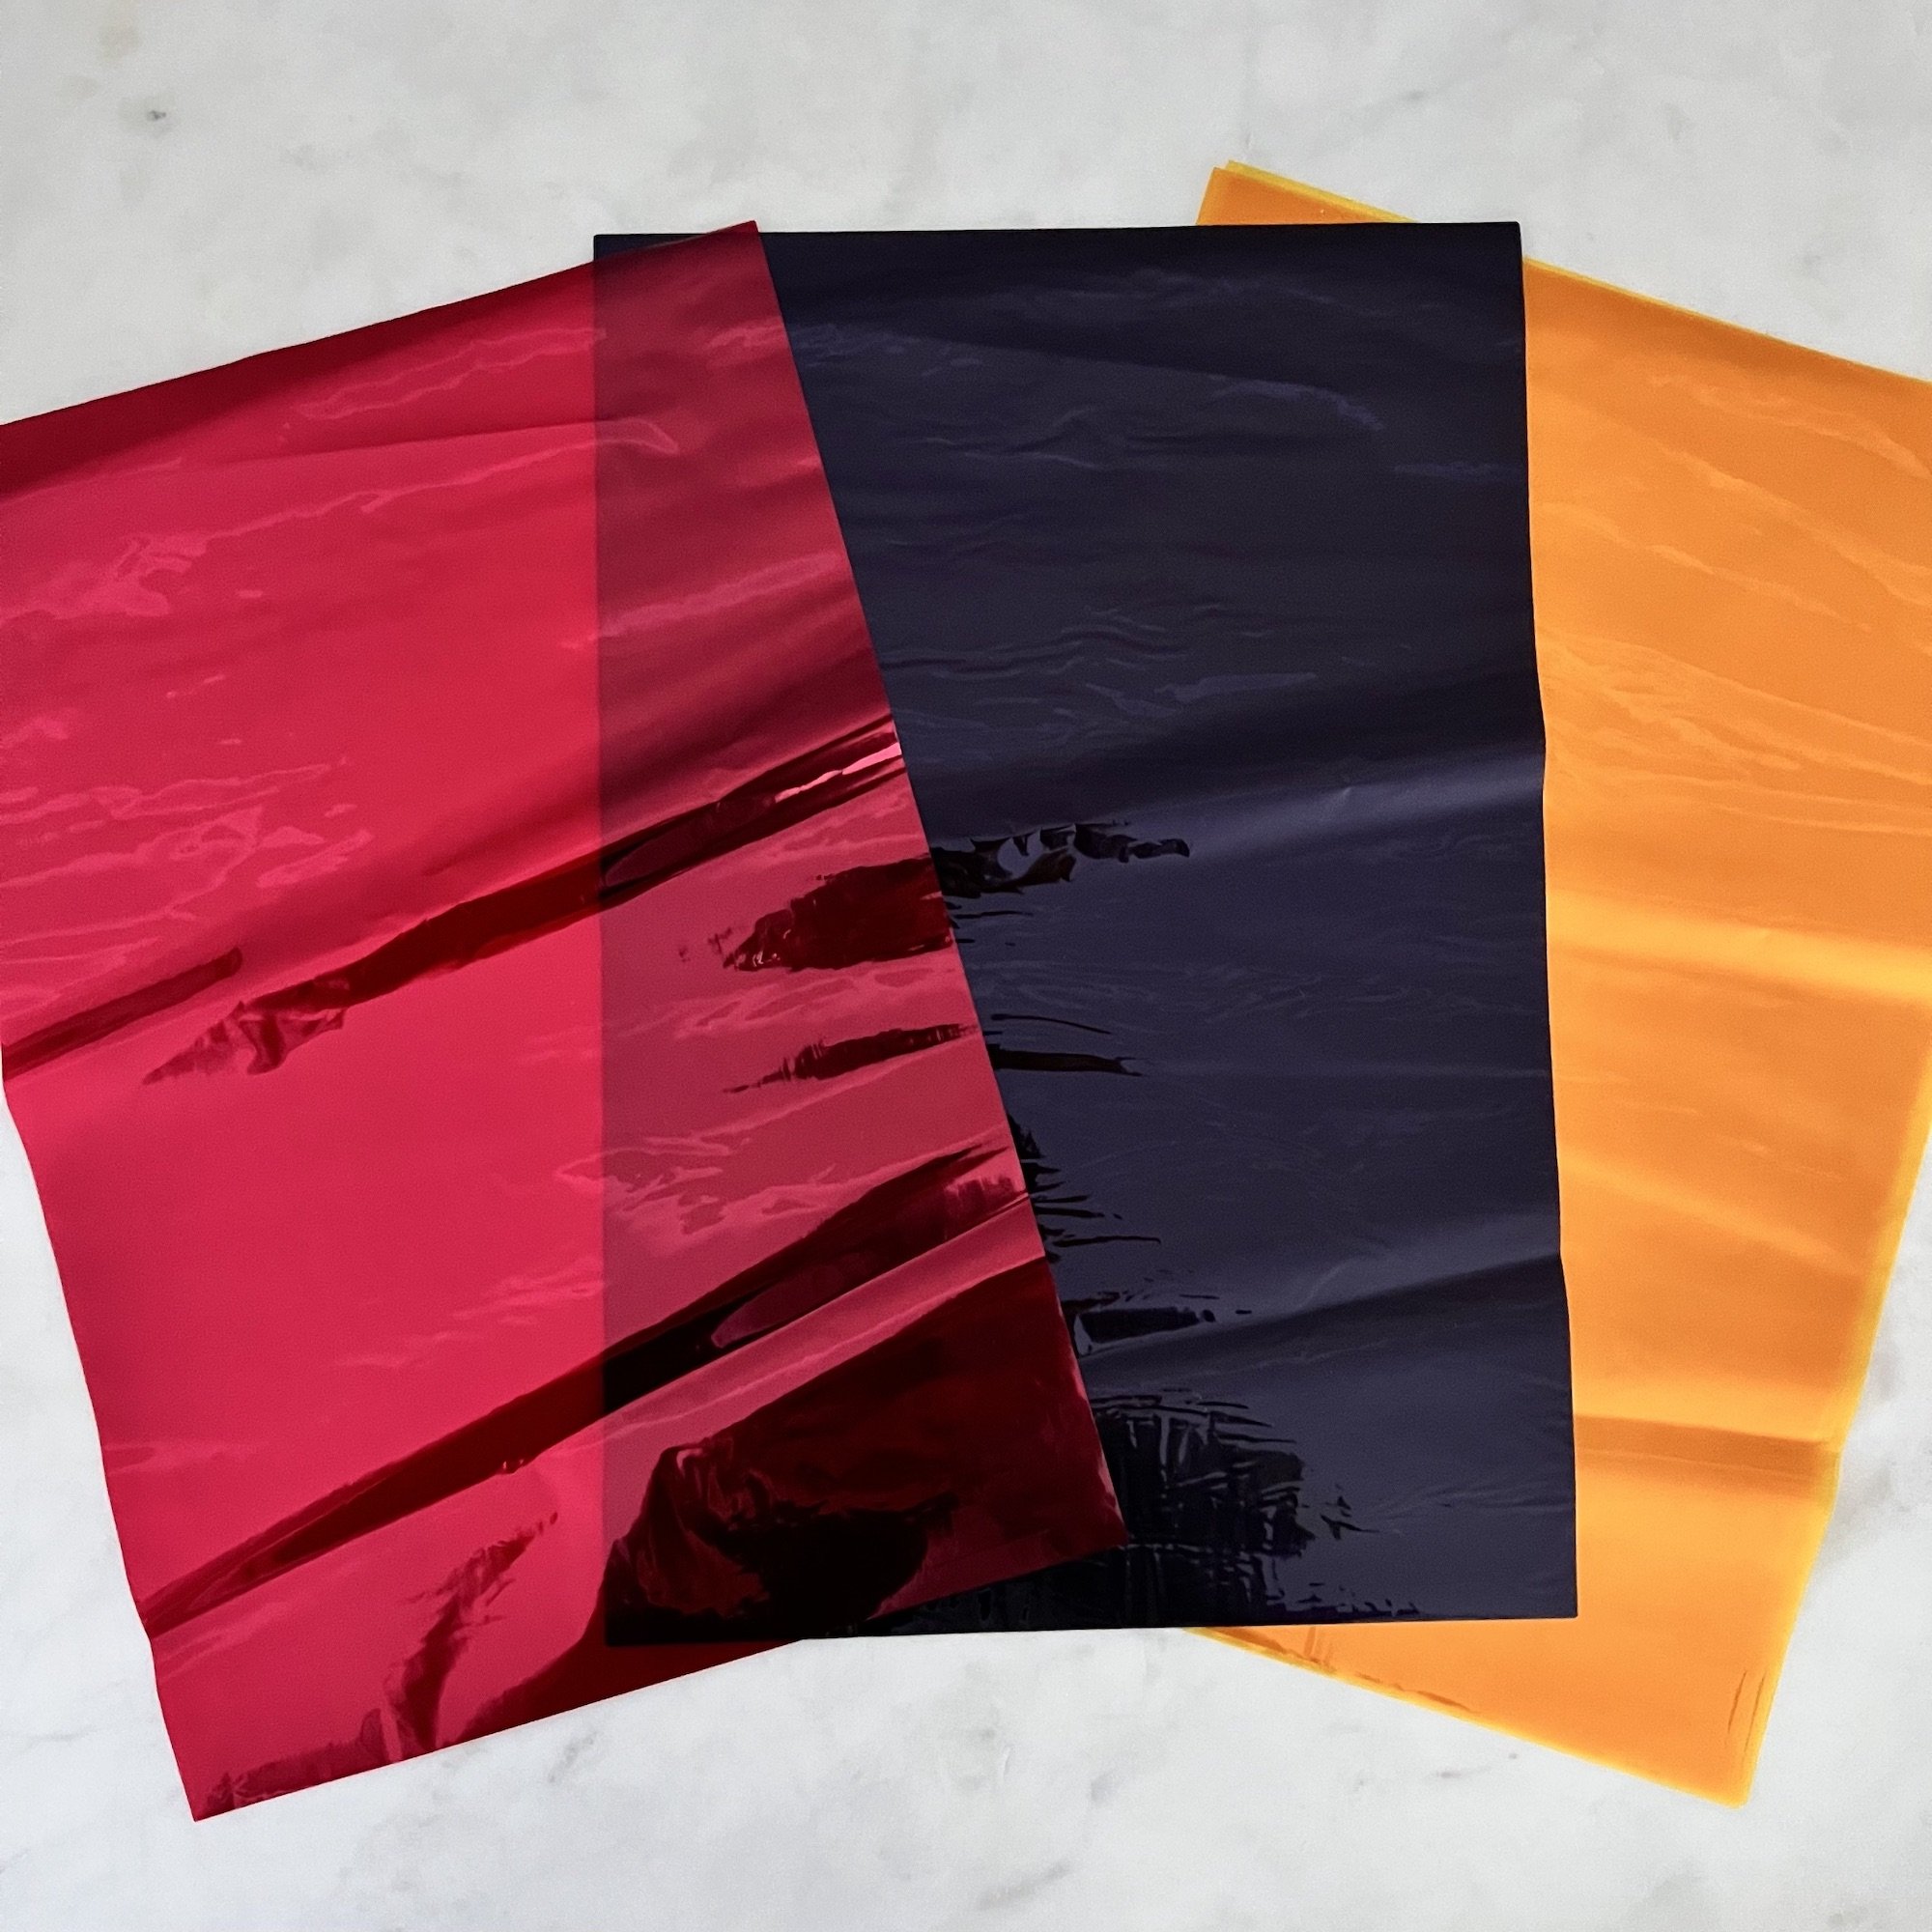
Coloured cellophane sheets
Poster putty such as, Blu Tack, Fun-Tak, Duck Putty; or String/thread
Instructions - How to create a Halloween suncatcher
Step 1 - Put on aprons and prepare your work area by putting down an old tablecloth and/or newspaper.
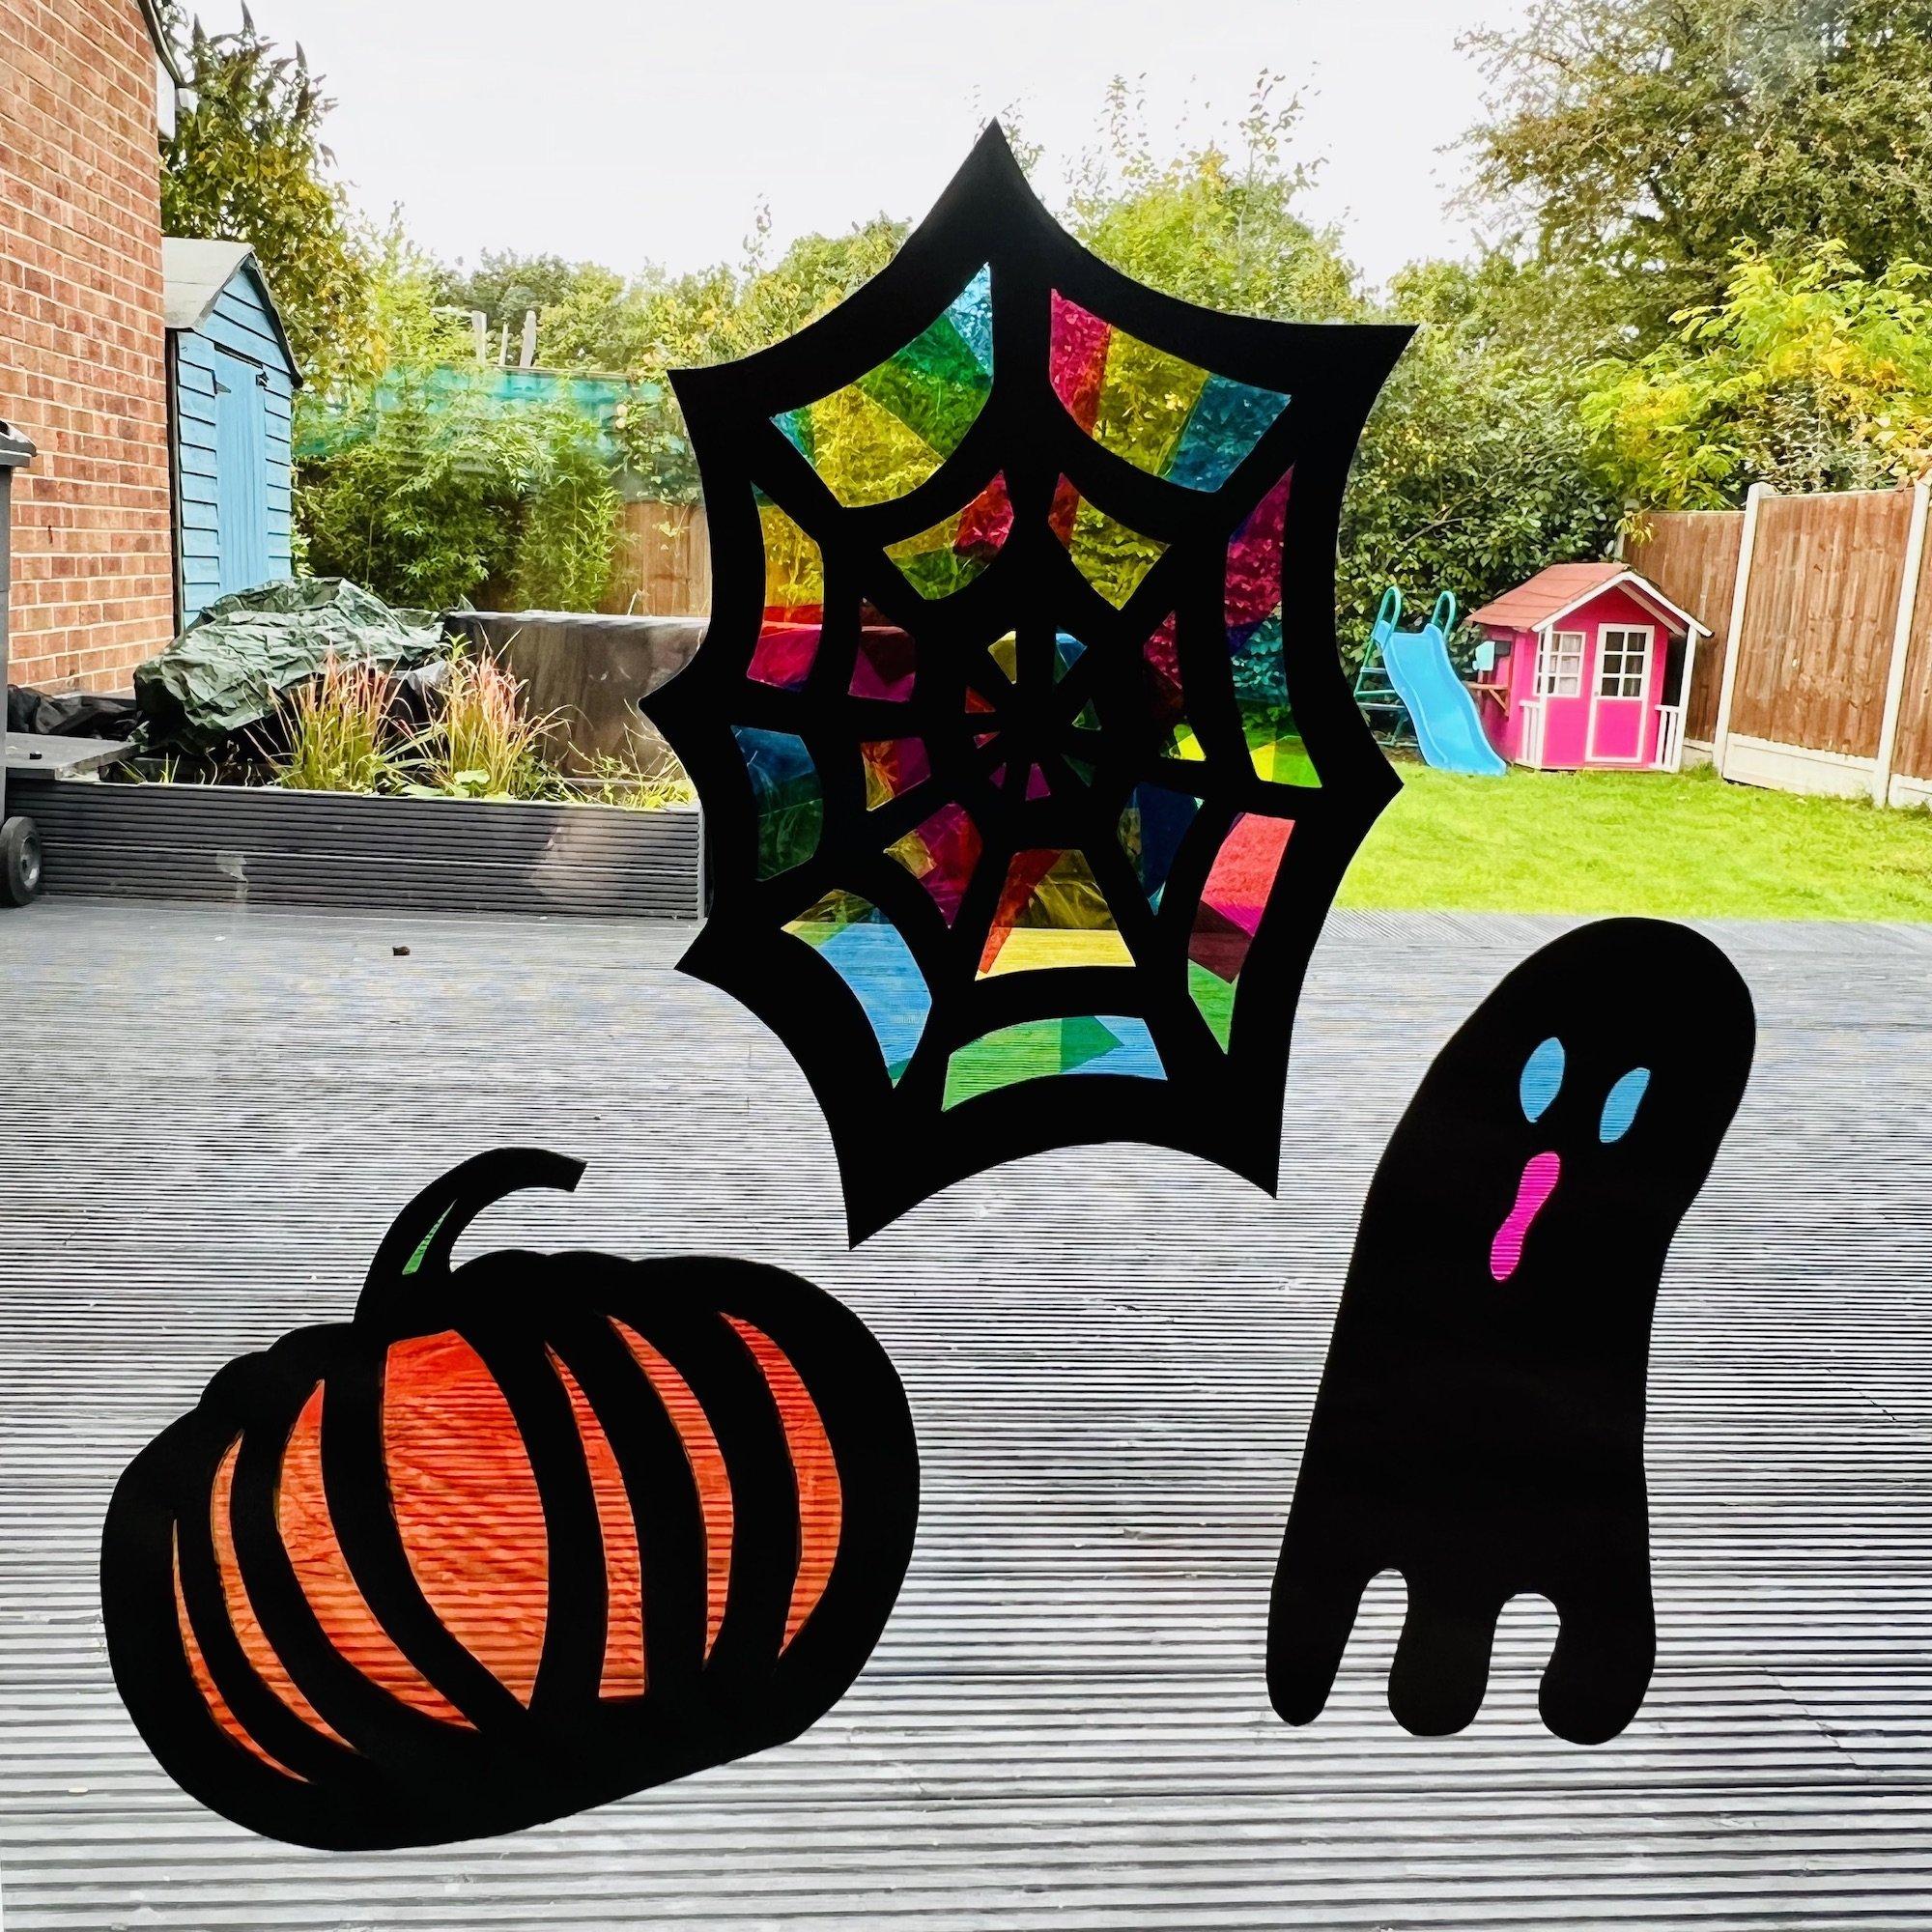
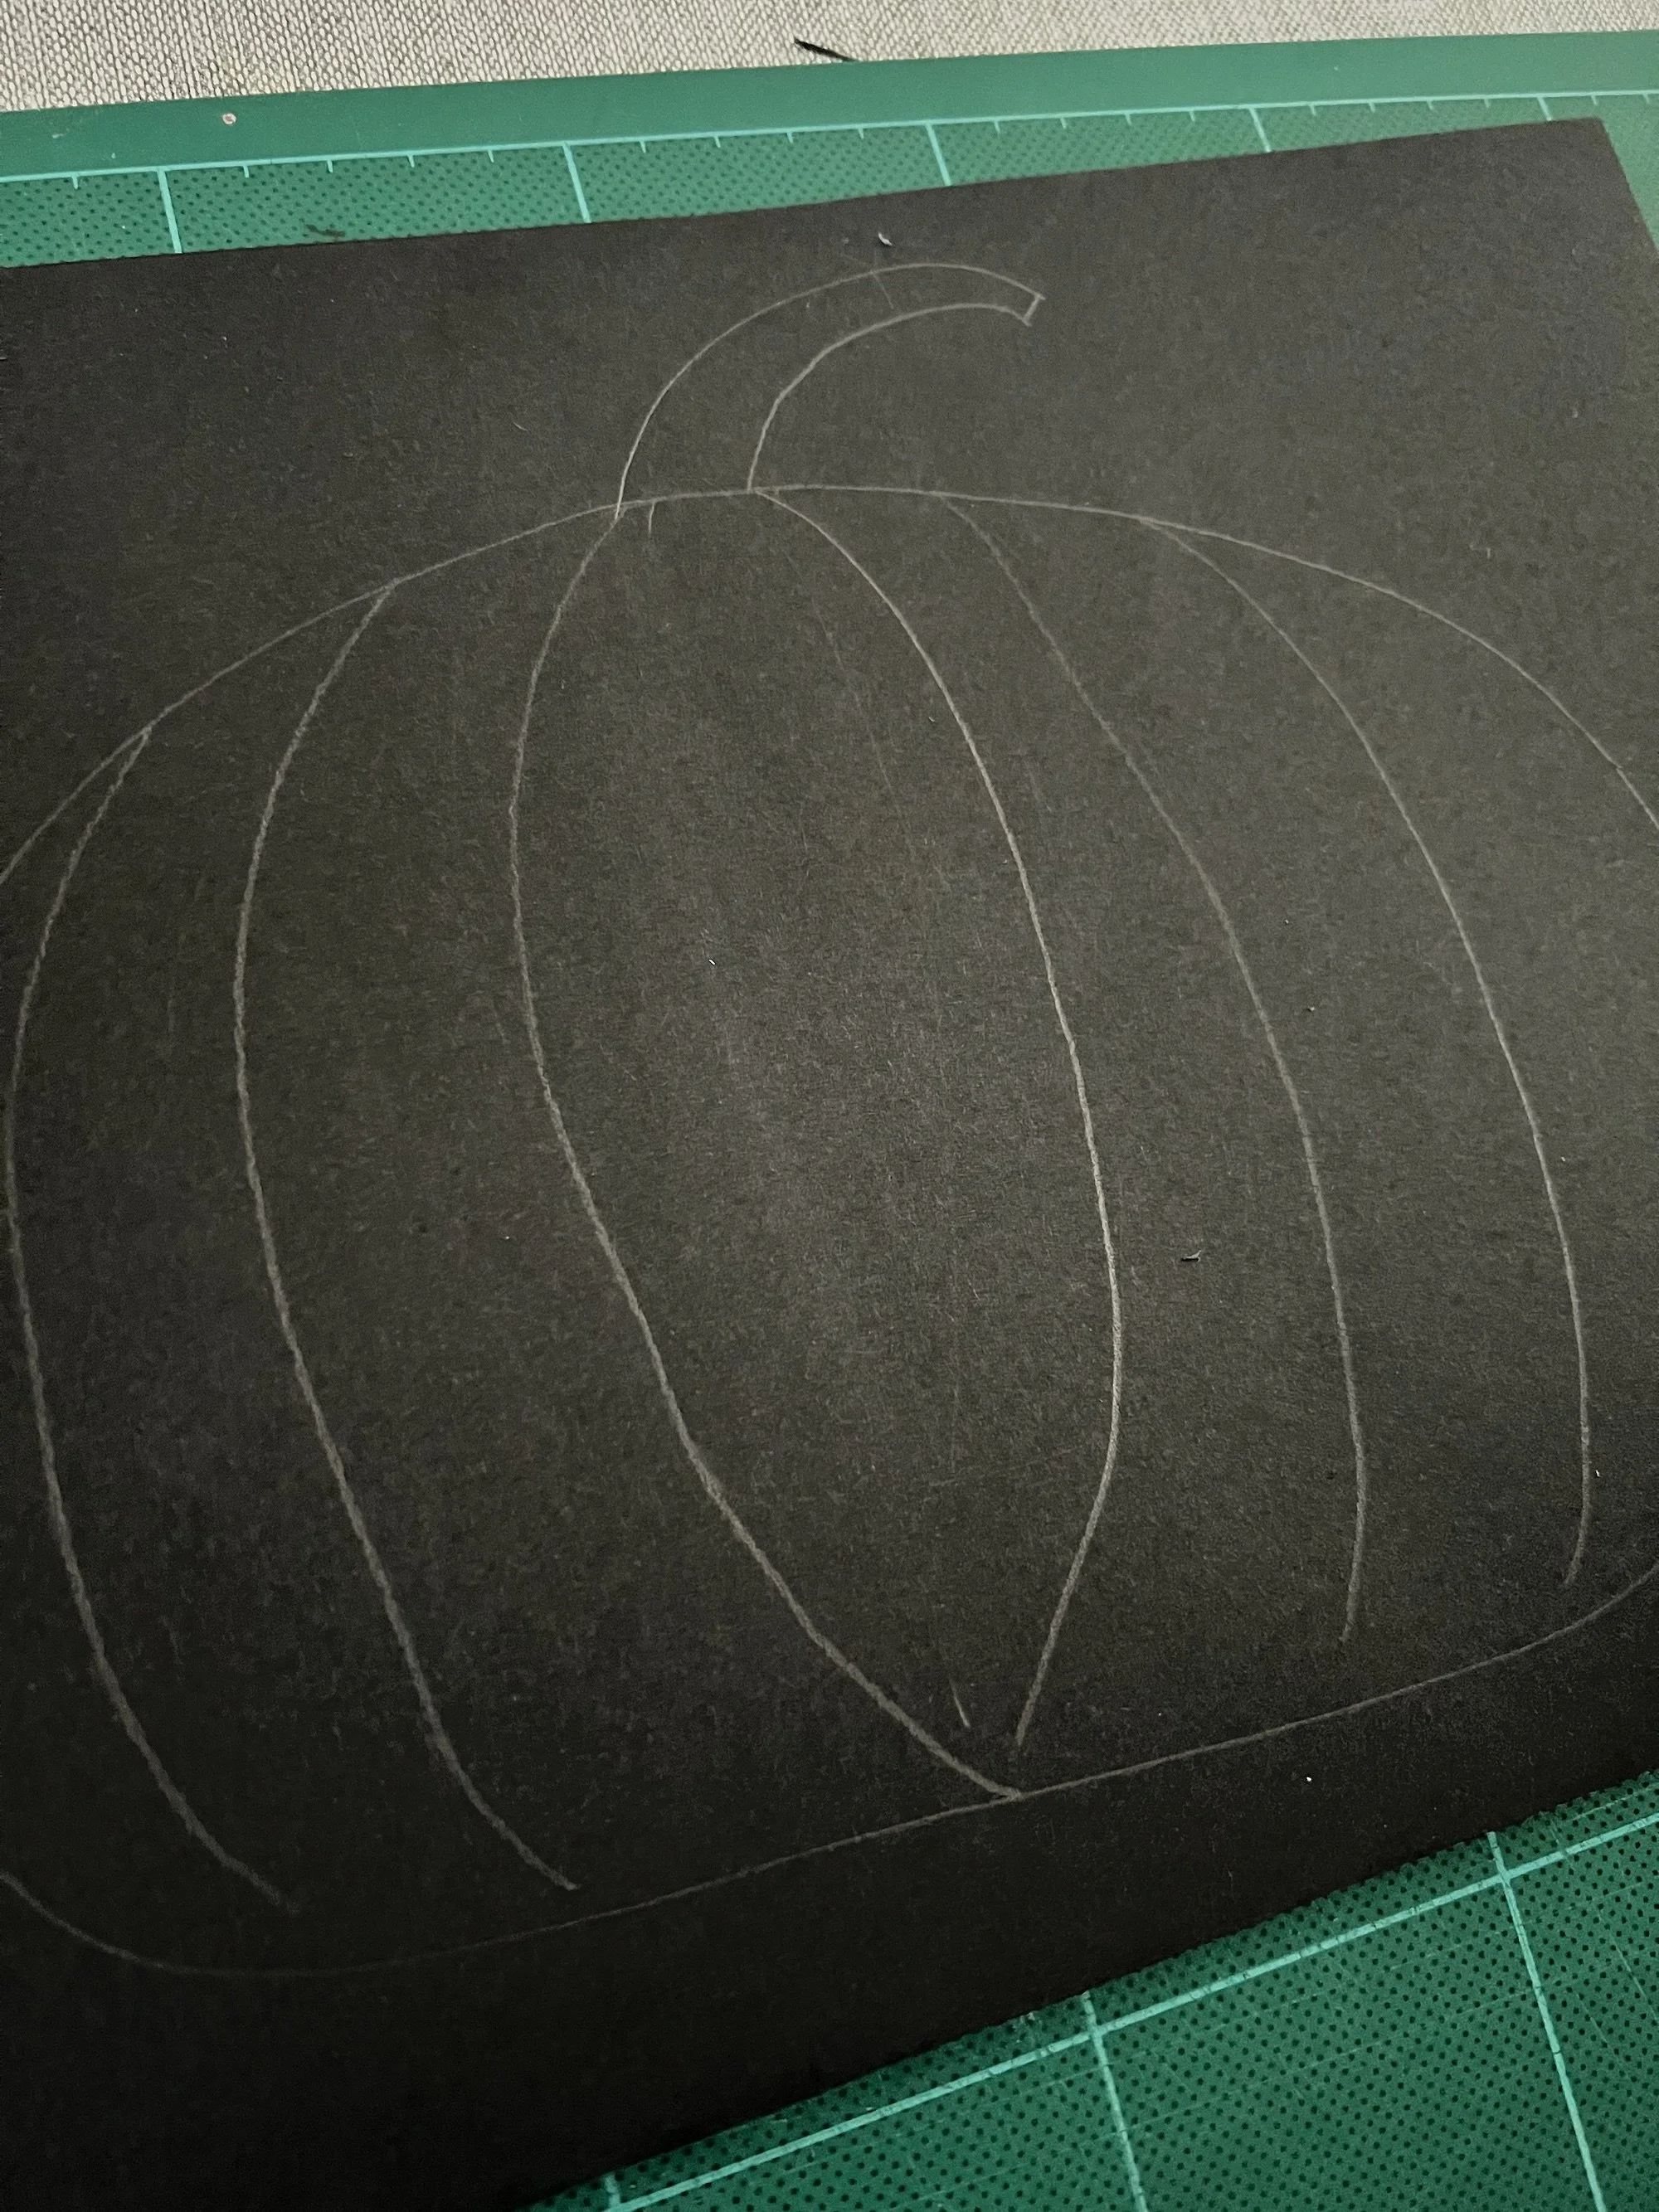
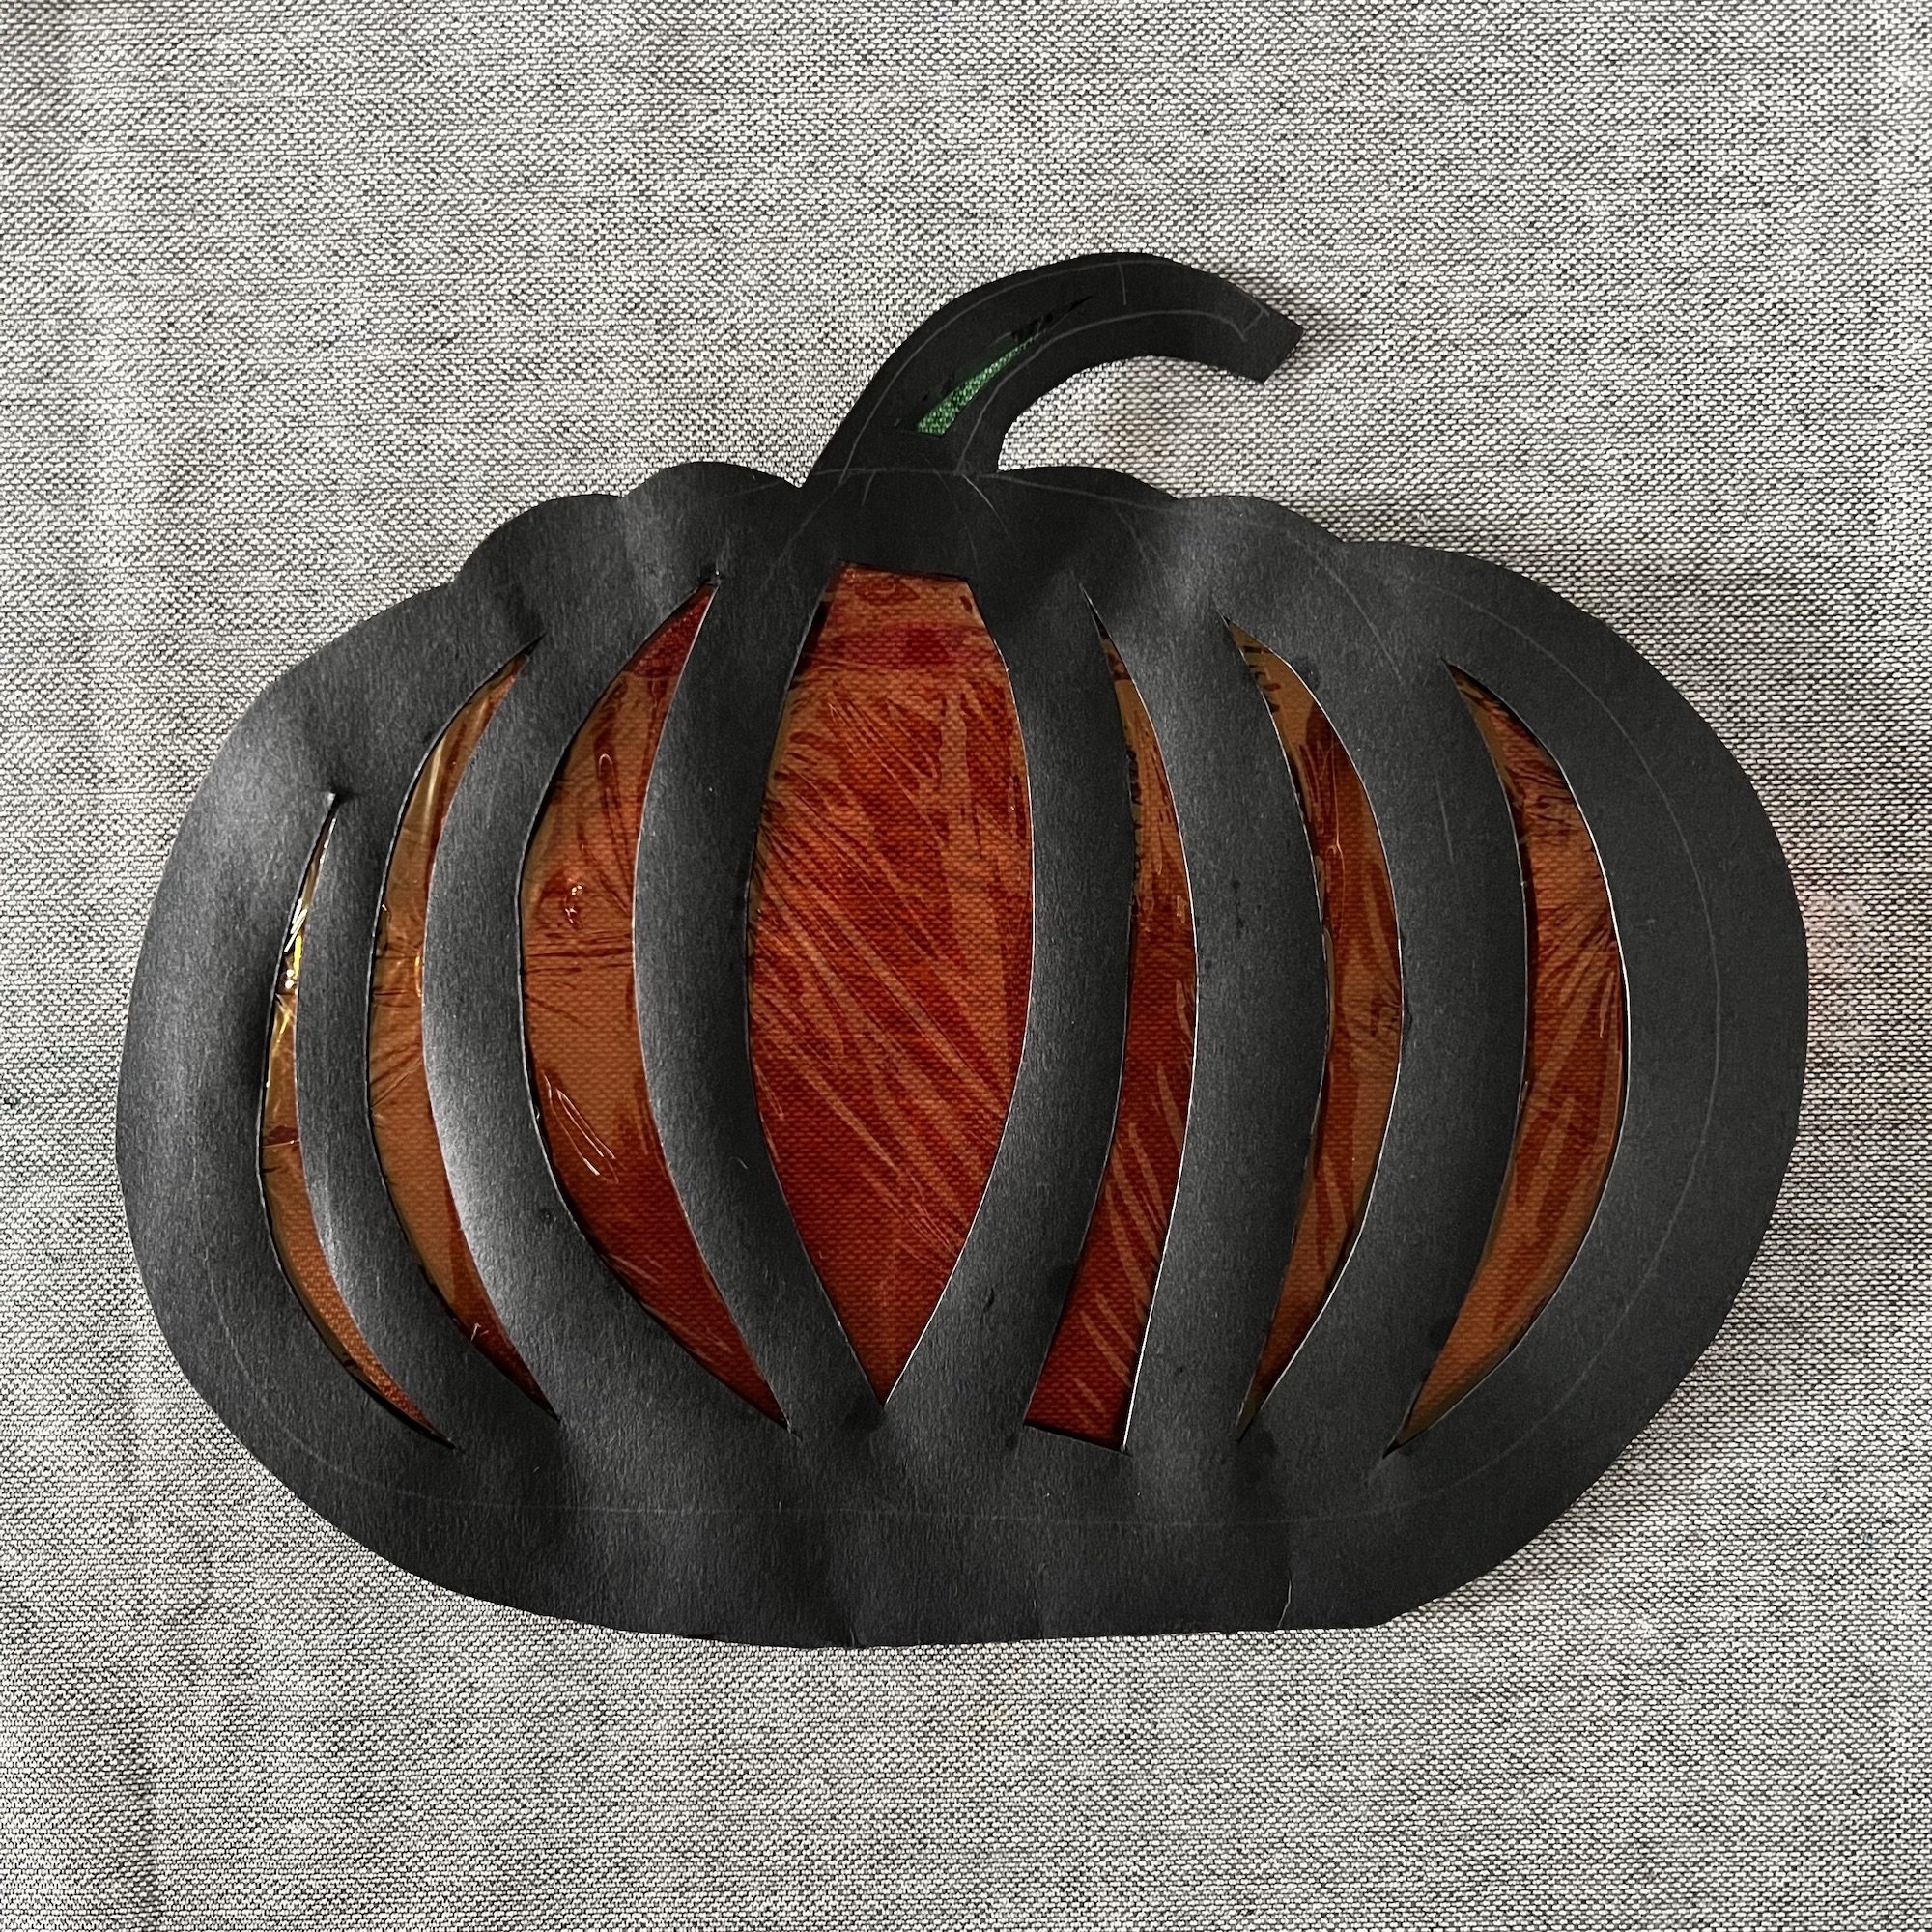
Step 2 - Draw out a Halloween themed design (see my photos for ideas) onto a sheet of black card, marking any holes to be cut out.
Step 3 - Duplicate the same design onto a second sheet of black paper.

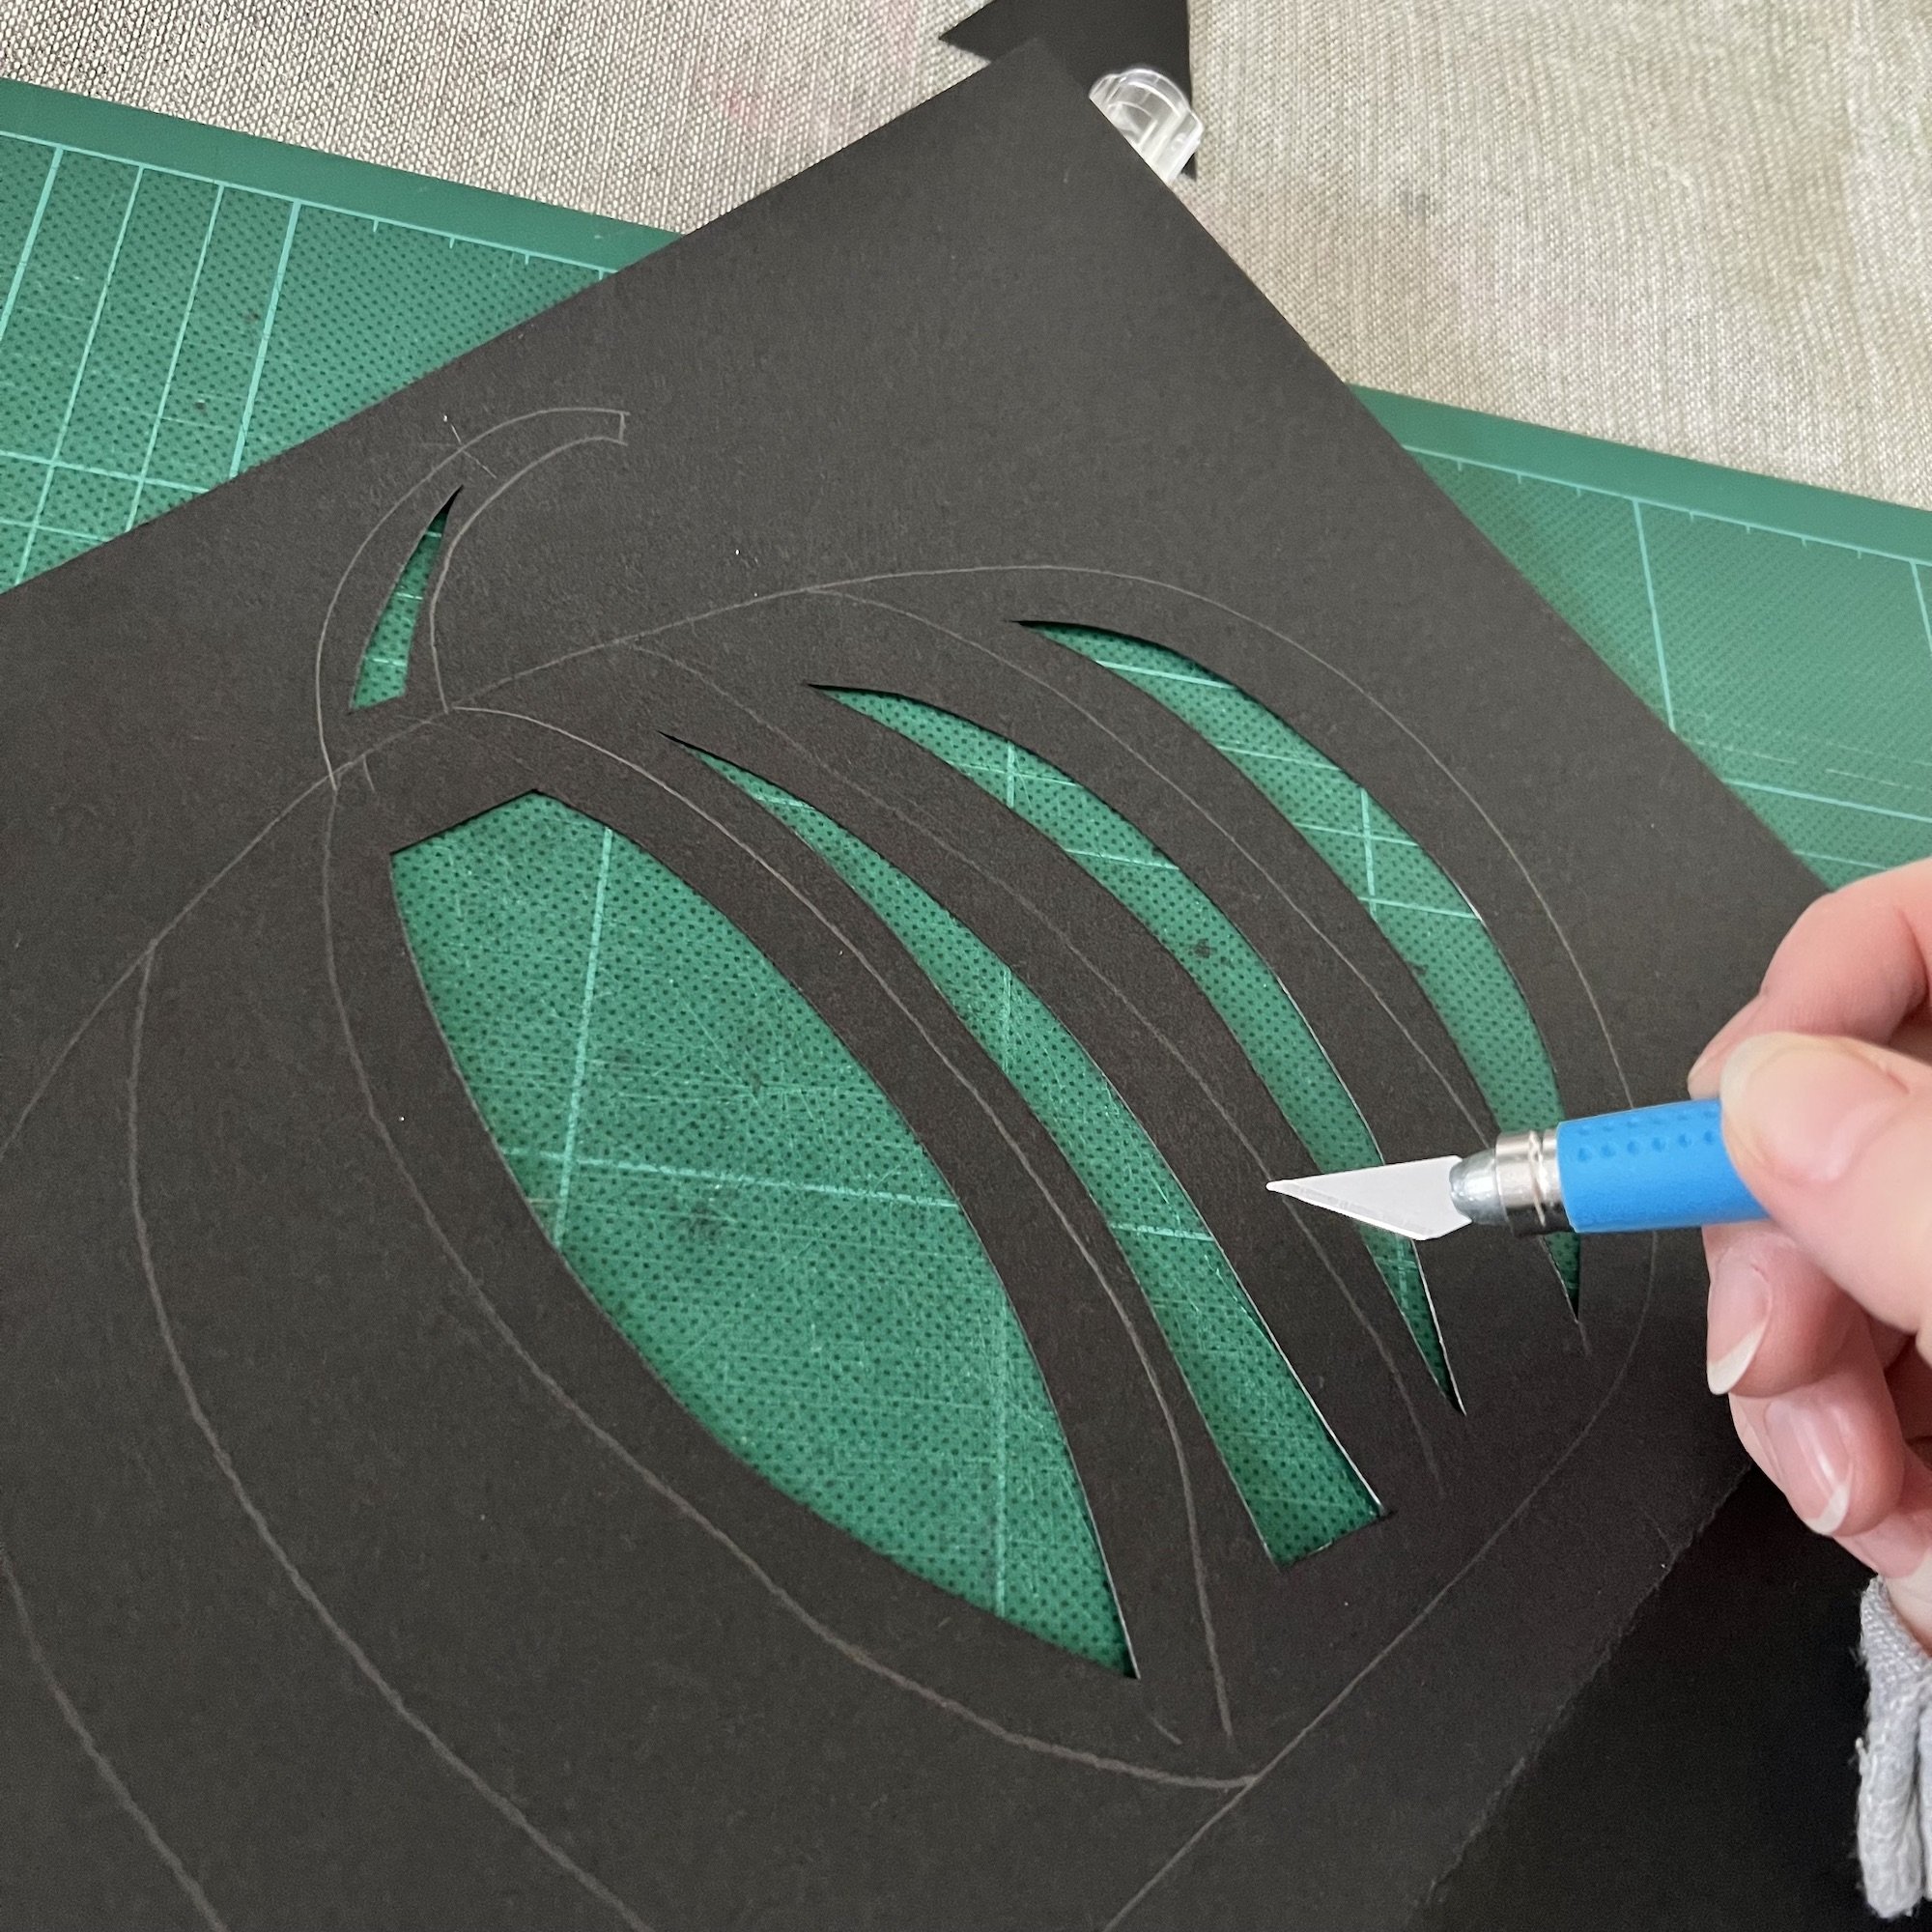
Step 4 - Use a craft knife or scissors to cut out the holes on both sheets of black paper. I found that this bit was too tricky for my children to do, so I did this part for all the designs.
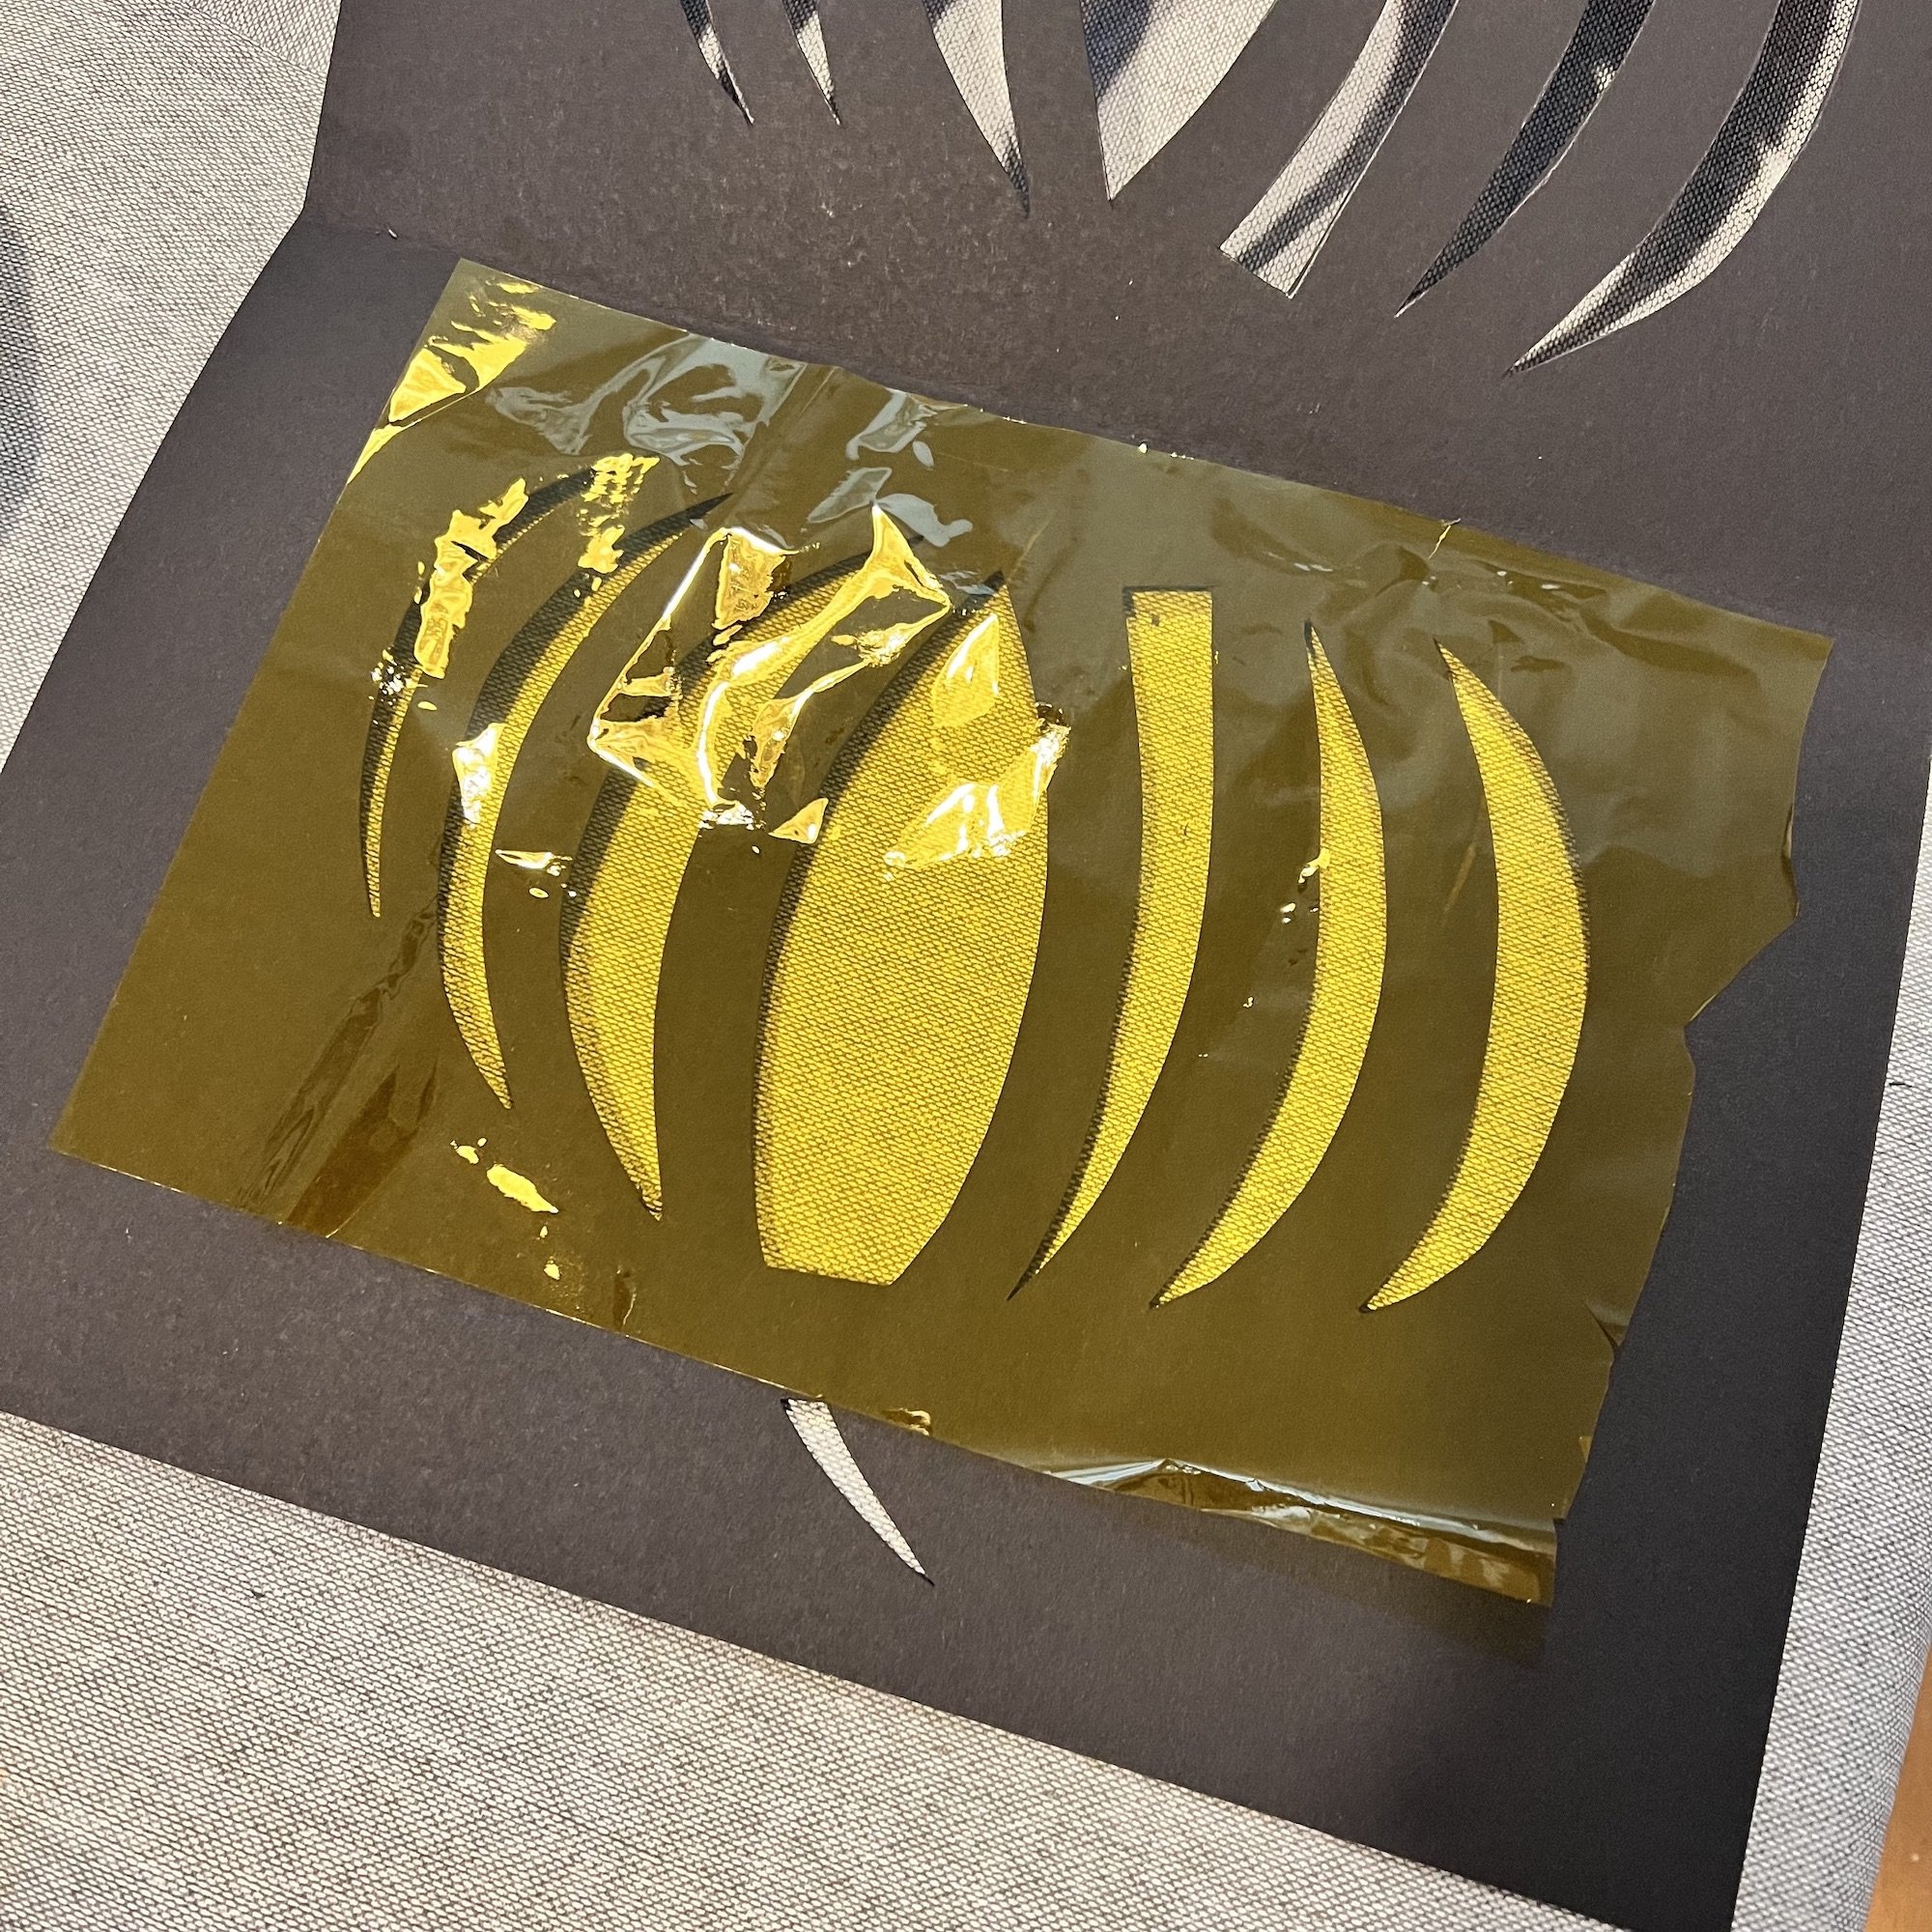
Step 5 - Decide what colour cellophane to cover each hole with and cut the cellophane roughly to size.

Step 6 - On one sheet of black paper, go around each hole with PVA glue and attach your cellophane sheets.
Step 7 - Glue your second sheet of black paper to the back to finish the suncatcher.

Step 8 - Pierce a hole to the top of your design.
Step 9 - Attach a piece of string or thread and hang from your ceiling! or alternatively, the suncatchers can be stuck to windows with a poster putty such as, Blu Tack, Fun-Tak, Duck Putty, if you prefer. For more display ideas, see the section below.

Here are some pictures of a pumpkin suncatcher !!
Displaying Halloween Suncatchers
Once kids have created their Halloween suncatcher designs, it's time for the fun part - finding creative ways to put them on display. Here are some tips for showing off those handmade creations:
Hanging Suncatchers
Hang suncatchers in windows using string, yarn, or fishing line. The light shining through will cast rainbow prisms and shapes around the room.
Attach suncatchers to walls or ceilings using push pins, or wall tac. Group several together for impact.
Hang suncatchers from doorways, arches, or stair railings at different heights.
Outdoor Displays
Tie suncatchers onto tree branches or hang from porches or patios. Let them twist in the breeze.
Push a stick into the ground and attach suncatchers to create a colourful garden stake.
Creating Arrangements
Gather suncatchers into themed window displays - spooky silhouettes, fall / Autumn leaves, jack-o-lanterns.
Layer different shapes and colours for artistic effect.
Angle suncatchers to catch and refract light in interesting ways.
Lighting
Hang suncatchers in bright windows, but avoid direct sunlight which can fade colours.
Position near light sources to shine through the designs at night.
Play with lighting suncatchers from different angles to cast shifting rainbows and shadows around the room.
Halloween suncatchers offer unlimited possibilities for creative displays. Experiment with different setups and enjoy the magical effects of these homemade spectrums of light.
Here is a draft chapter on additional ideas for Halloween crafts:
Additional Ideas for Halloween Crafts
Making Halloween suncatchers provides a fun introduction to Autumn crafting. There are many creative ways to build on suncatcher designs and explore other easy Halloween crafts too.
The same materials and techniques used for suncatchers can be made into:
Ornaments - Add string loops to hang on the tree
Magnets - Glue suncatcher pieces onto magnetic sheets
Decorations - Create wall hangings, package toppers, garlands
Gift tags - Hole punch jack-o-lantern or bat shapes from tissue paper
More Halloween Crafts
The creativity doesn't have to stop with suncatchers. Allow kids to explore other DIY Halloween crafts to build their skills. The variety of textures, materials and 3D structures keeps projects exciting. For more Halloween ideas, please read here.

I hope you have found this guide helpful and enjoy this activity as much as we do. If you have made a Halloween suncatcher, I would love to see it! You can email me at sarahransomeart@gmail.com.
If you enjoyed this blog post, you might like…