How to Make Halloween Salt Dough Ghost and Ghoul Figures
Activity Duration: 2 – 5 Hours

Halloween is one of the most beloved holidays for kids, filled with costumes, sweets, and spooky decorations. One of our favourite Halloween activities to do with our children is salt dough ghost and ghoul figures.
Making salt dough ghost figures is a really fun activity and so easy as they require very few ingredients, which can be found in most kitchen cupboards !!
These ghost figures make excellent ornaments and decorations to place around your home in preparation for the Halloween festivities. The flexibility of salt dough means that you are not restricted to just ghost figures, anything could be created with the salt dough from pumpkins to other-worldly monsters.
I have set out below the equipment needed and step-by-step instructions to make your salt dough ghost figure creations. I hope you will find this guide useful.
Table of Contents
Ingredients and Equipment Required to Make Salt Dough Ghosts and Ghouls
Salt Dough Ghosts and Ghouls: Instructions
Displaying the Salt Dough Halloween Figures
Salt Dough Troubleshooting Issues
Ingredients and Equipment Required to Make Salt Dough Ghosts and Ghouls
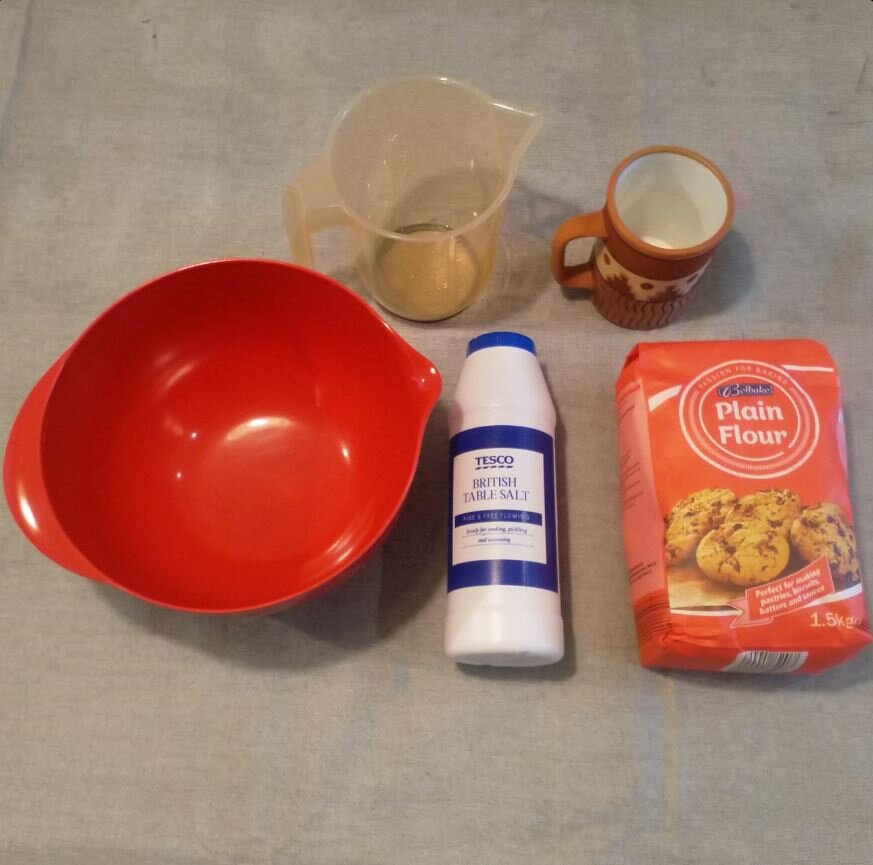
The basic salt dough recipe requires just a few inexpensive pantry staples - all-purpose flour, table salt, and water. The exact measurements can be adjusted as needed to yield the desired amount of dough.
An apron
1 cup of plain flour
Half a cup of table salt
Half a cup of water
A baking tray
Food Colouring - For extra colour, a couple drops of food coloring can also be kneaded in. Popular options are orange for pumpkin ghosts or red to make bloody handprints on the ghosts.
Salt Dough Ghosts and Ghouls: Instructions
Step 1 - Preparation: Put on aprons and prepare your work area by putting down an old tablecloth and / or newspaper.
Step 2 - Preheat the oven: It is important to set this to the lowest setting, at around 250°F (120°C), to avoid cooking the salt dough figures too quickly.
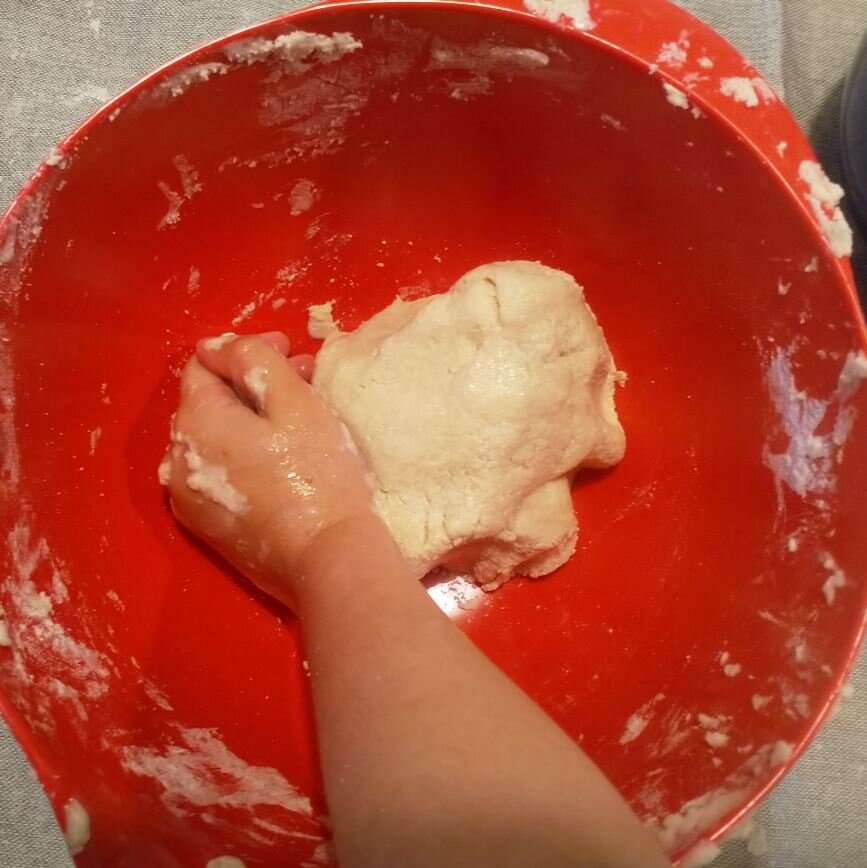
Step 3 - Mixing: To start, combine the measured dry ingredients - flour and salt - in a large mixing bowl.

Stir thoroughly so they integrate fully. Then, gradually pour in the water while stirring continuously. Add it slowly to achieve the proper dough consistency. If needed, dip fingers in to determine if more water is required.
Slowly add the water and stir until it all comes together into a large dough ball. If it is too wet, you can add more flour, or if it is too dry, then add more water.

The large amounts of salt will help preserve the salt dough figures and hopefully prevent your little ones from eating the mixture !!!
This is quite a messy and sticky stage. I would recommend having a separate bowl of water close to hand to clean your children’s fingers and hands.
Step 4 - Kneading the Dough: Once combined, flour a clean work surface and knead vigorously for a few minutes until the dough becomes uniform, stiff, and workable. Add an extra sprinkle of flour if it's too sticky.
The dough can also be chilled in the refrigerator for 10-20 minutes which makes it easier to handle if working with kids.
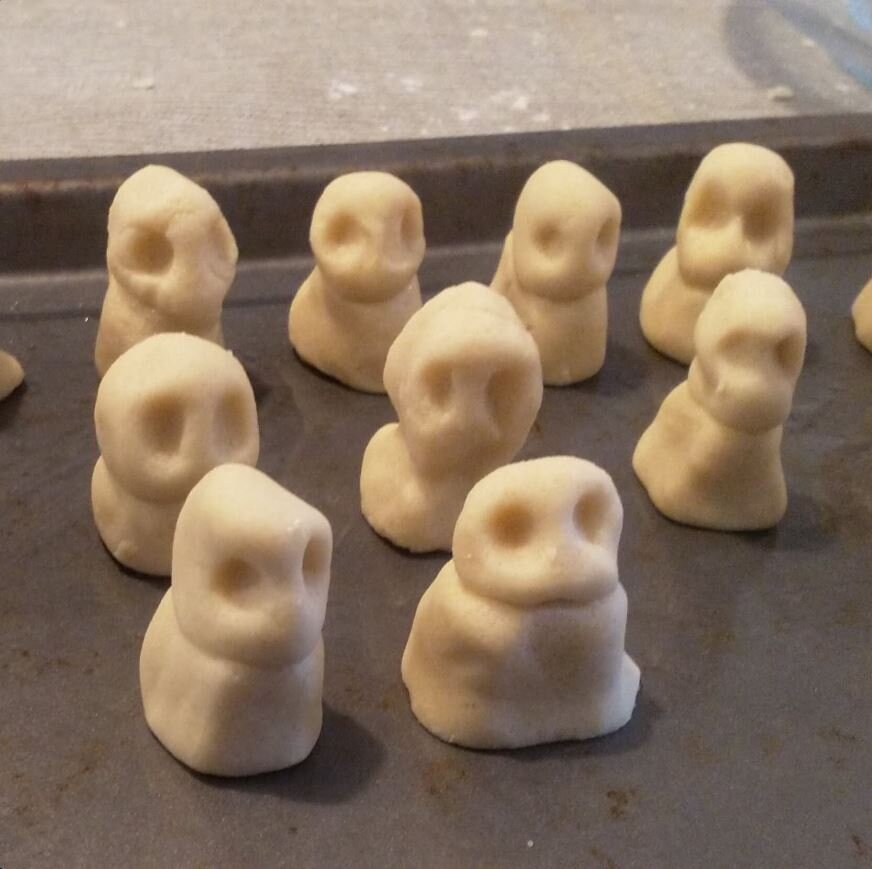
Step 5 - Shaping the Salt Dough Ghosts and Ghouls: Break off small handfuls of dough so that you and your children can start to shape your ghost figures. There should be enough dough to make multiple figures, allowing you to experiment with different shapes, faces etc.
For ghost cut-outs, cookie cutters are quick and easy. Basic ghost shapes, circles or rectangles with rounded corners all work well.

I would recommend making small figures, otherwise they will take a long time to bake.
It is worth leaving a large amount of the dough ball for your children to play with as they please. This will keep then entertained for hours, long after the ghost figures have been sculptured and placed in the oven.
Step 6 - Cooking the Salt Dough Ghosts and Ghouls: Baking is an important step to harden and preserve the salt dough ghosts.
Before baking, you may want to poke holes near the top of each ghost with a straw or skewer. Make the holes large enough to thread ribbon through later for hanging.
Once you have sculptured your ghost figures, place them on a baking tray. I have tried baking sheets, but I find that the figures sometimes stick to the baking paper. I prefer greasing a baking tray instead.
Bake at a low 200°F oven for 1-2 hours. Drying time depends on the size and thickness of the ghosts. Smaller pieces may only need an hour. Check on them periodically until hardened all the way through. Remember to turn them occasionally to ensure all parts are baked.
The low and slow baking helps release moisture slowly to prevent cracking or bubbling on the surface. If cracking still occurs, the oven temperature may need to be reduced further next time. The ghosts are fully baked when they feel solid and dry all over. If still soft in spots, continue baking in 15 minute increments until hardened.
Once baked, turn off the oven but leave the ghosts inside as it cools. This allows a gradual cooling to avoid sudden temperature changes that could introduce cracks.
If the figures have cracked during the baking process, they can be repaired once they have cooled down by, creating more mixture and filling the gaps, and baking again.
Step 7 - Painting the Salt Dough Ghosts and Ghouls: When completely cool, the ghosts are ready for painting and decorating!
This could be planned as a separate activity on a different day.
You will require the following equipment for the painting of the salt dough figures.
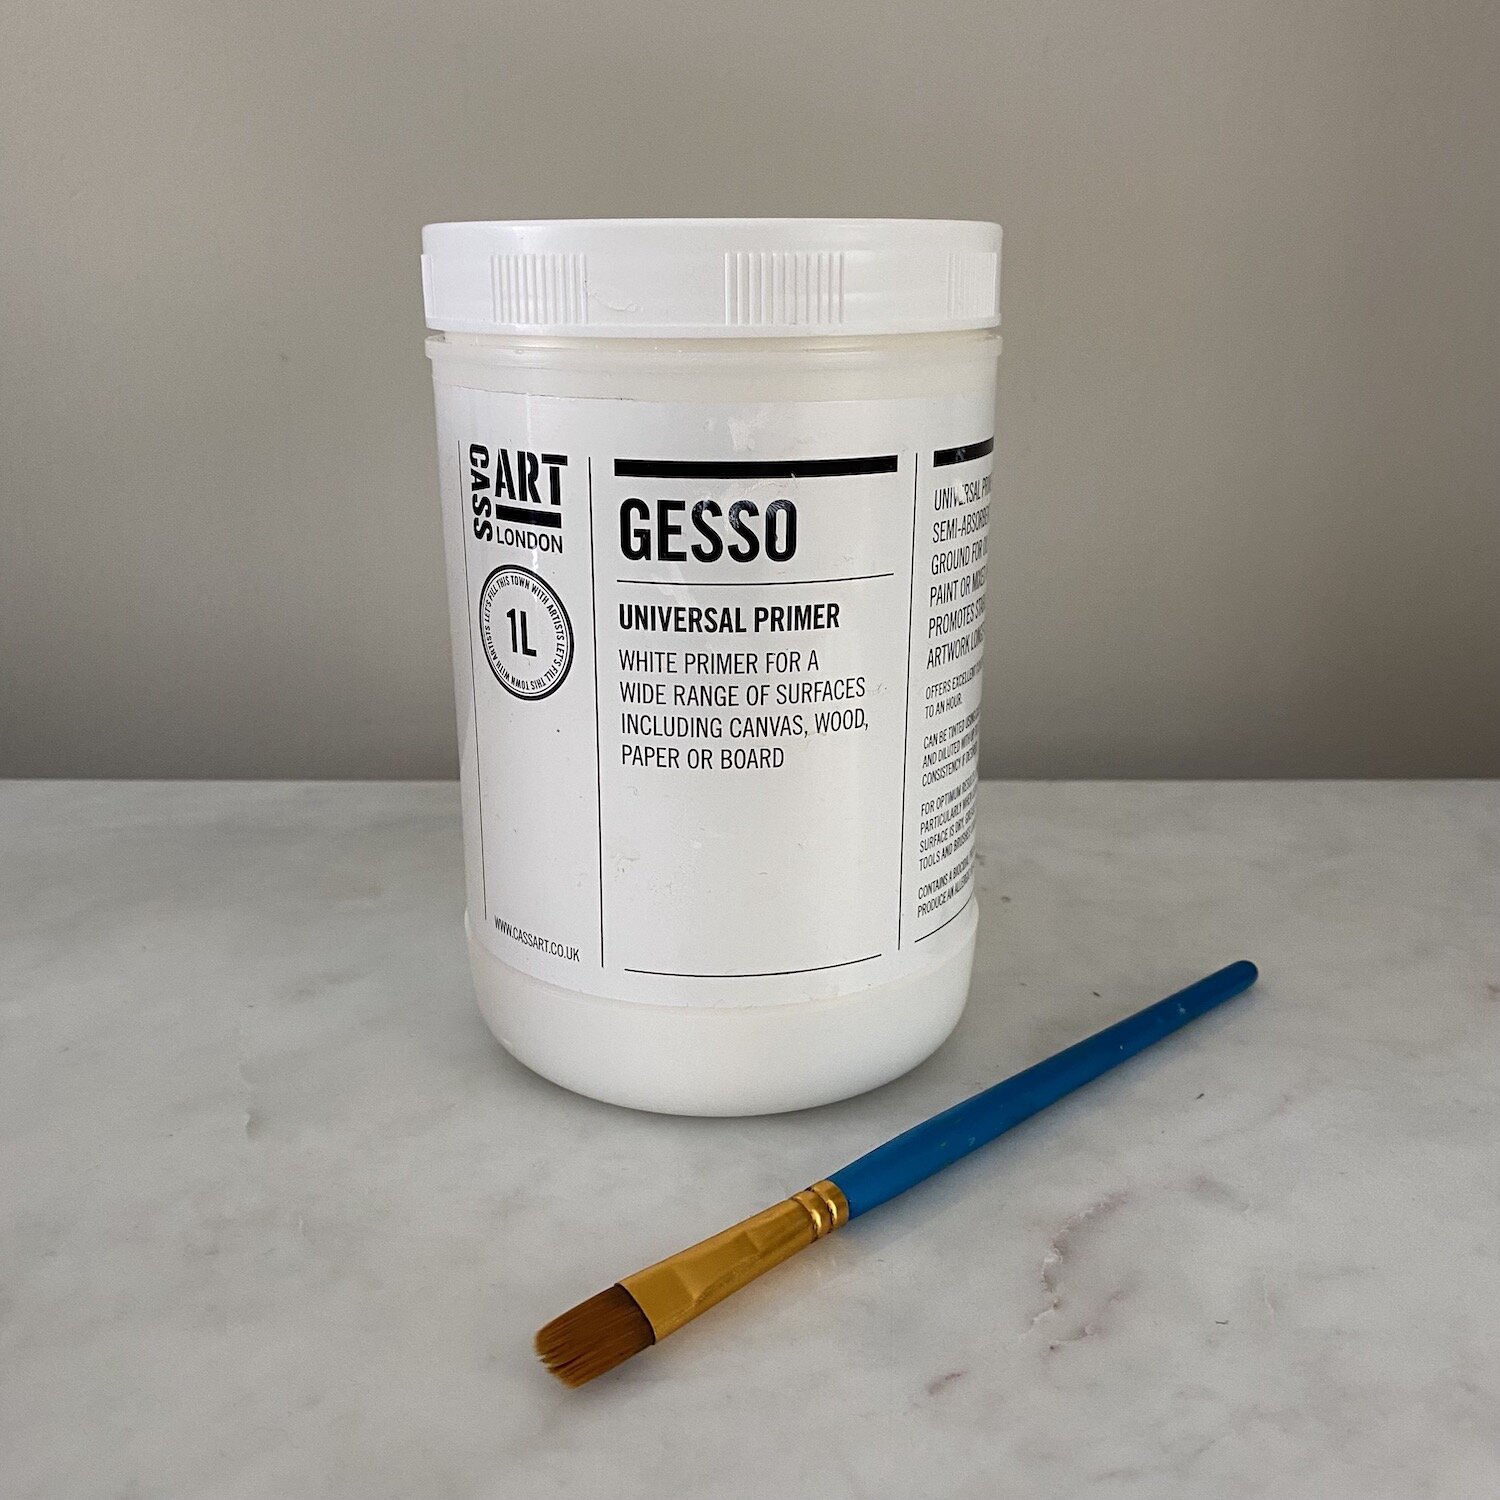
Primer (optional)
White acrylic paints (washable paints are better for younger children or if you do not have acrylic paints available)
A paint tray
A medium paint brush
A cup of water
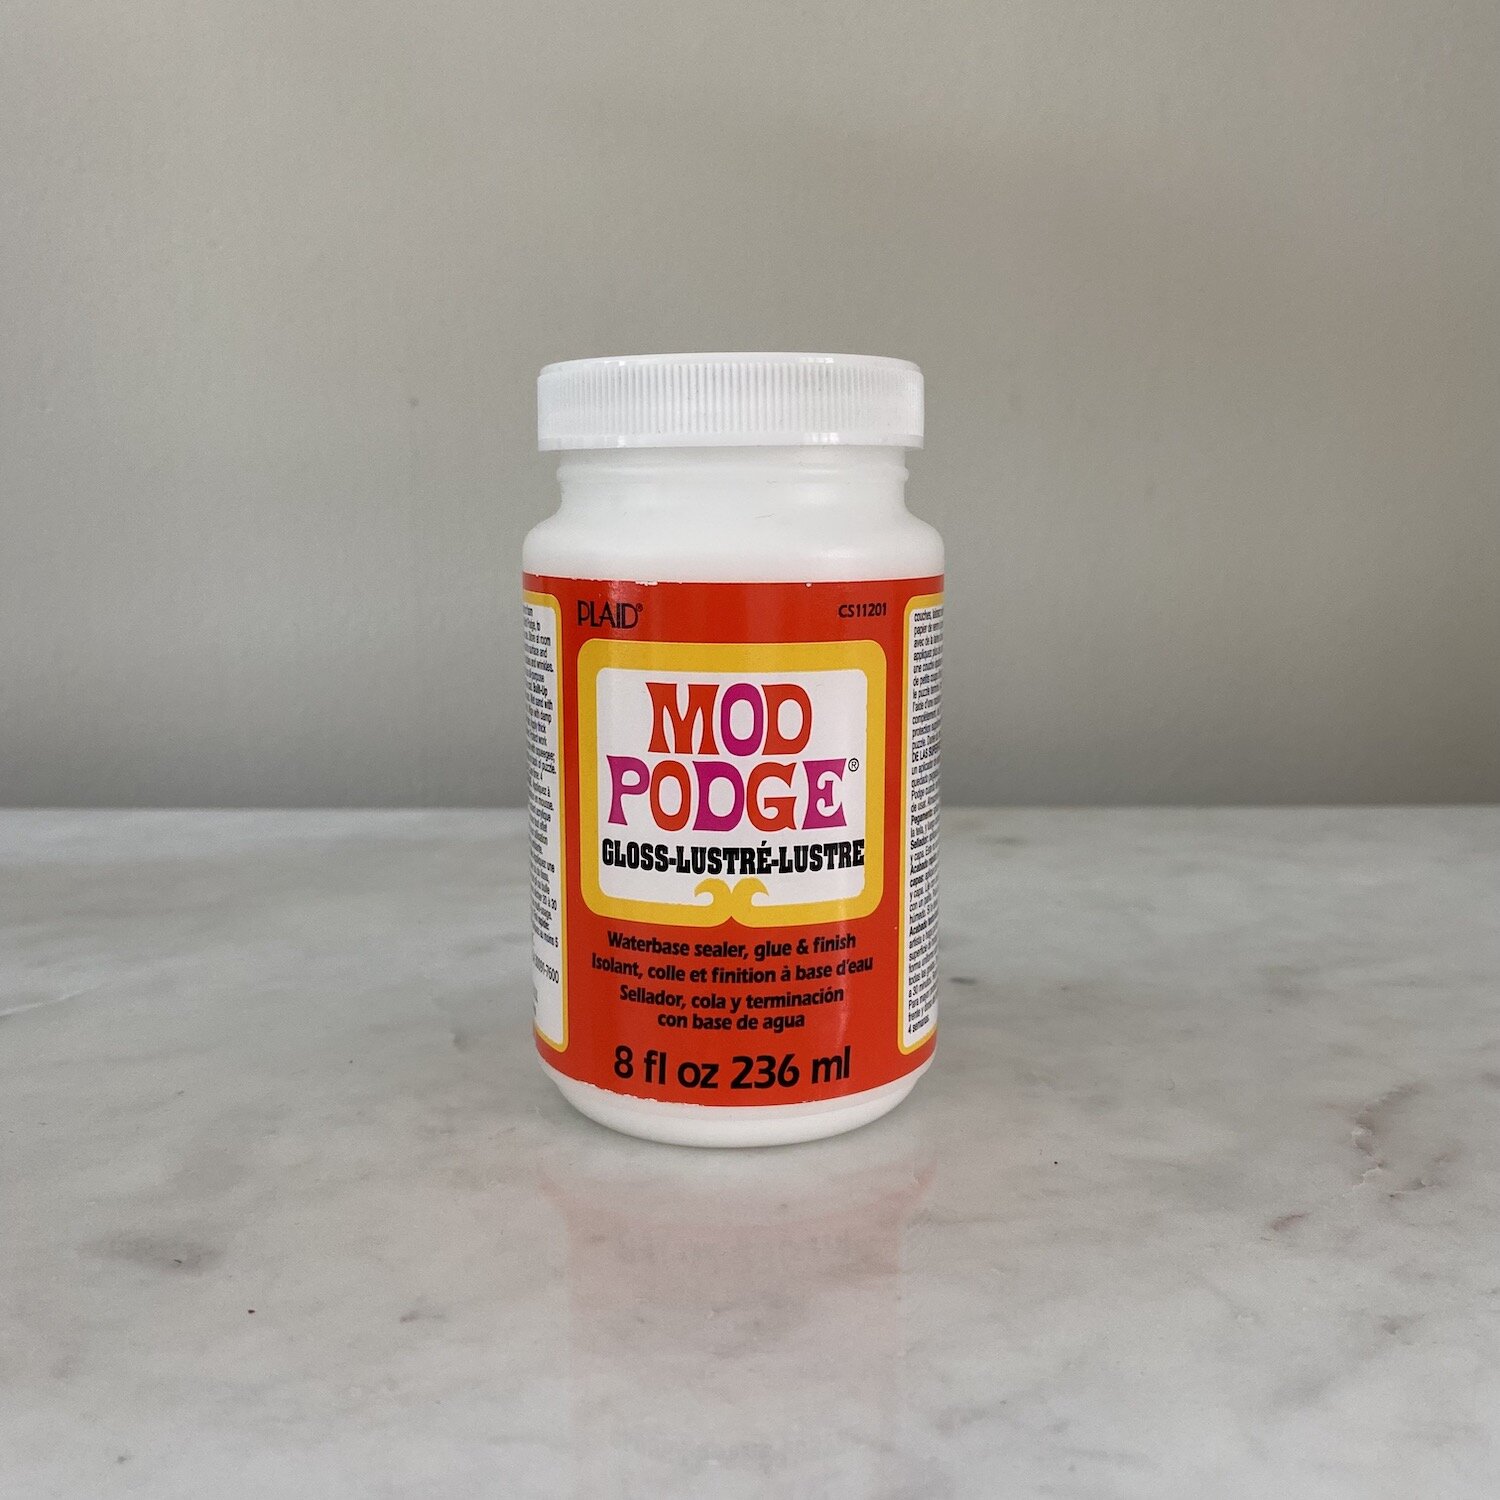
Sealant (such as Mod Podge)
I would recommend painting the salt dough figures with a layer of white primer paint, as this help produce vibrant colours. I used Gesso Primer, but any white primer will be fine. If you don’t have any primer or you are short on time, you will still get great results without completing this step.
Acrylic paint is the most effective paint for salt dough painting, and dries quickly. Once the primer itself has dried, add a layer of white acrylic paint. If more layers are required, add these.

With acrylic paints, be careful, especially with younger children, as they do not come out of clothes and can stain, including little fingers. Washable paints are ideal if you are carrying out this activity with younger children as they are easy to clean up.
For extra sparkle, glitter, sequins, and other embellishments can be glued on. Try making bloody handprints, googly eyes, or spooky smiles with glue and various materials.
For a glossy finish, I would recommend adding a sealant, such as Mod Podge. It can take about 24 hours for Mod Podge to dry.
Encourage creative expression and uniqueness as kids decorate their personal ghosts. Here are some fun design ideas:
Happy ghosts with big smiles and fun hair
Glow-in-the-dark ghosts for nighttime display
Specific character ghosts like mummies or pirates
Glittery ghosts with bold jewel tone colors
Simple white ghosts with dimension like ribbons or bow ties
Big daddy ghosts protecting smaller baby ghosts
The great part of salt dough is that it can be painted over and over. If kids don't like their first design, the dough can be wiped clean and redesigned endlessly. So there's no need to worry about mistakes.
Decorating the ghosts is a chance for kids to explore colour mixing, textures, and dimensional design. Displaying all the unique creations together will fill your home with handmade Halloween spirit!

Congratulations, you have now completed you ghost figures, and you can now decorate your house with them ready for Halloween.
Displaying the Salt Dough Halloween Figures
Once the salt dough ghosts are complete, it's time to display these spooky creations around the home for some homemade Halloween décor!
One way to display the ghosts is by hanging them up. Use the pre-baked holes near the top to thread ribbon, string, fishing line or other hanging material. Sturdy thread works better than standard sewing thread.
Get creative with where you hang or position the ghosts:
Doorways or archways - Ghosts floating in the entryways help set the tone.
Windows and walls - Scatter along the walls or hang in front of windows for added dimension.
Ceilings - Suspend ghosts of varying sizes dangling at different heights.
Staircases - Line the staircase with ghosts floating up the steps.
Trees and bushes - Hang ghost ornaments on branches outside.
Over beds - Mini ghosts above beds make fun nightlights.
Groupings of ghosts make more visual impact than individual pieces. Mix large statement ghosts with smaller mini ghosts throughout an area.
Incorporate the salt dough ghosts into other Halloween décor like jack-o-lanterns, skeletons, cobwebs, and other spooky accessories. The handmade ghosts will stand out beautifully.
Be creative with display locations - the ghosts can hover above tables or cabinets, hang from chandeliers, or peek out from baskets. Just use strong hanging materials so they don't come crashing down!
Creating an entire ghostly scene will turn your home into a haunted house perfect for the Halloween season. Enjoy the handmade creations proudly on display.
Salt Dough Troubleshooting Issues
When working with a craft like salt dough, occasional issues can pop up. This chapter covers some common problems and solutions for troubleshooting salt dough ghosts.
Dough is too sticky: Add a bit more flour and knead again until no longer tacky
Dough is too dry and crumbly: Work in more water a teaspoon at a time until cohesive
Ghosts crack during baking: Bake at a lower temp (175°F) for a longer time to dry out gently
Holes for hanging are too small: Use larger straws or skewers to poke holes before baking
Ghosts are still soft after baking: Bake for longer at the same temp until fully hardened
Paint won't adhere well to the dough: Lightly sand the surface before painting for better adhesion
Ghosts warp or slump while baking: Use a thicker rolling pin and roll dough evenly to prevent warping
Ghosts break when decorating or handling: Let ghosts fully cool and harden before decorating
Ribbon won't fit through the holes: Use a craft knife to gently widen the holes if needed
Ghosts fall off their hangings: Use stronger hanging materials like fishing line or sturdy thread
With some trial and error, you'll get the hang of the salt dough process. Don't worry about little mess-ups - just smoosh the dough together and start again. The great thing about salt dough is that it's very forgiving. Have fun troubleshooting and learning along the way!
What else can you make with salt dough?
Salt dough is so versatile, the possibilities are endless and not limited to Halloween celebrations. You could make any one of the following salt dough creations:
Halloween salt dough pumpkins, scarecrows or monsters
Christmas salt dough snowman or Christmas salt dough Santa or Christmas salt dough penguin
Christmas salt dough decorations, such as stars, gingerbread men, Christmas trees etc
Salt dough Easter eggs
Salt dough Valentines hearts
Salt dough handprints
My Final Thoughts on Salt Dough Halloween Figures
Salt dough ghost crafts are a fun and fulfilling Halloween project for kids.
The salt dough recipe only requires a few simple pantry ingredients. Letting kids help measure and mix engages math and science skills. Rolling out the dough builds hand strength and coordination. Shaping, molding and cutting out unique ghosts boosts creativity.
Kids will be proud to show off their homemade creations. The ghosts can become annual holiday traditions as kids recreate and reinvent new looks each year. Enjoy this easy craft that brings out imagination and builds skill sets for kids of all ages!

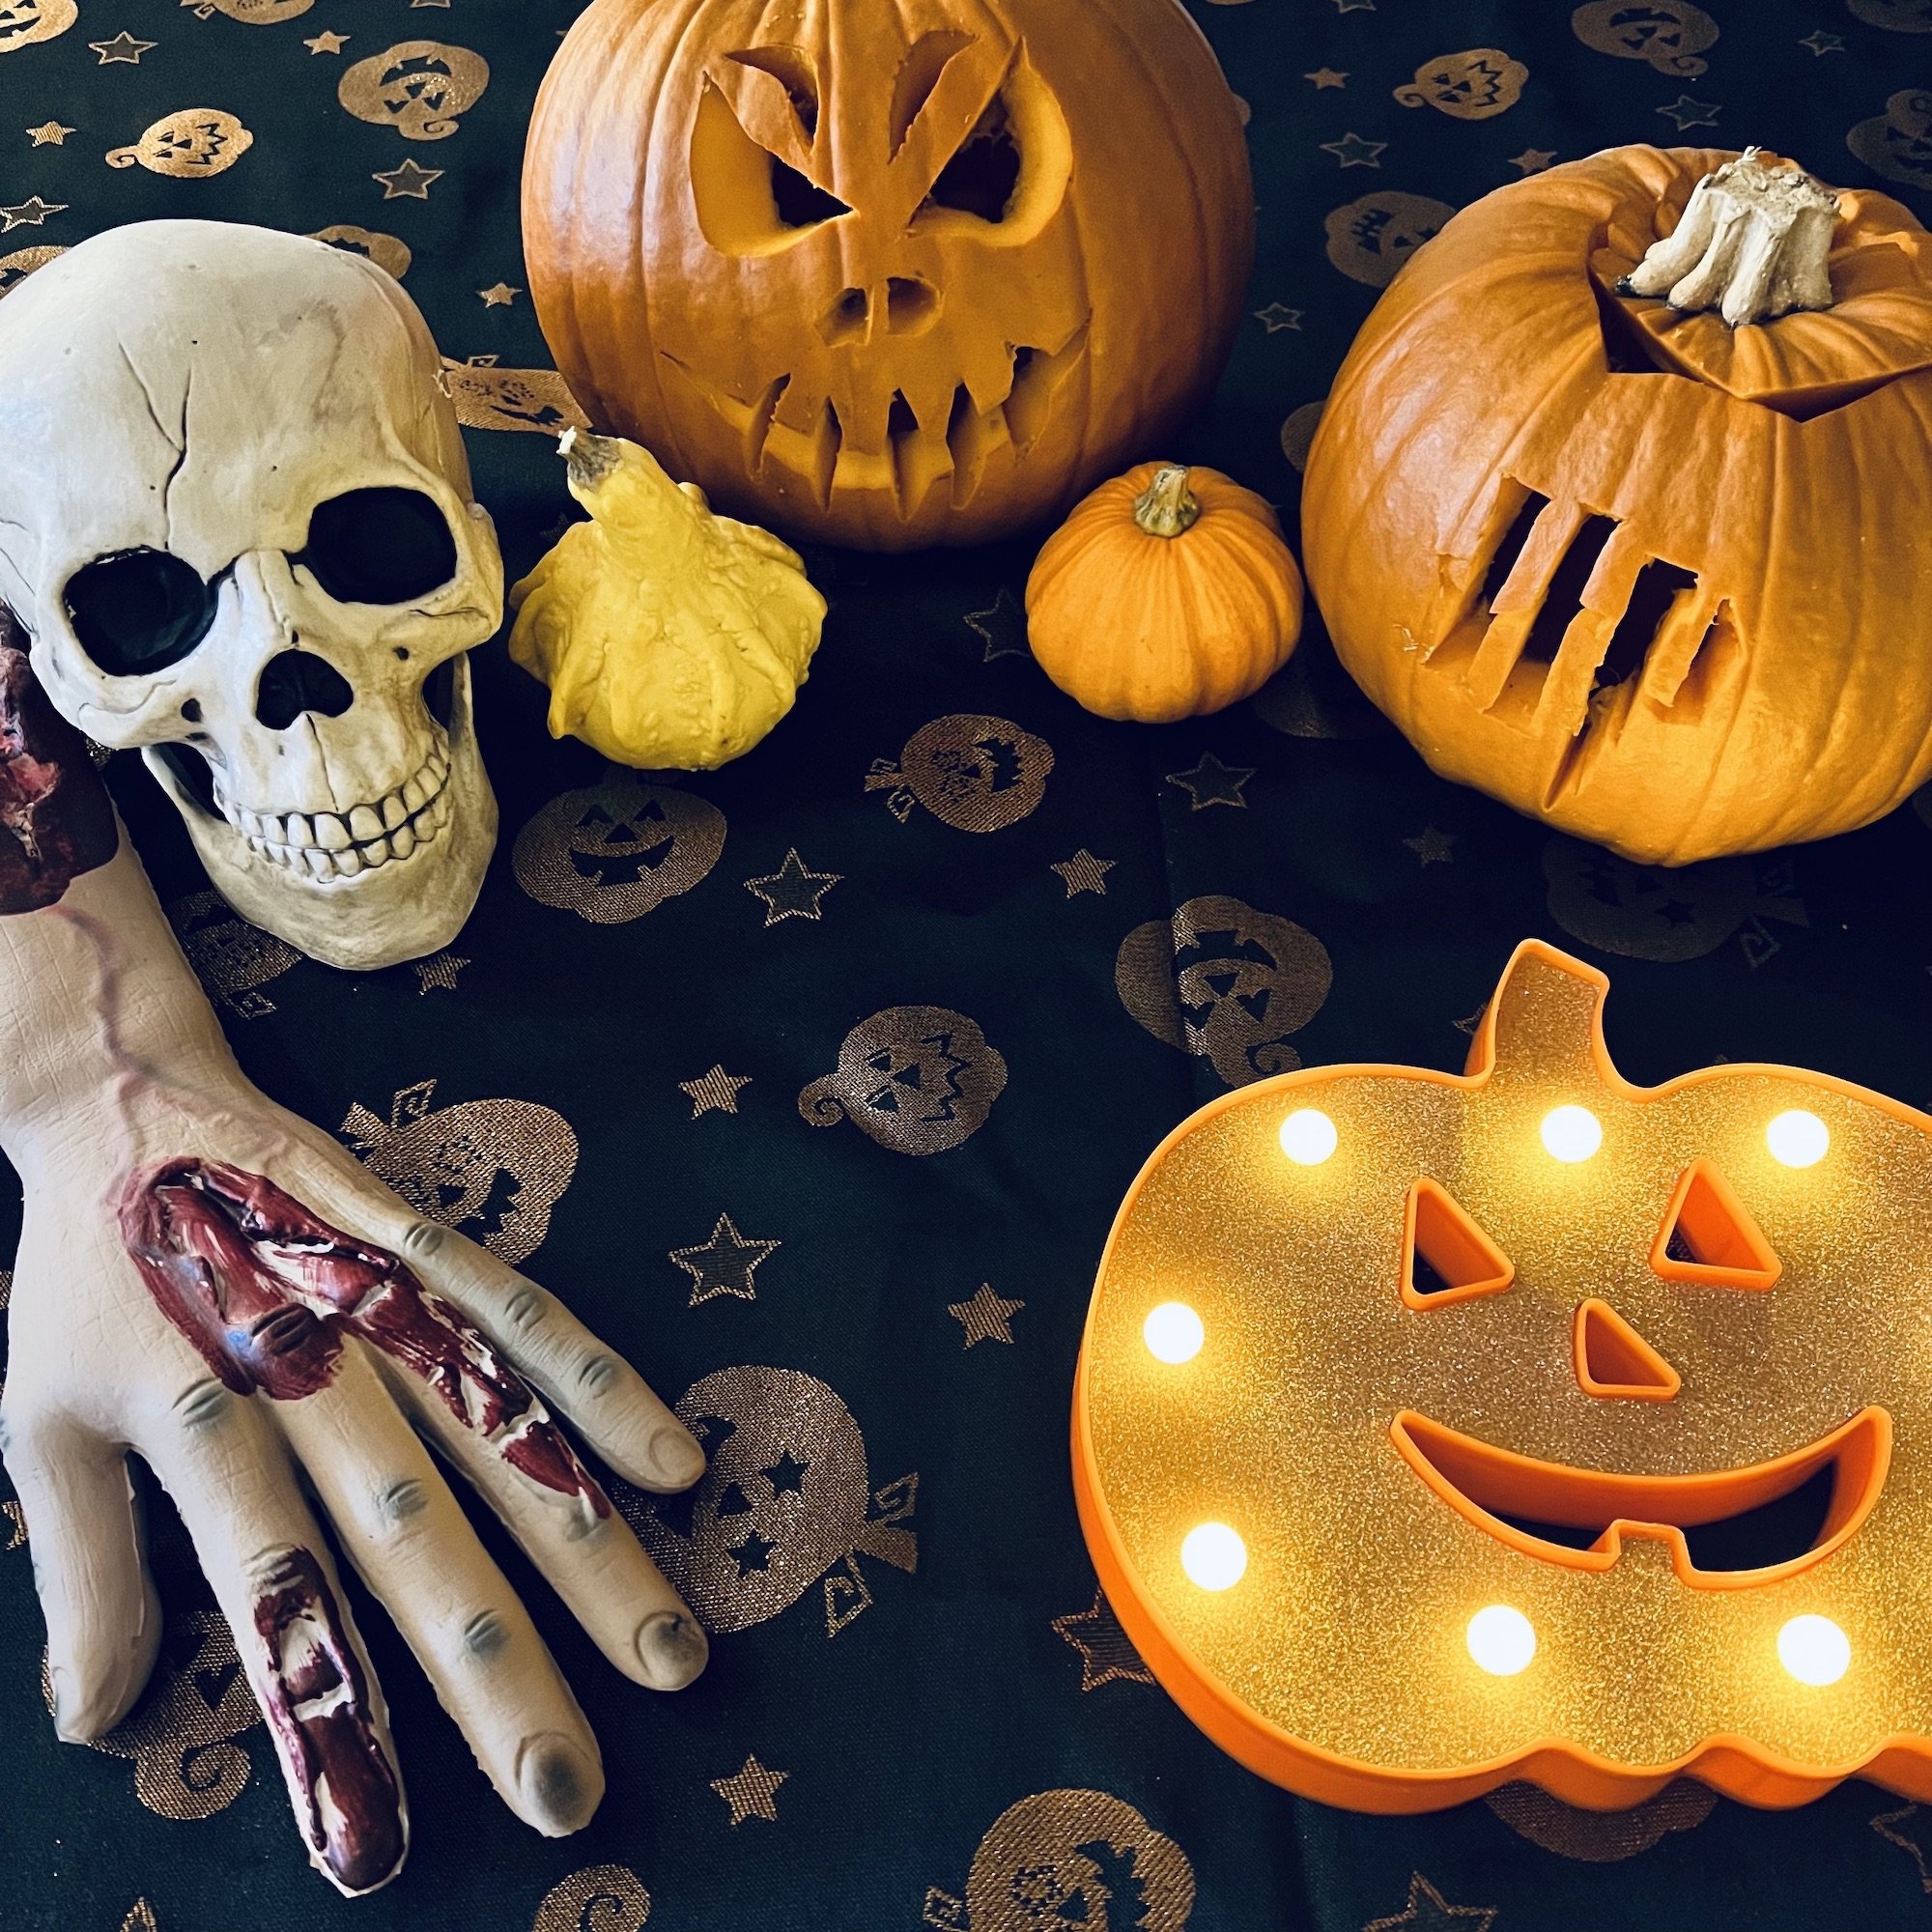
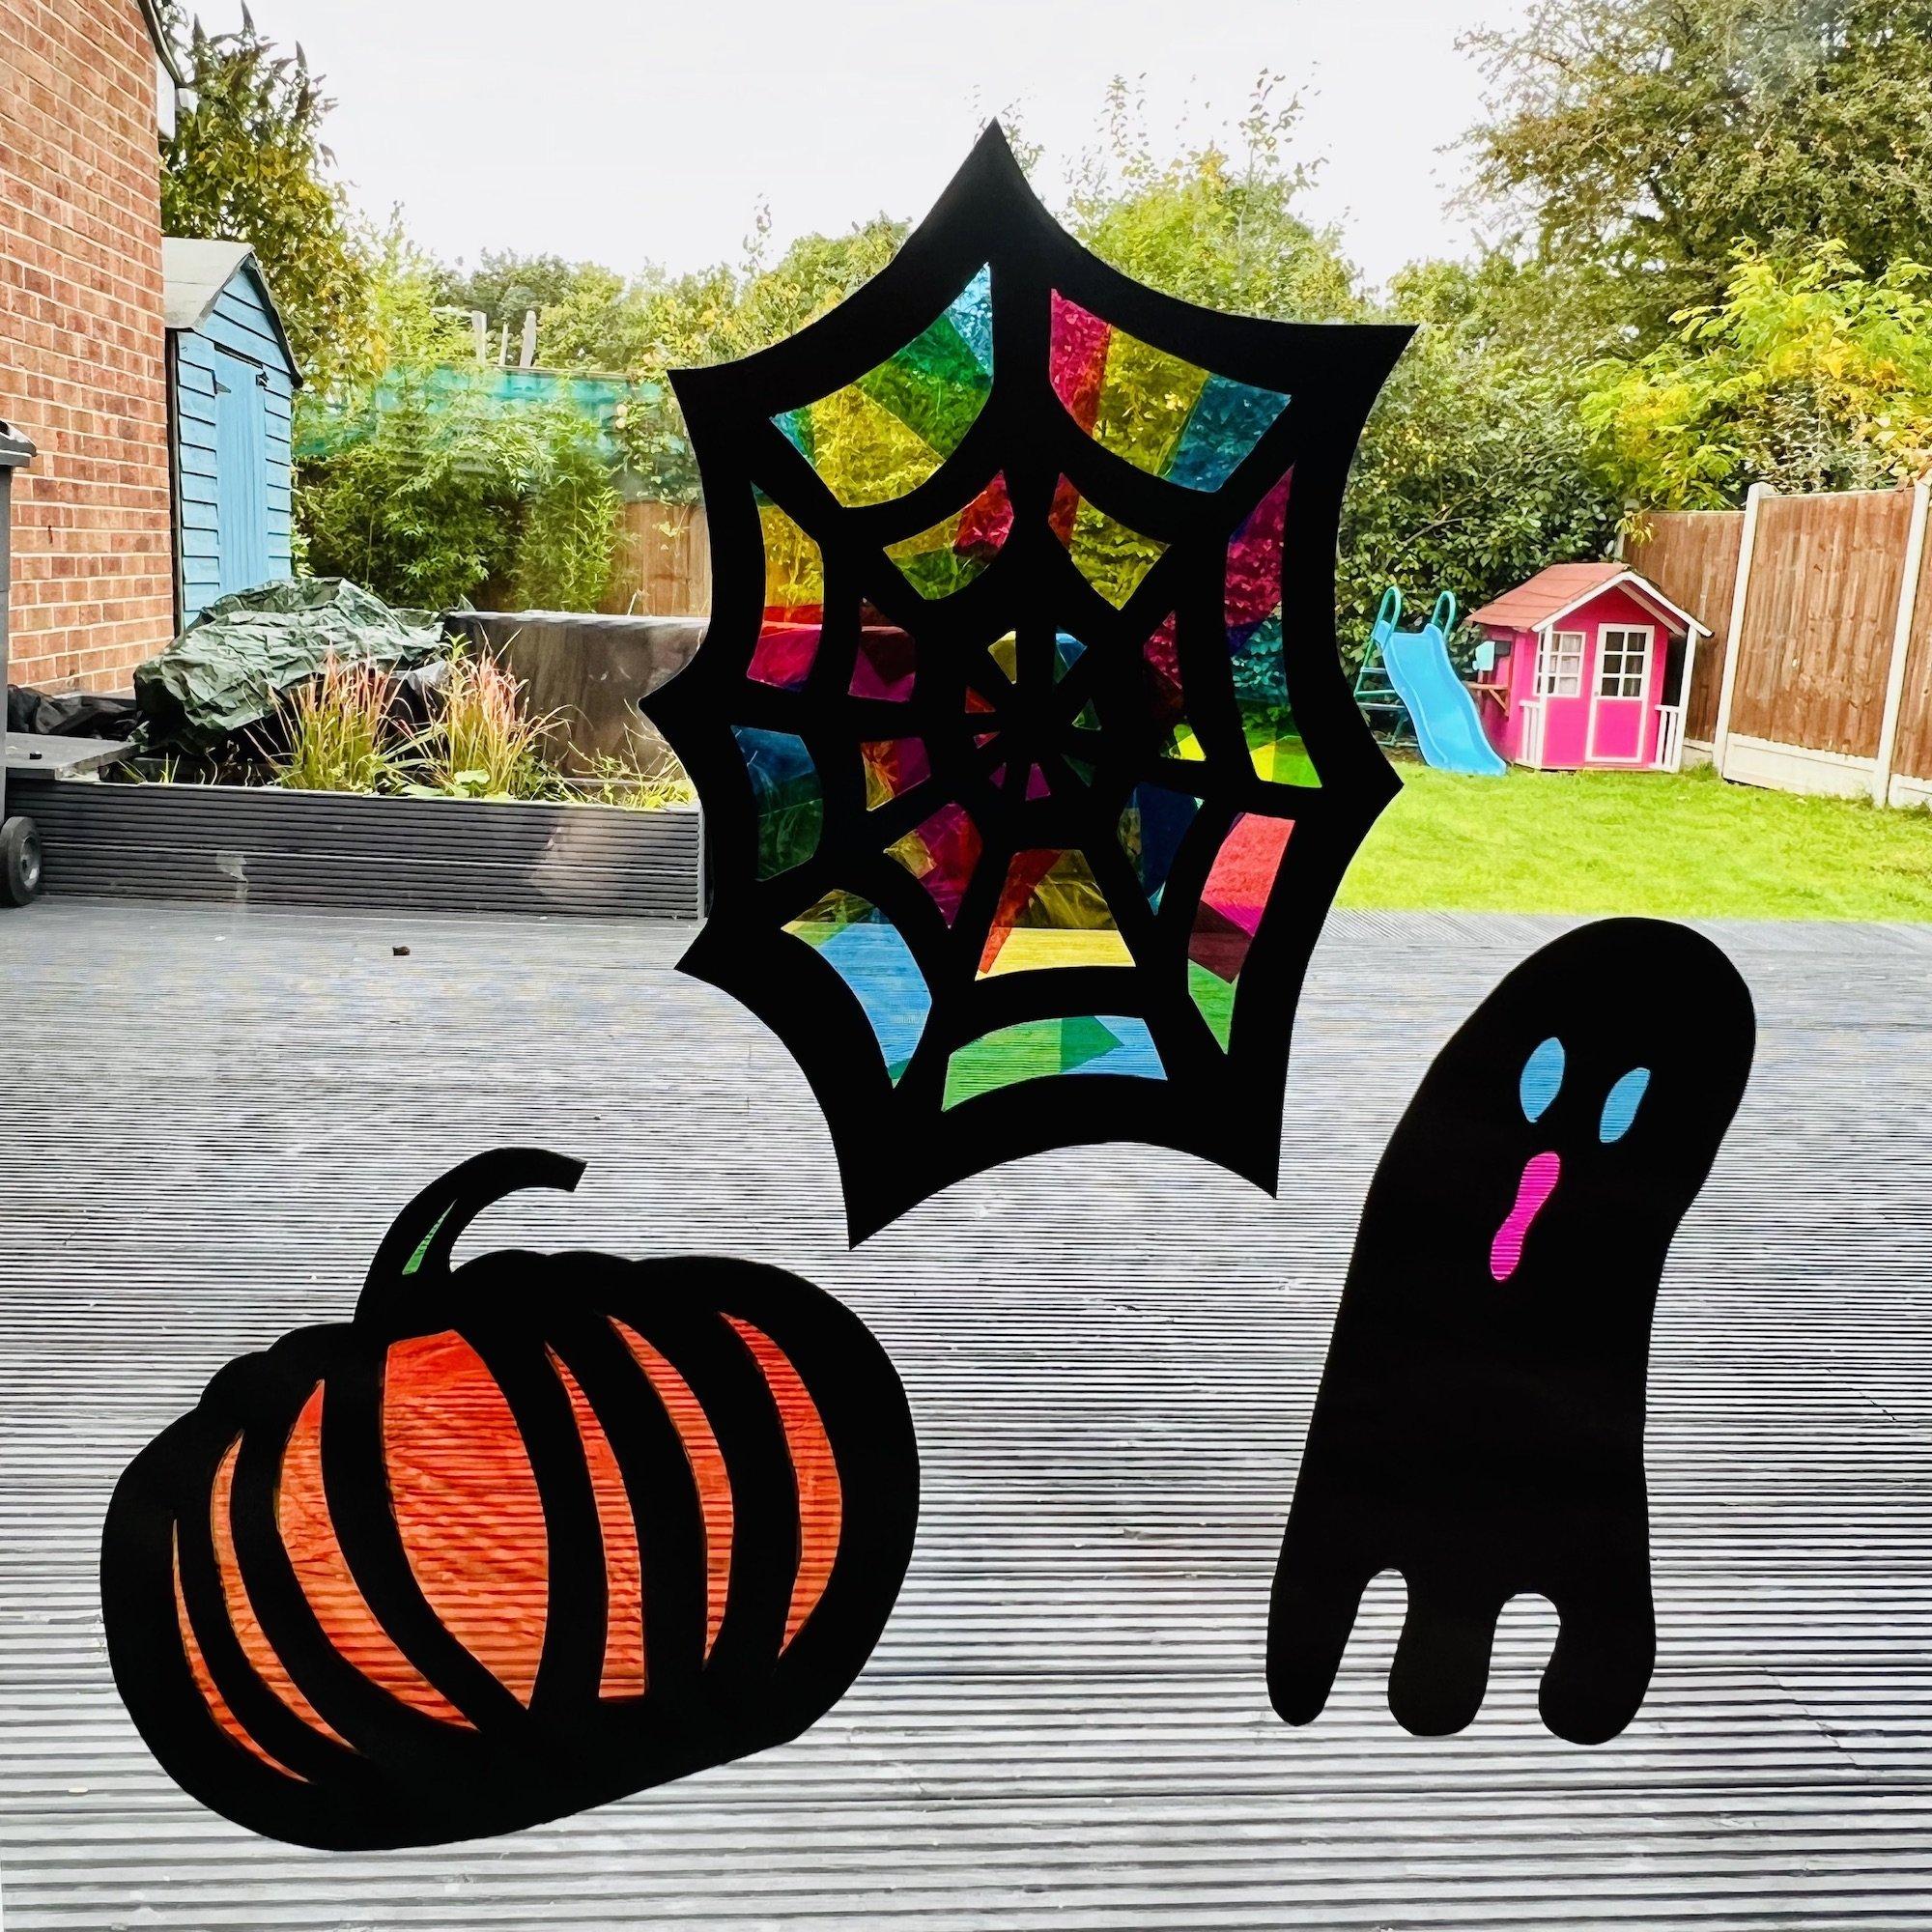
I hope you have found this guide helpful. If you have made any salt dough Halloween figures, I would love to see it! You can email me at sarahransomeart@gmail.com. For more Halloween ideas, please read here for a guide to pumpkin carving and Halloween suncatchers.
If you enjoyed this blog post, you might like…