Craft ideas for kids - A Guide to Painting Stones!
Activity Duration: 2-5 hours
Painting stones and rocks is a fun and creative craft that allows kids to express their artistic side.
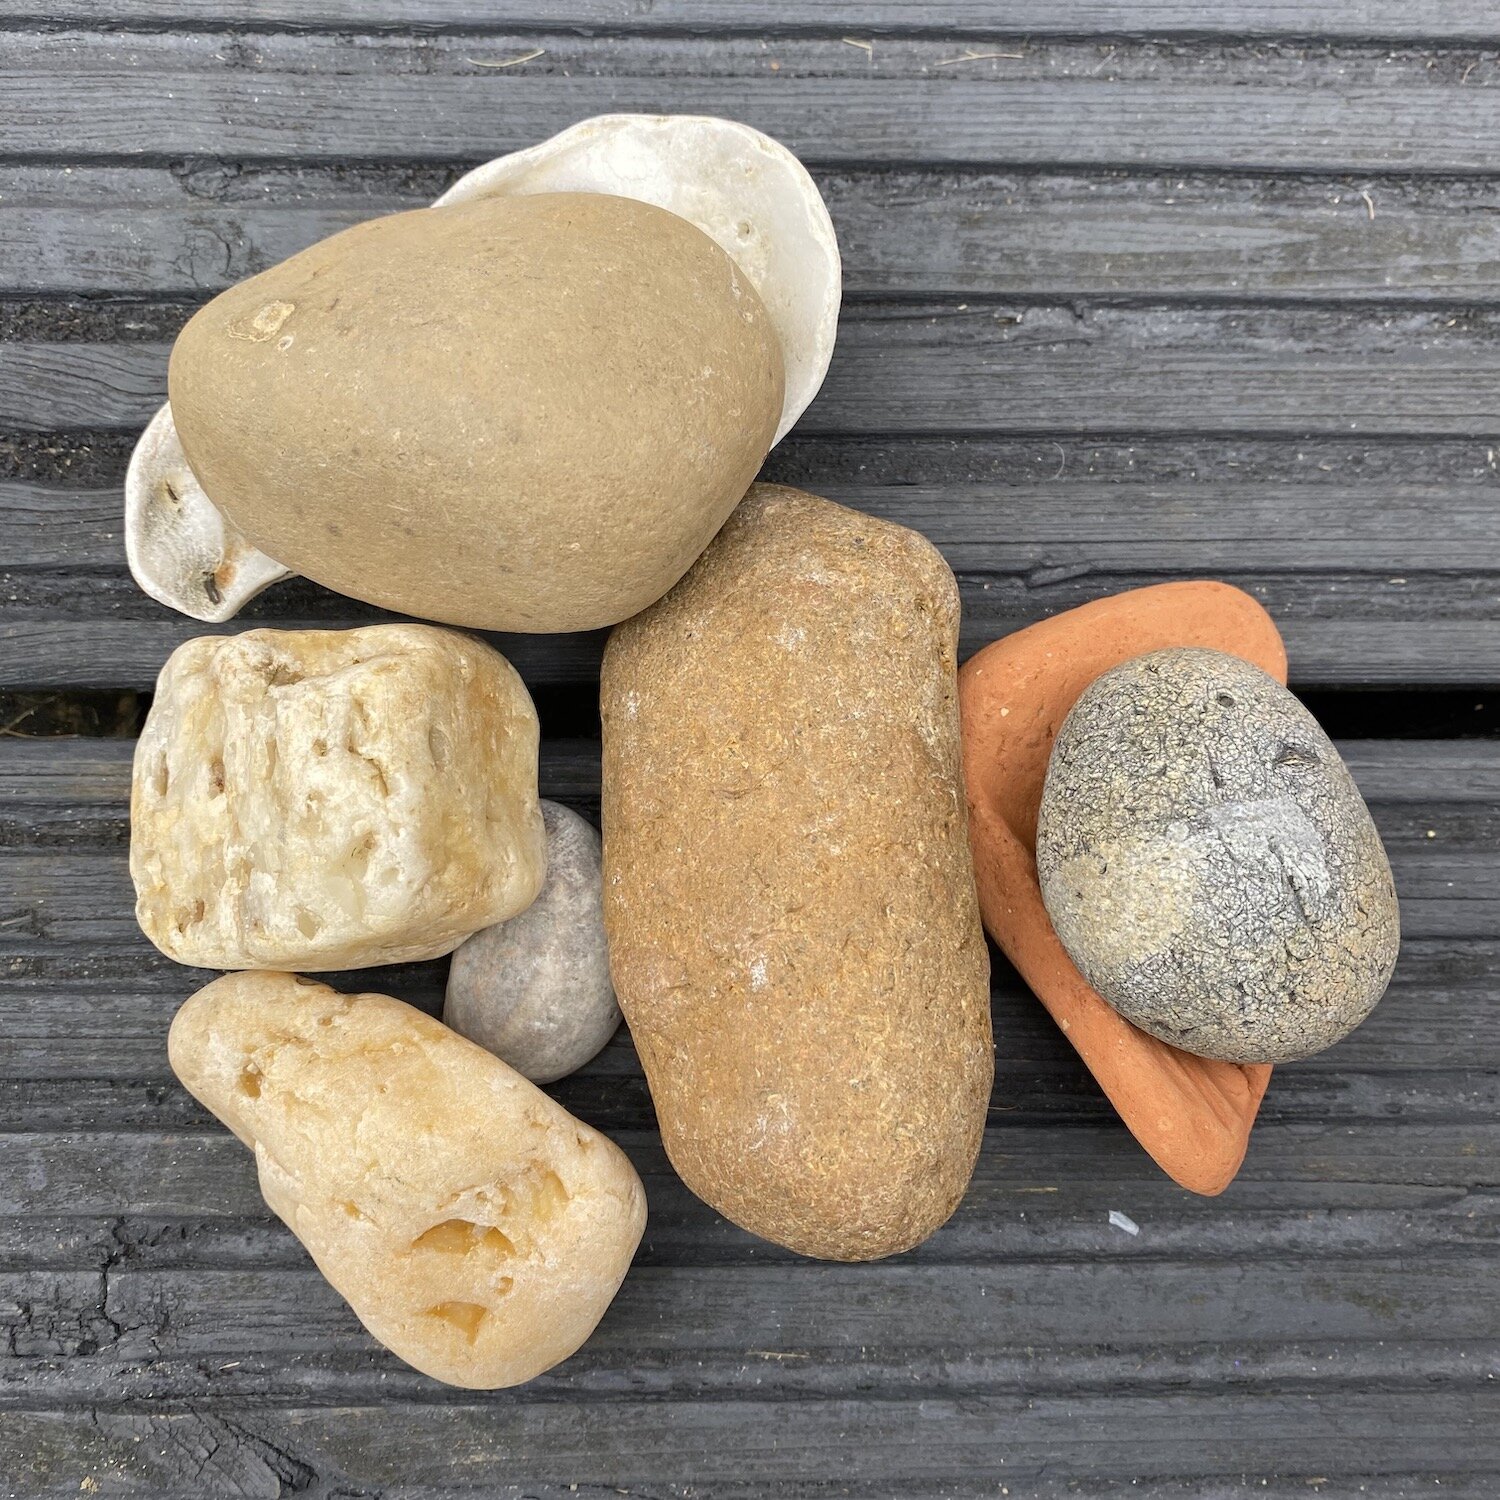
No visit to a beach with children is complete until you have chosen a selection of stones or shells to take home.
Painting the stones at a later date is a lovely activity that children enjoy and really makes the most of their collection. There is a lot of scope to either keep it simple or get as creative as you want.
The finished painted stones will make delightful mementos of your holiday or day at the seaside.
This activity is great for all ages, but I feel the optimal age is from 6+. It’s possible to do this activity with younger children, but the advantage of doing it with older children is that they require less supervision and the adult can join in and paint some stones alongside the child.
I have set out what equipment you need and a step by step guide to follow for your stone painting, including some optional steps depending how much time you have available and the skill levels of the painters.
Equipment - Everything you need for stone painting
Before starting any stone painting project, you'll need to gather the right art supplies. Having the proper paints, brushes, sealants and other essentials will make the painting process easy and enjoyable. Here is a list of what you will need:
Stones (flat, smooth stones are easier to paint)
An apron
An old towel
A pencil
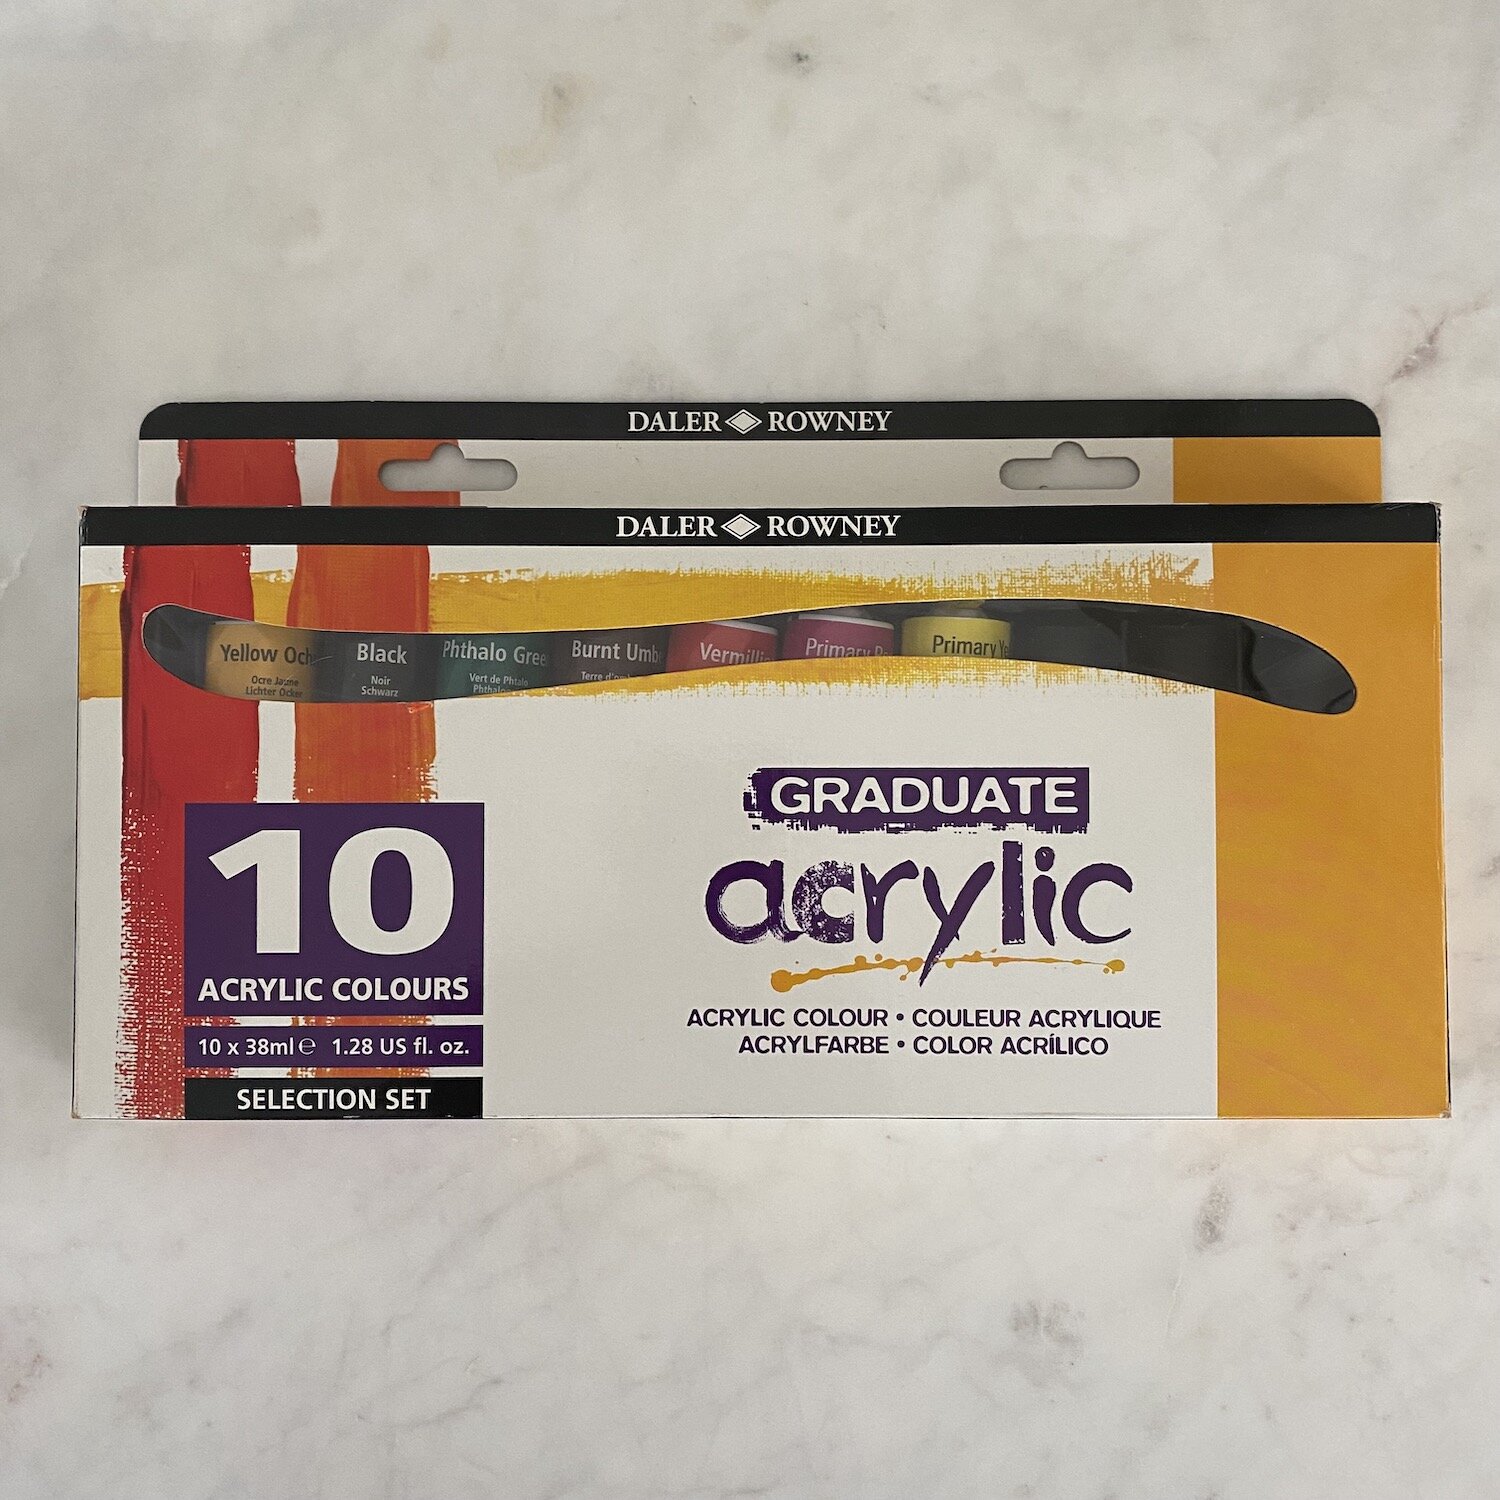
A selection of acrylic paints (washable paints are better for younger children or if you do not have acrylic paints available)
A paint tray
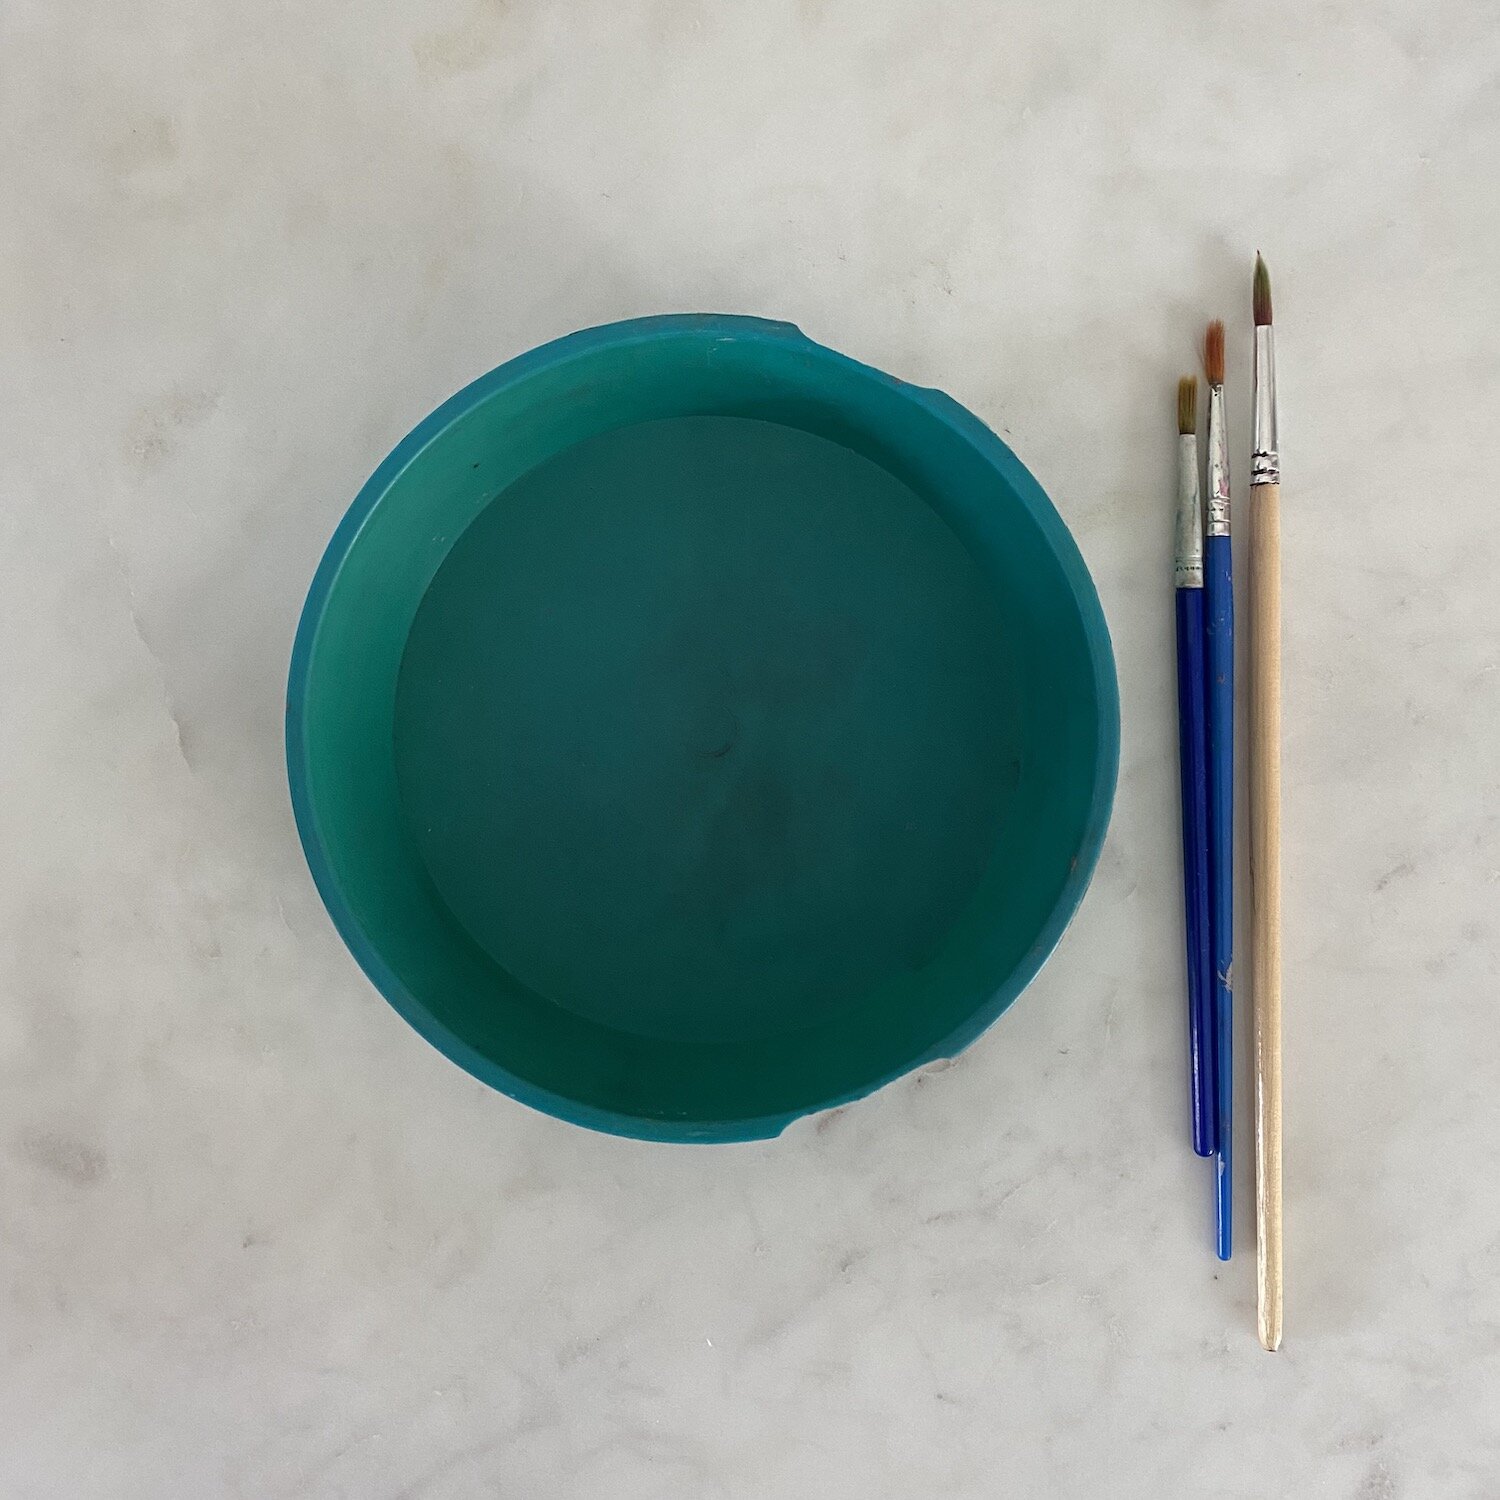
A small paint brush
A medium paint brush
A cup of water
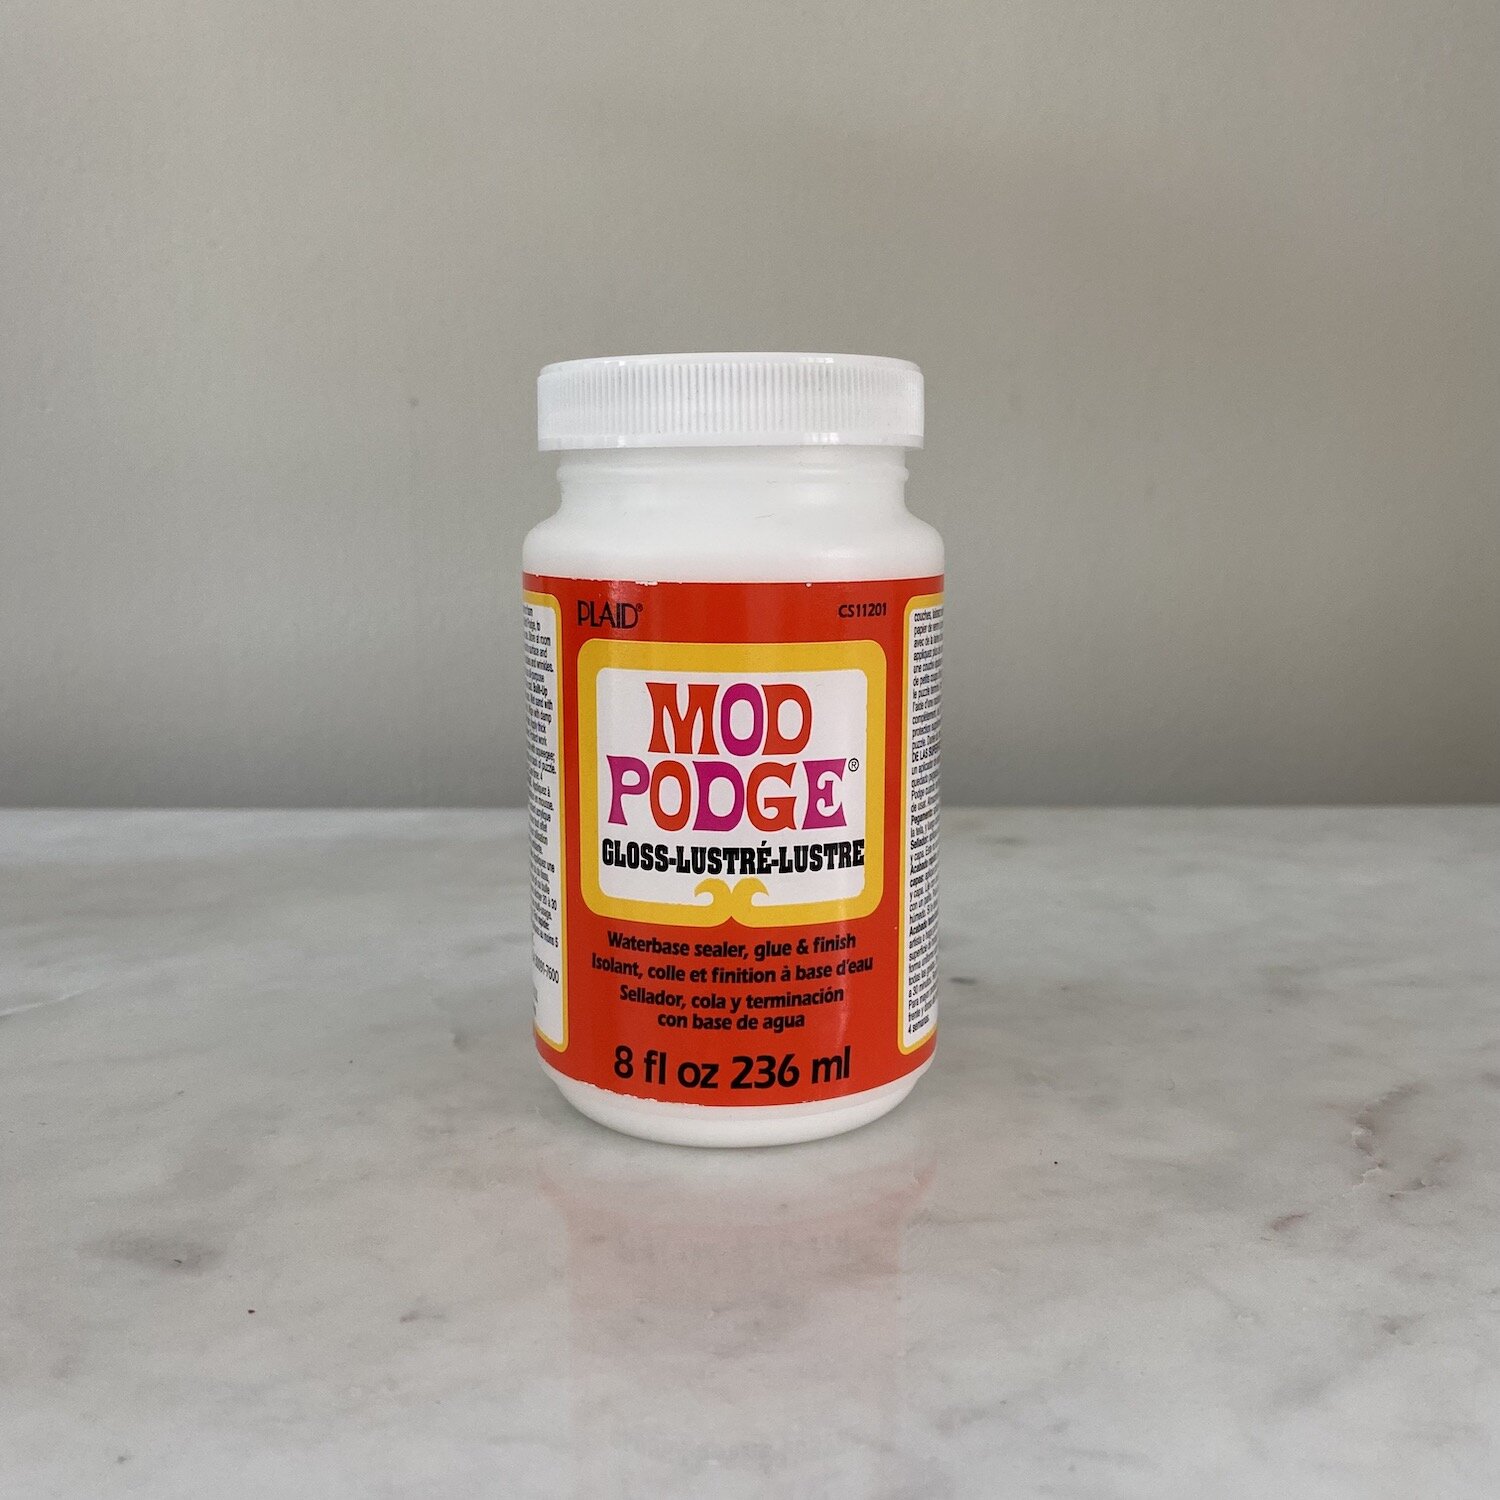
Sealant (such as Mod Podge)
Optional Extras:
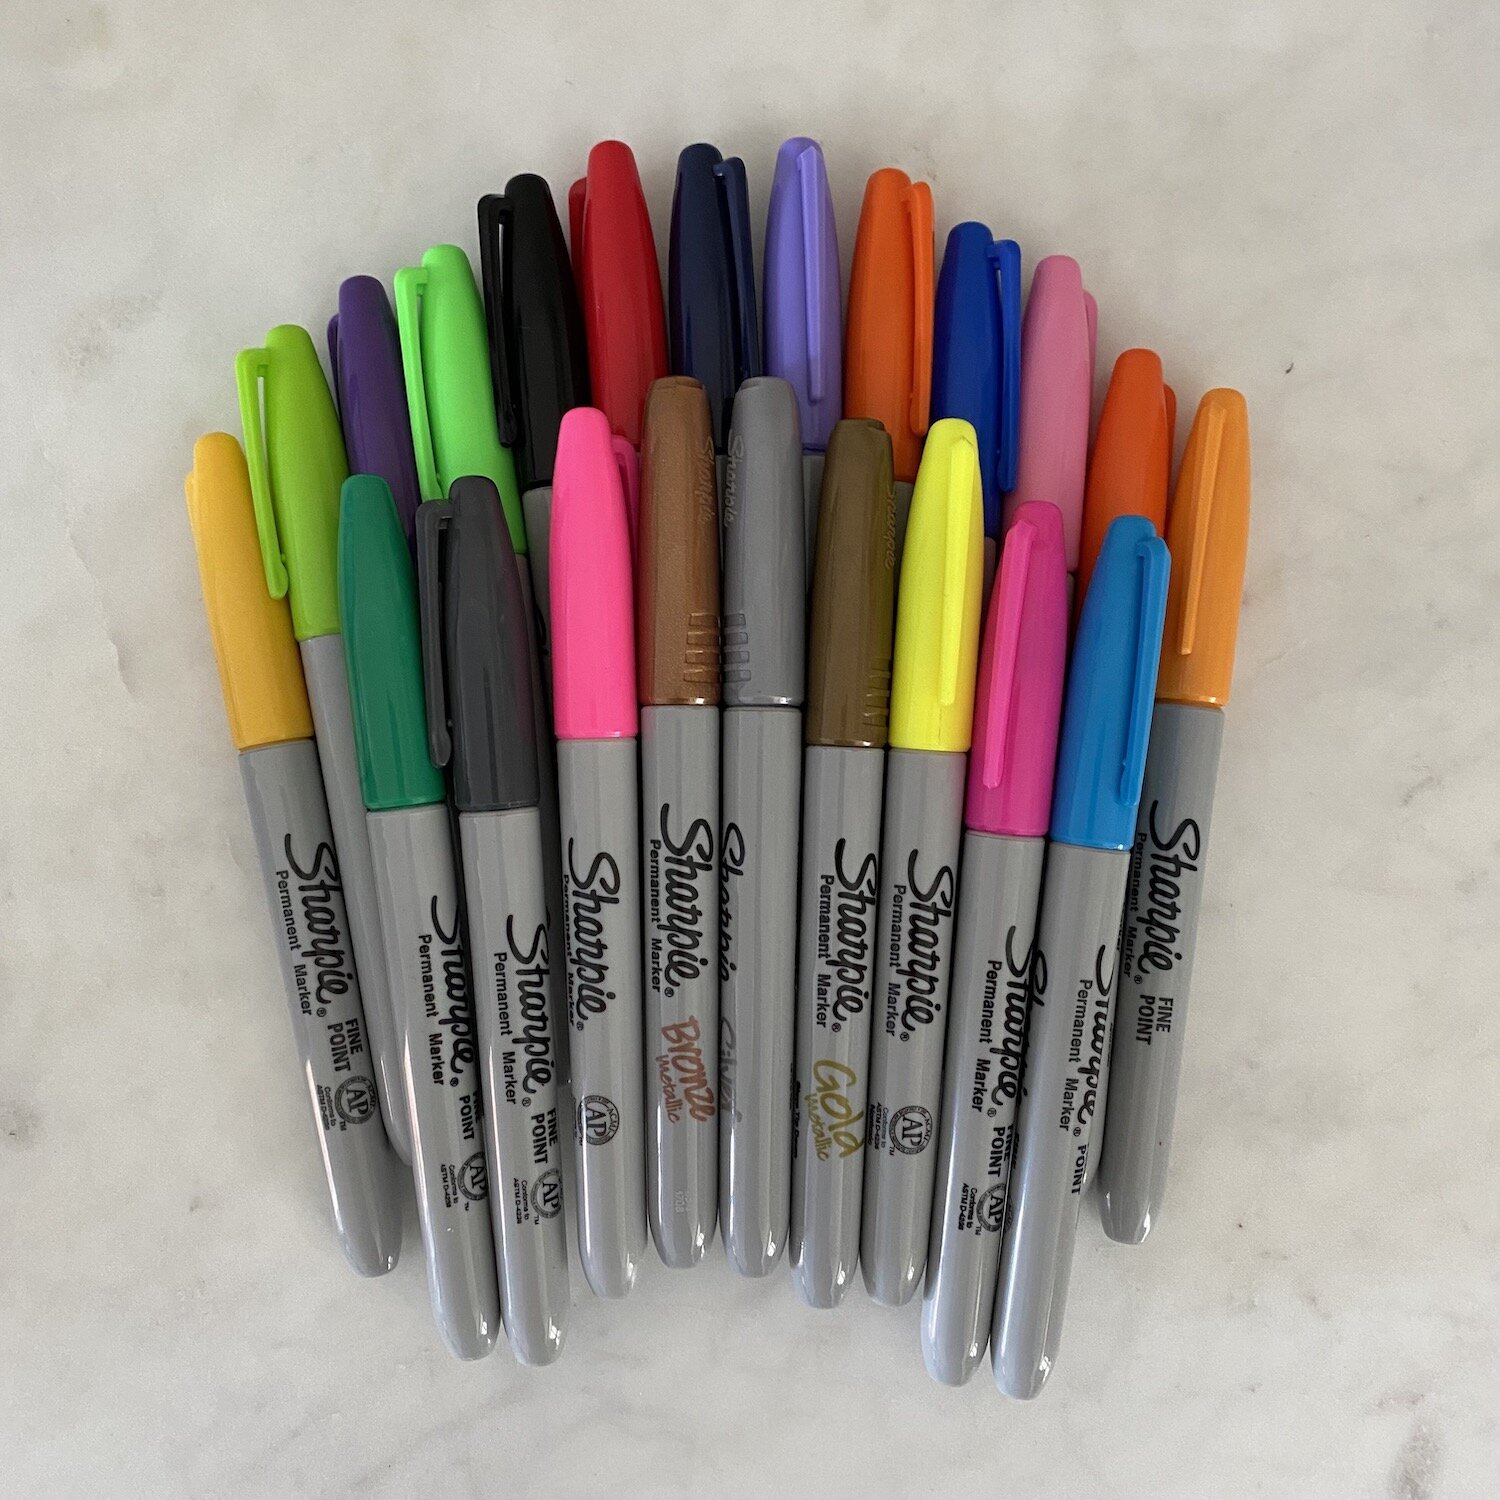
Permanent pens, such as Sharpies
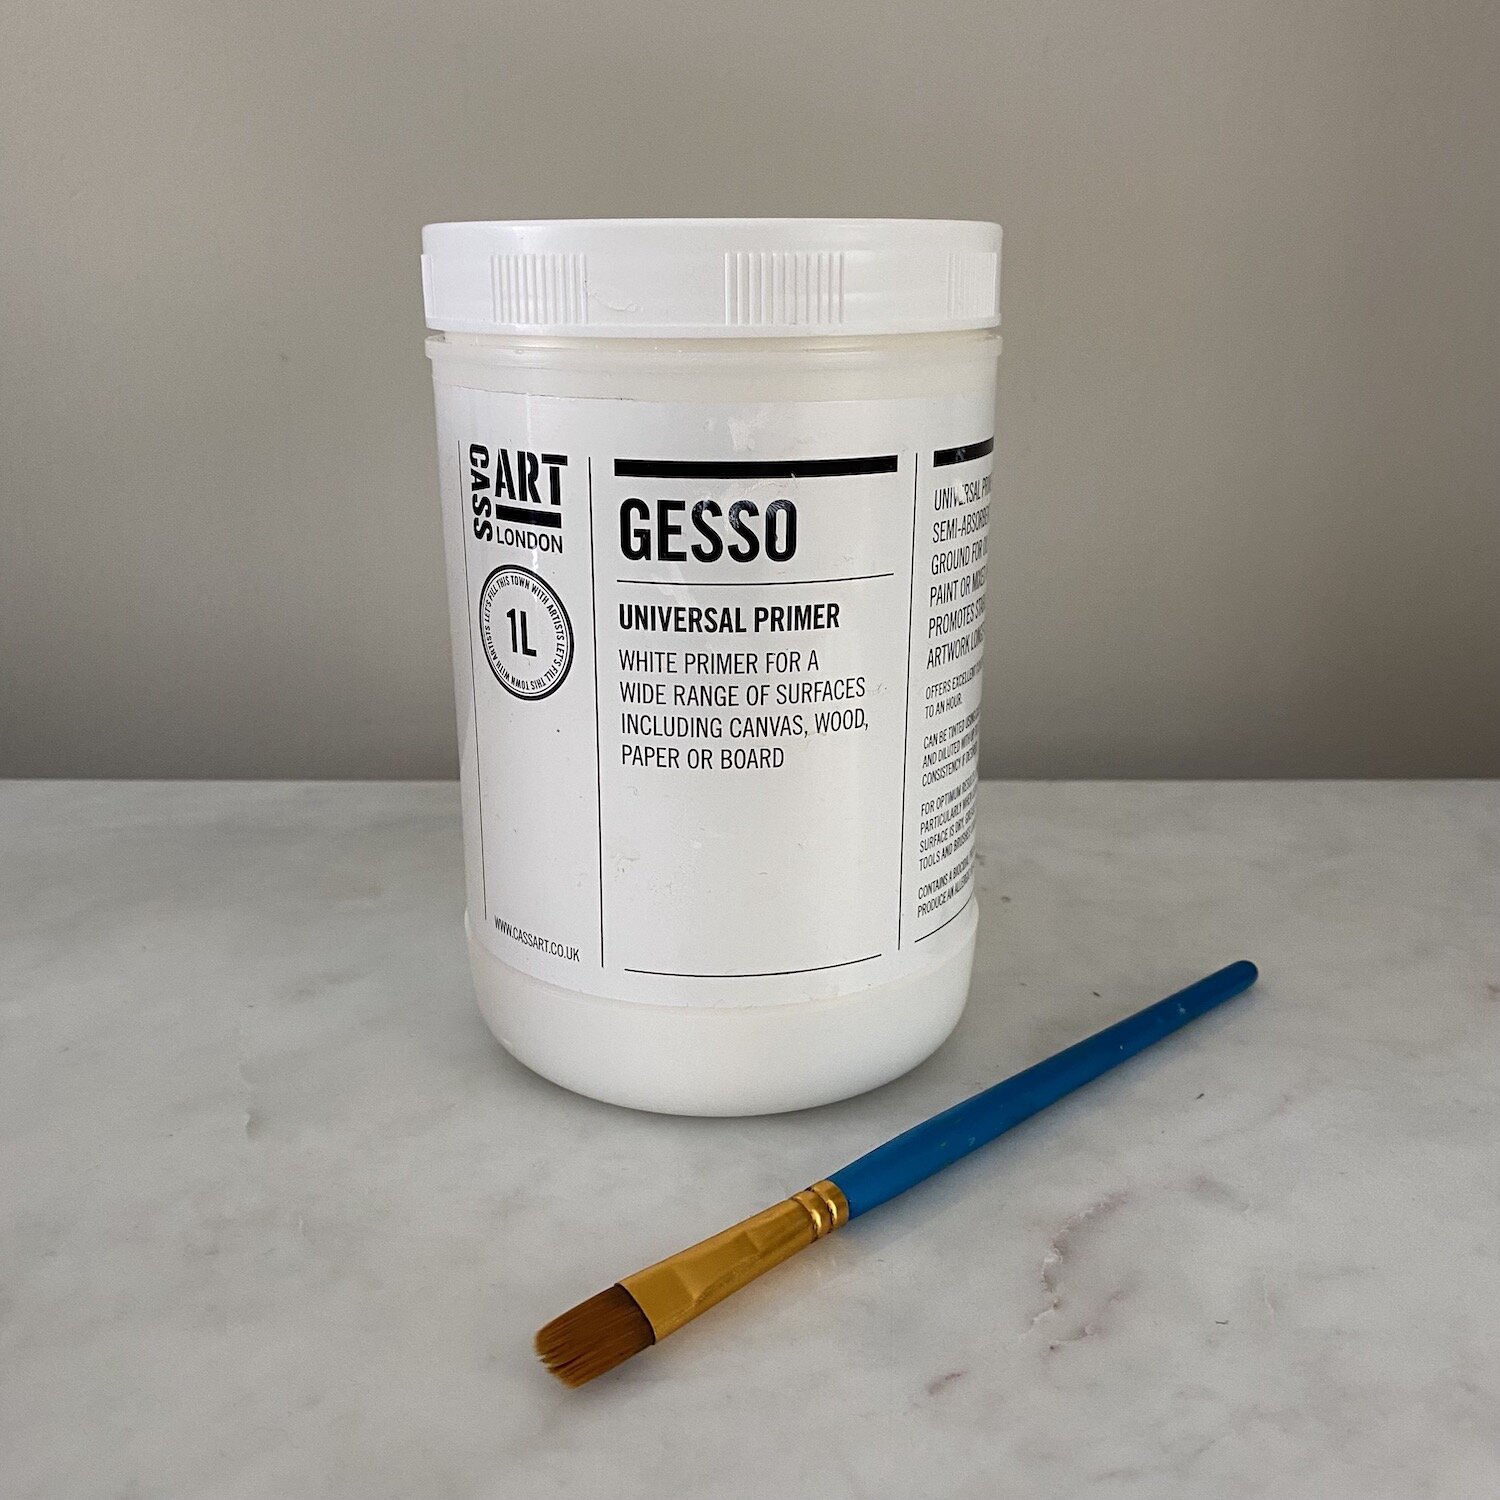
White primer paint
Instructions - How to carry out stone painting
Step 1: Prepare the Work Surface
Once you have all the needed art supplies for painting stones, it's important to properly set up the work area. Taking a few minutes to prepare will keep the painting process smooth and mess-free. Here are some tips for getting your workspace ready:
Cover surfaces - Lay down newspaper, plastic tablecloths or tarps to protect tables and floors from drips and spills.
Have paper towels - Keep a roll or stack nearby to quickly wipe up any messes.
Use paint palettes - Provide a paper plate or acrylic palette for squeezing out and mixing paints.
Clear space - Remove any non-essential items from the work surface. Give kids room to work.
Add underlays - Place paper towels or paper plates under stones for catching stray drips.
Set up water - Have a cup or bowl of water for rinsing brushes as kids switch paint colours.
Apron up - Have kids wear an apron or old shirt to keep their clothing paint-free.
Taking a few minutes to prepare will allow kids to focus on the fun painting process without worrying about spills and drips. The next chapter will overview popular stone painting techniques and design ideas.
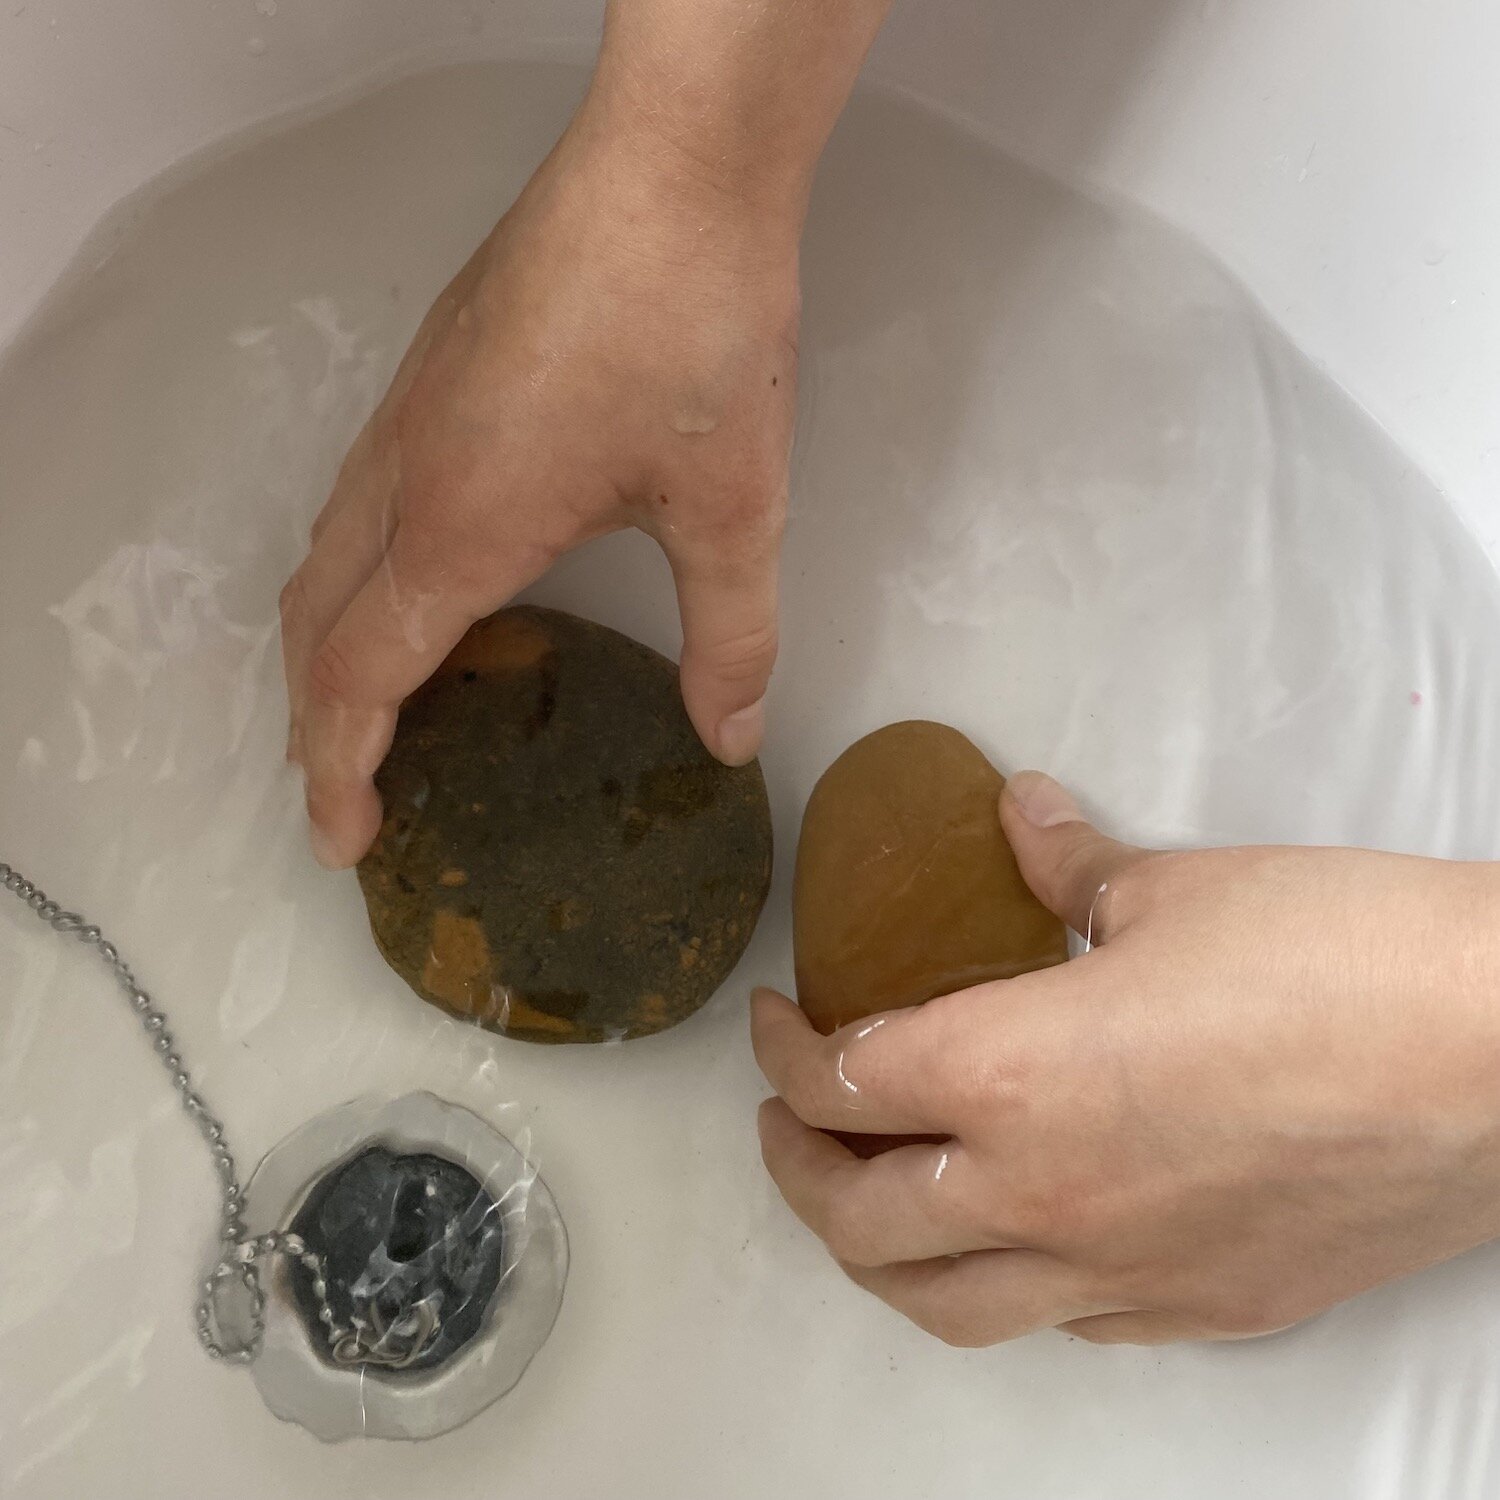
Step 2: Washing the Stones
Wash the stones with water in a sink and dry them with an old towel, wait for them to dry thoroughly before you start painting.
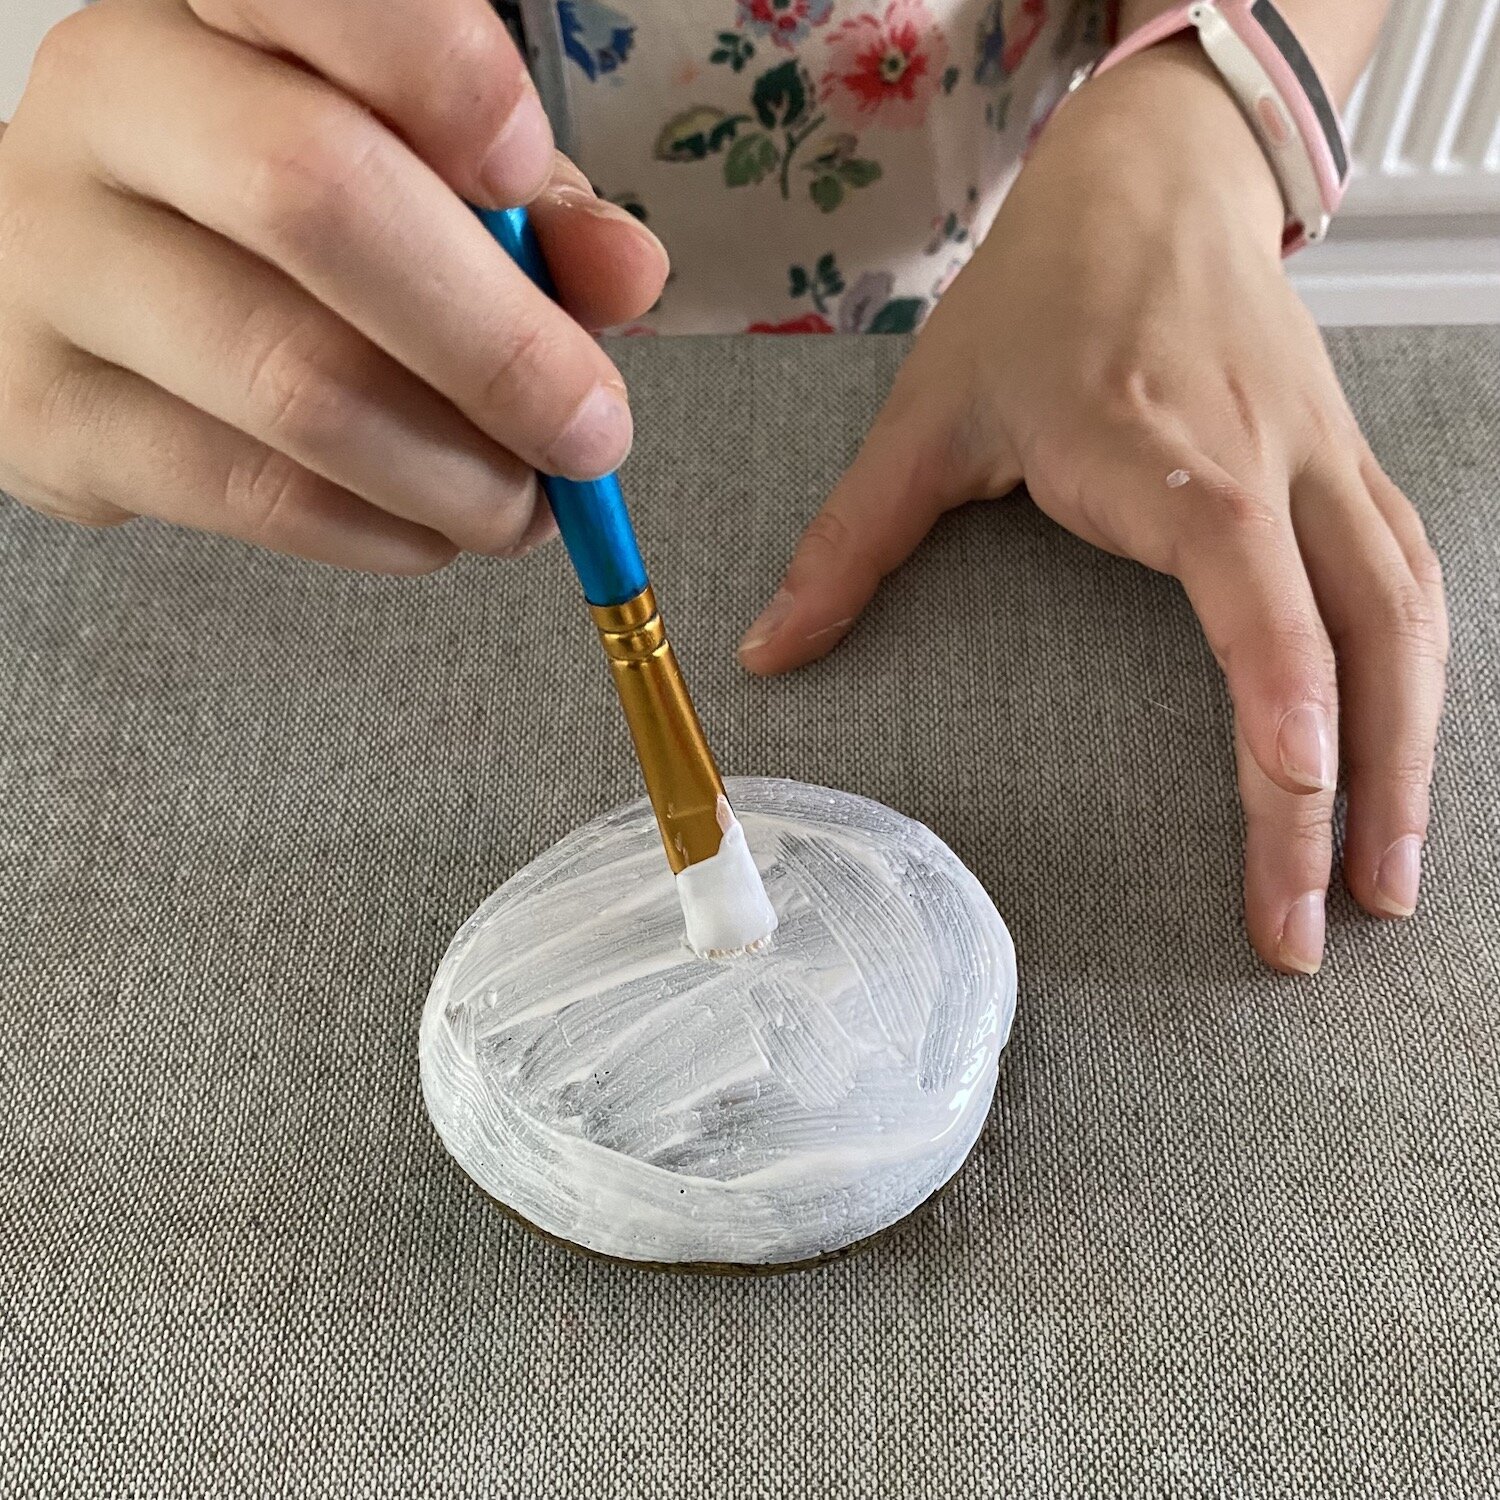
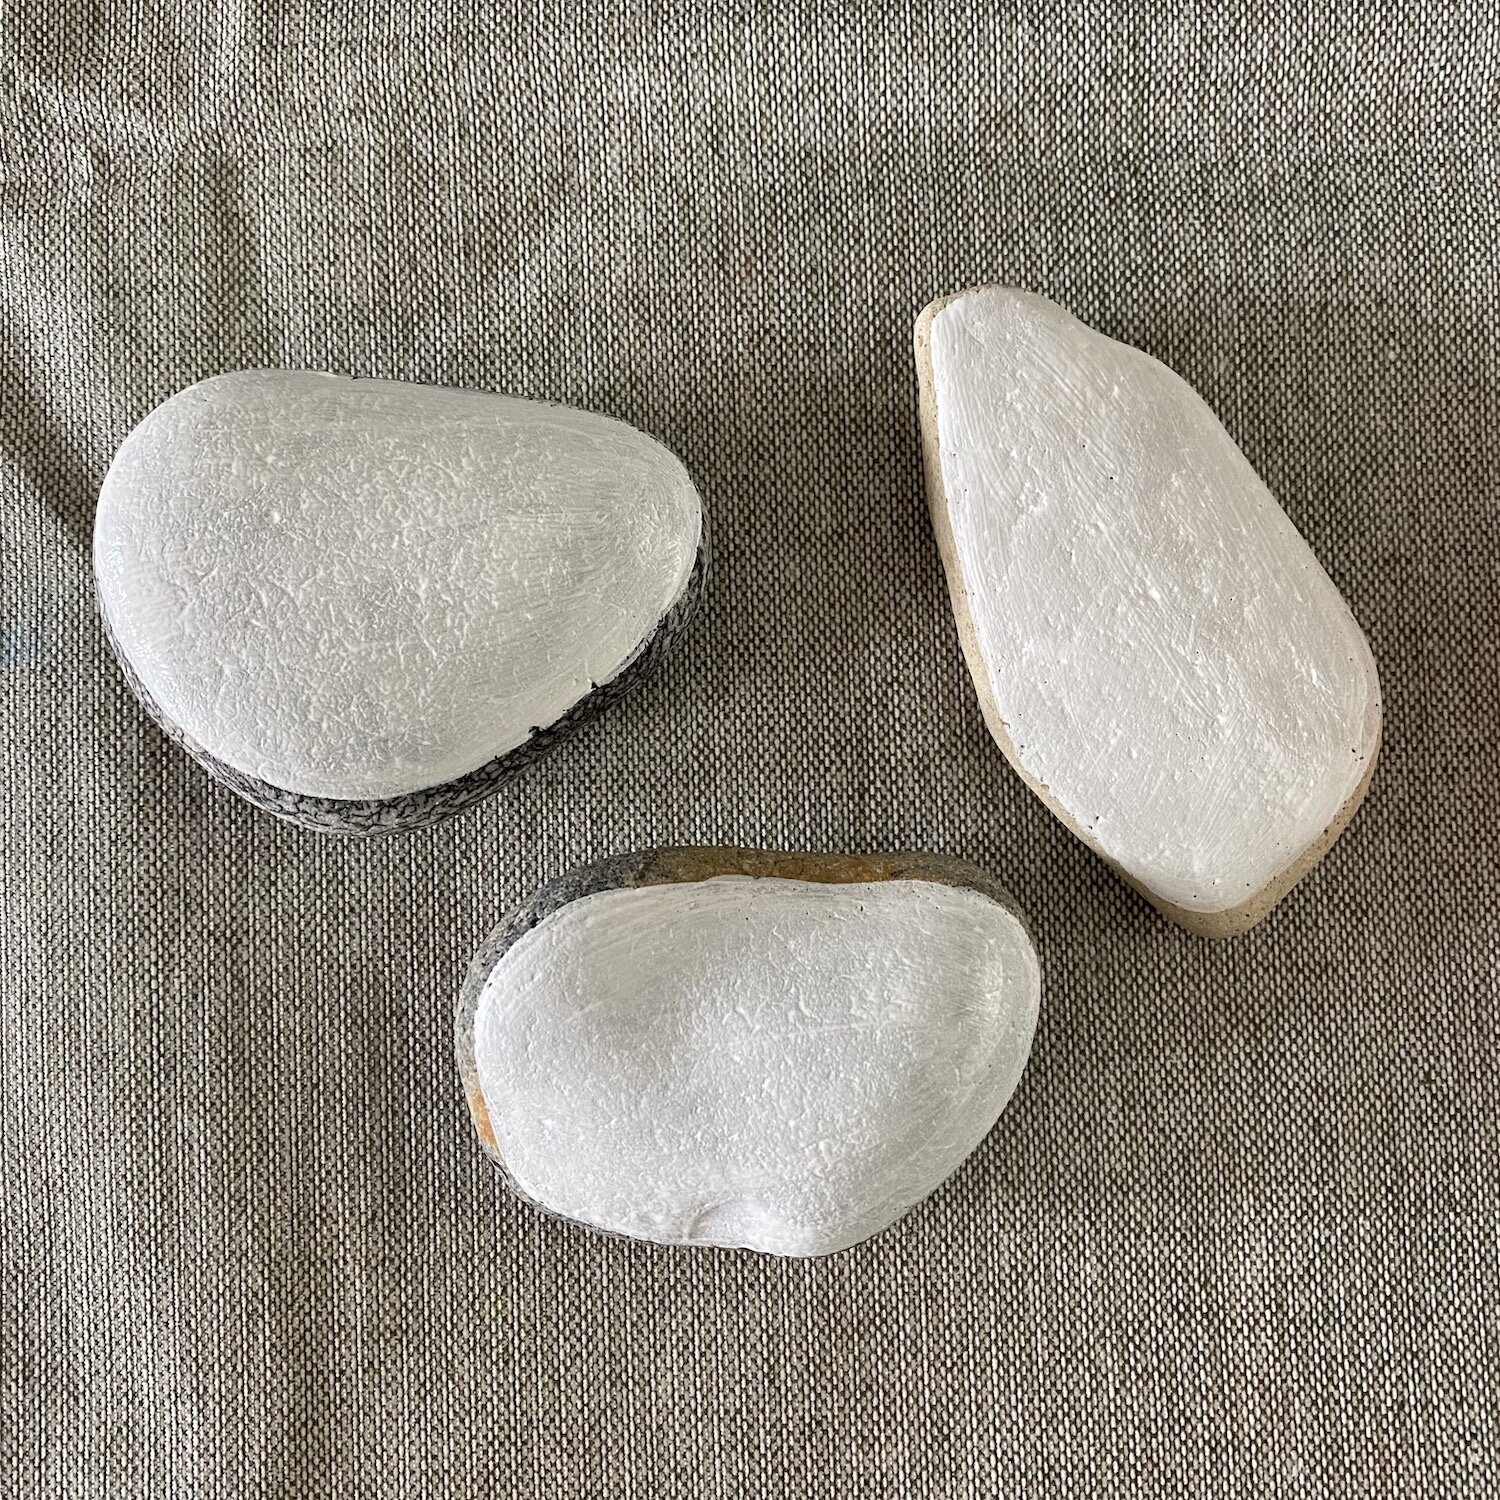
Step 3: Add a Layer of White Primer Paint to the Stones
I would recommend painting the stones with a layer of white primer paint, as it will make for bright, vibrant colours when painting the main layer. I used Gesso Primer, but any white primer will be fine.
If you don’t have any primer or you are short on time, you will still get great results without completing this step.
Step 4: Preparing Your Stone Painting Sketch

For best results, it is a good idea to sketch your design on paper first. Then draw your chosen design directly onto the stone in pencil.
Step 5: Painting Your Stones

I would advise putting a cup of water on the table to clean your paint brushes as you go.
To paint your stones, either use acrylic paint or Sharpies or a mixture of both!
Acrylic paint - I like to use acrylic paint as it dries quickly, so you can easily paint different colours and layers in a relatively short space of time.
Sharpies - You can do your whole design using Sharpies or just for adding finer details.

NOTE: Both acrylic paints and sharpies are difficult to clean up. They are also permanent once dry, so I would not recommend using them with children younger than six (or if your child is particularly messy :) ).
Washable Paints - It is possible to achieve great results with washable paints. These paints are ideal if you are carrying out this activity with younger children as they are easy to clean up.
Step 6: Tidying Up
Once your stones have been painted and are drying, this would be a good opportunity to tidy your workstation. Drying will take less than an hour if using acrylics, but longer if you have used washable paints, especially if the paint has been applied quite thickly.
Step 7: Sealing and Protecting Stones

Once kids have finished decorating the rocks with colourful designs, the final step is to seal and protect the painted stones. Applying a clear acrylic sealer will help the artwork last longer when displayed outdoors.
Spray sealants - Clear acrylic sprays are quick and easy. Spray a light coat over the entire painted surface and edges.
Brushed-on sealants - Products like Mod Podge can be brushed on smoothly. Use a foam brush and coat all sides.
Apply in thin layers - Heavy coats may cause bubbling. Lightly seal, let dry, then do another thin layer.
Ensure full drying - Allow sealant to fully dry overnight before handling to prevent smudges.
Test sealant first - Try on a sample rock to ensure it dries clear and doesn't react with paint.
Sealing the painted rocks will help keep the artwork looking vibrant for many years.
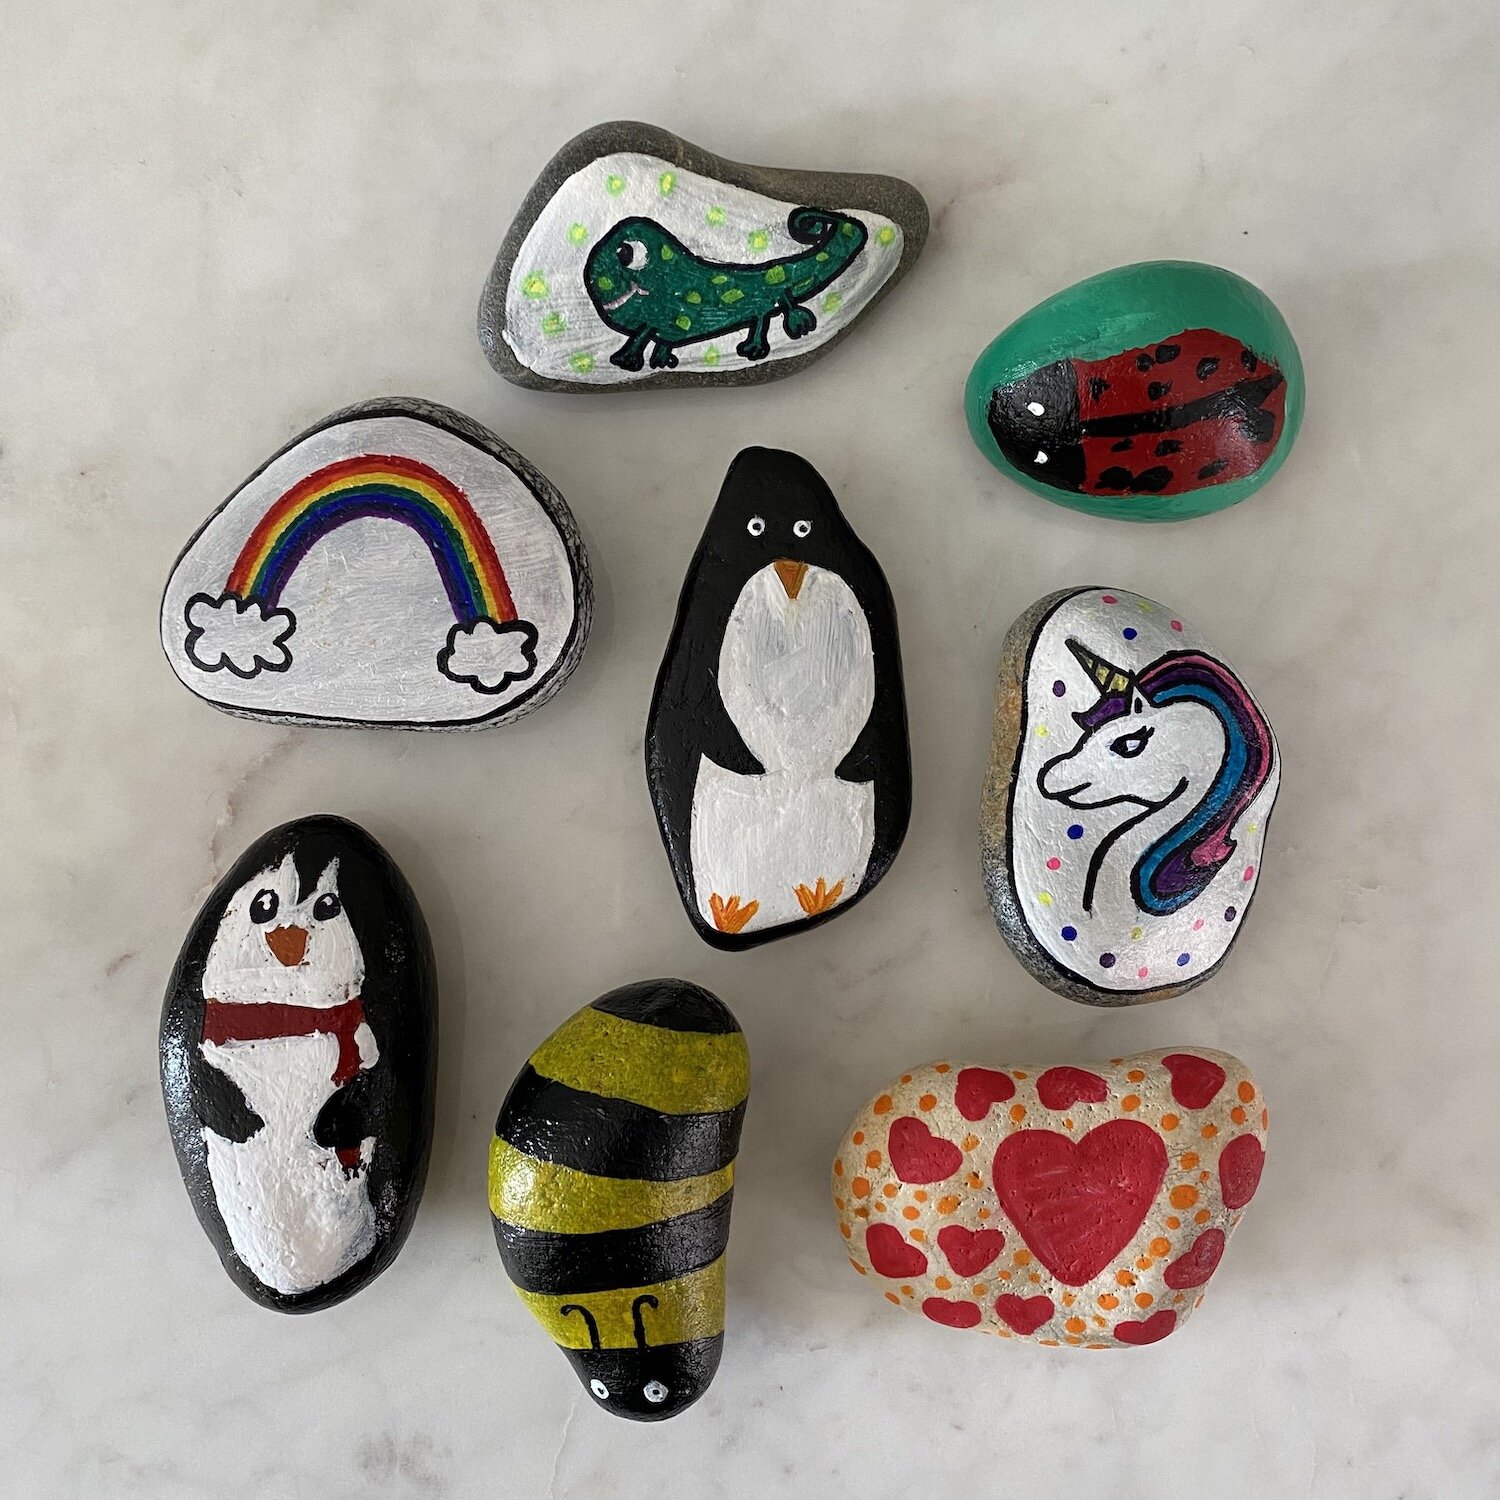
Stone Painting Techniques and Ideas
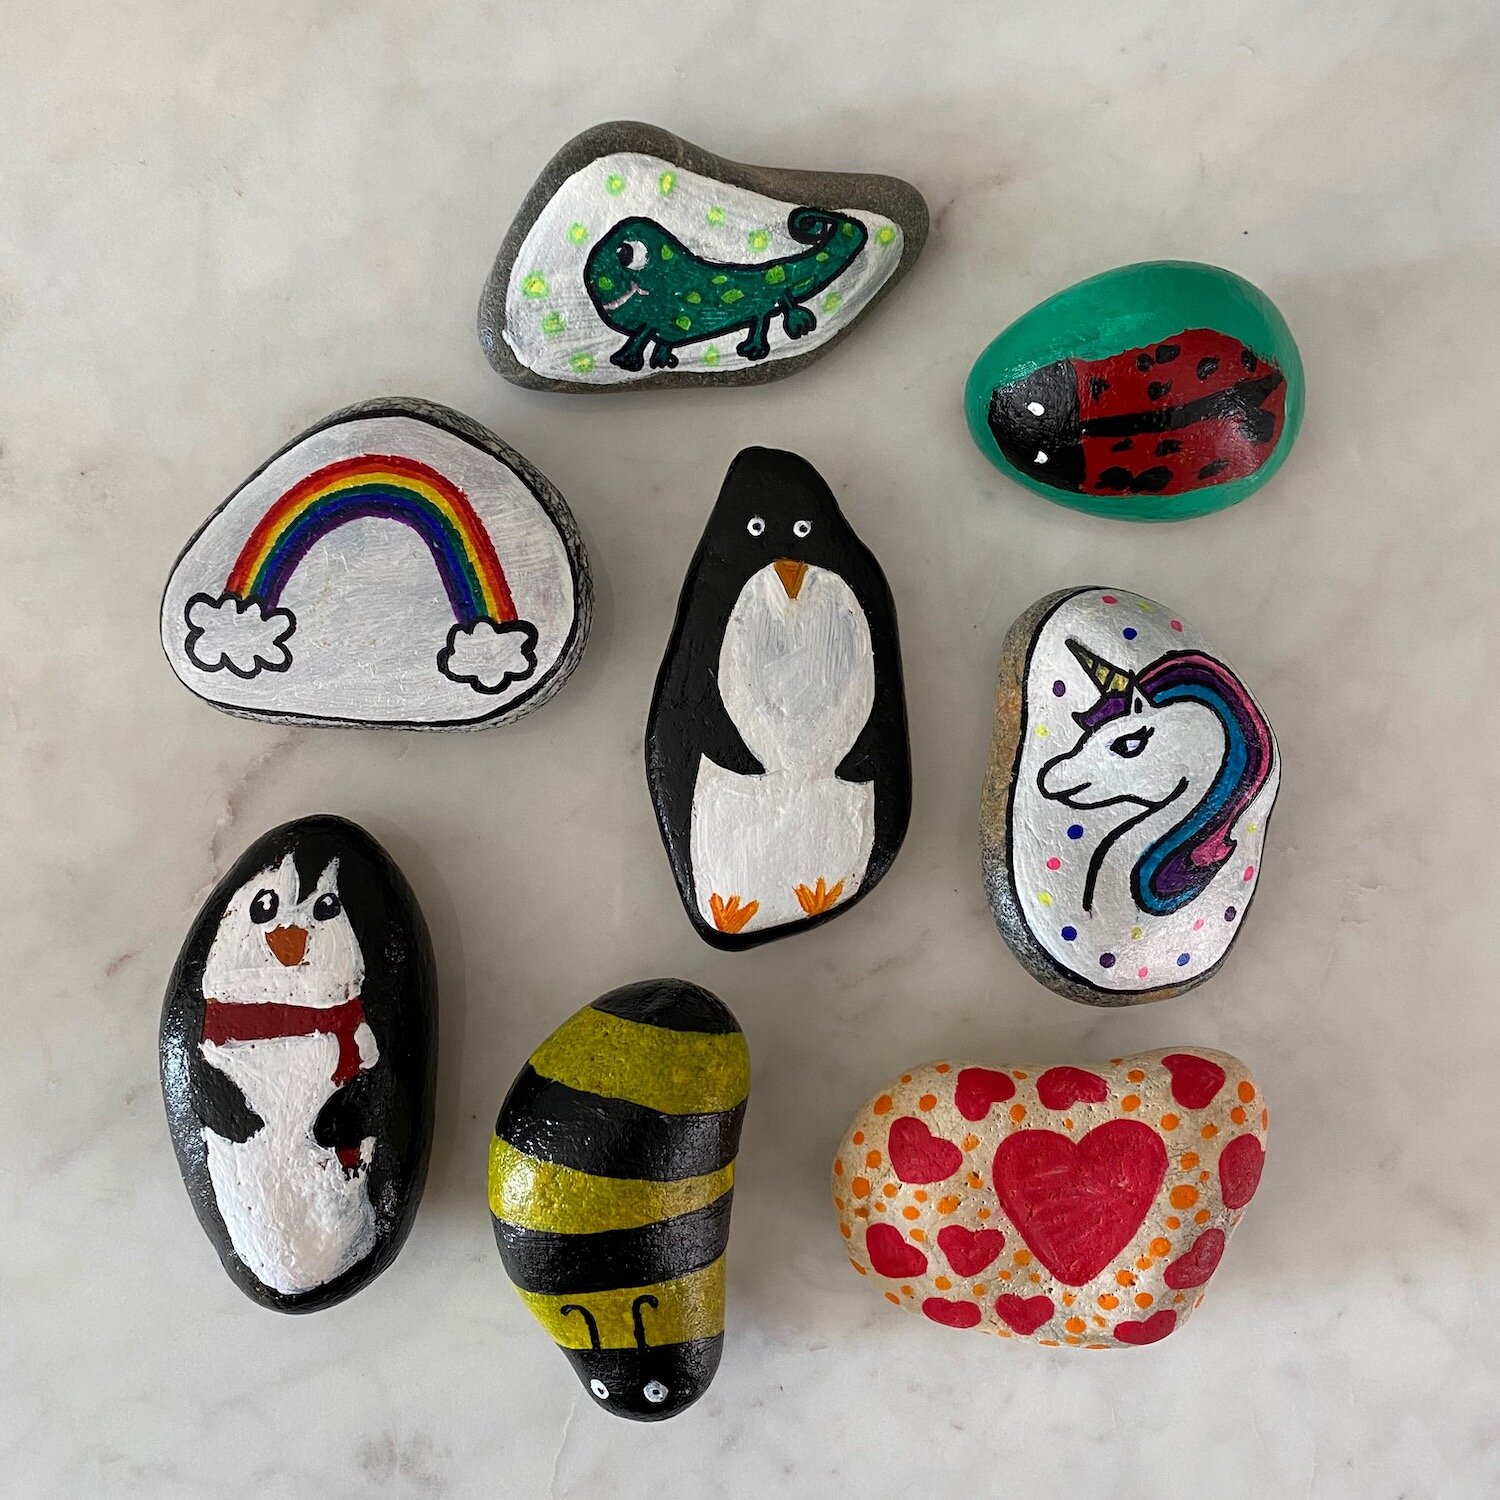
There are many creative ways to decorate stones. Here are some popular painting techniques and themes kids can try:
Solid Coat Designs
Single solid colour - Cover the entire stone in one bold hue.
Ombre - Gradually blend from dark to light colour.
Marbled - Swirl 2 or more colours together.
Text and Patterns
Names or words - Paint names, initials, or inspirational phrases.
Shapes - Dots, stripes, zigzags, checkerboard.
Animal prints - Leopard or zebra spots.
Nature Themes
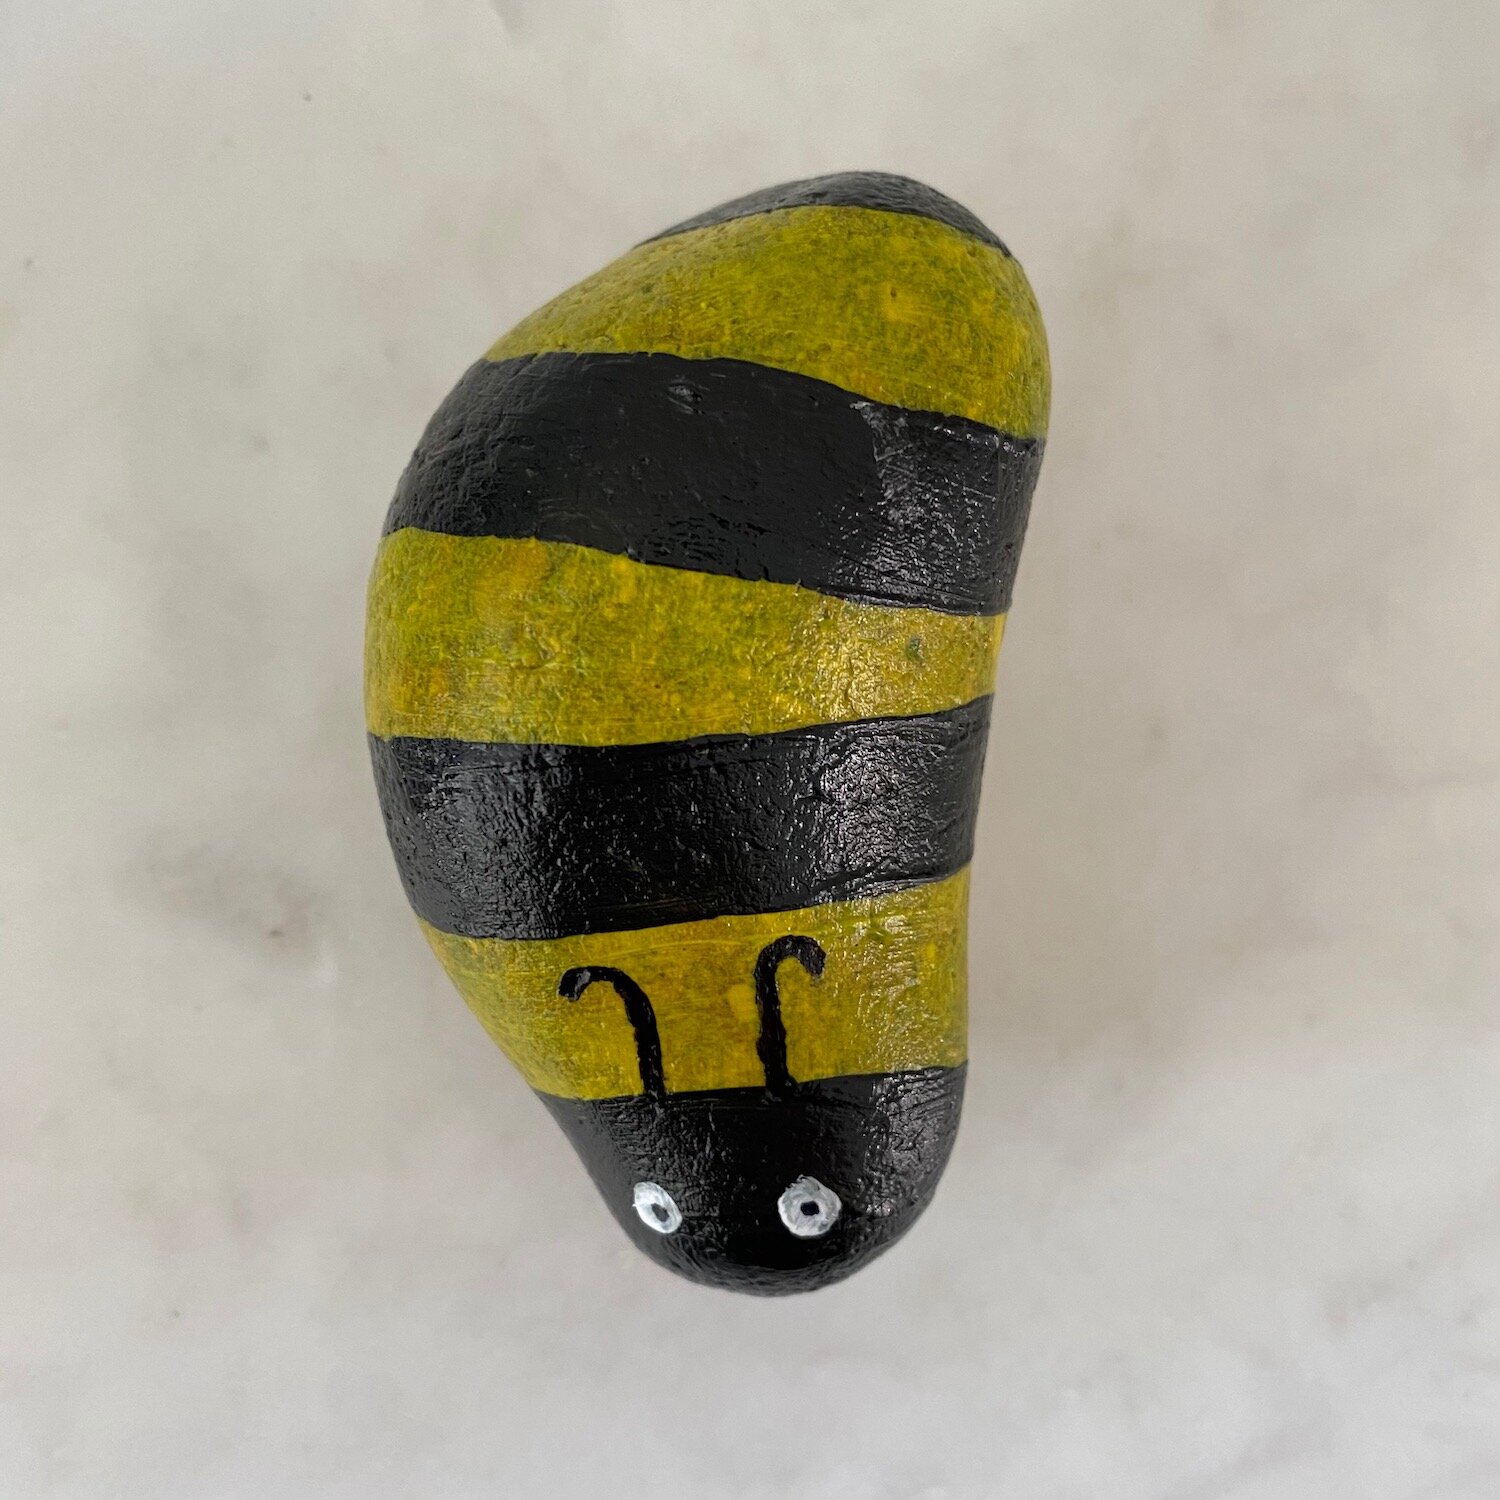
Bugs - Ladybugs, caterpillars, bumblebees.
Ocean life - Fish, seashells, octopus, starfish.
Flowers and plants - Bright daisies, leaves, trees.
Faces and Characters
Emoji faces - Happy, sad, silly expressions.
Pets - Dogs, cats, bunnies, turtles.
Fantasy characters - Unicorns, dragons, wizards.
Displaying Painted Stones and Rocks
Once the painted stones are sealed and dry, it's time to showcase the artwork! There are many creative ways to display the rocks:
Outdoors
Gardens and flowerbeds - Tuck stones among plants and flowers.
Planters - Sit rocks in plant pots and containers.
Garden pathways - Line walkways with painted stone borders.
Indoors
Shelves - Arrange rocks on bookshelves, mantels, tabletops.
Windowsills - Line up small stones on sills.
Decor - Incorporate into other décor like vases, plants, centerpieces.
Rock Hunts
Hide painted rocks for others to find at parks, trails, playgrounds.
Let kids get creative with where to place their stone artworks. The unique painted rocks make cheerful additions to outdoor and indoor spaces. The final chapter provides a summary and conclusion.

I hope you have found this guide helpful and enjoy this activity as much as we do. If you have decorated some stones successfully, I would love to see them! You can email me at sarahransomeart@gmail.com.
If you enjoyed this blog post, you might like…